How to Paint a Vintage Dresser: Step-by-Step Guide for Beginners
Painting an old dresser is one of the easiest ways to give dated furniture a second life. If you are wondering how to paint a vintage dresser without ending up with peeling paint, visible brush marks, or a finish that chips after a few weeks, this beginner-friendly guide walks you through the process from prep to topcoat.
The key is not using more paint — it is preparing the surface correctly, choosing the right products, and allowing each coat to dry before moving on. Below, you’ll see a practical process, recommended supplies, and places where beginners can save time without sacrificing durability.
Disclosure: As an Amazon Associate I earn from qualifying purchases. Some links in this post are affiliate links, which means I may earn a commission at no extra cost to you.
Before You Start: Is Your Vintage Dresser Worth Painting?
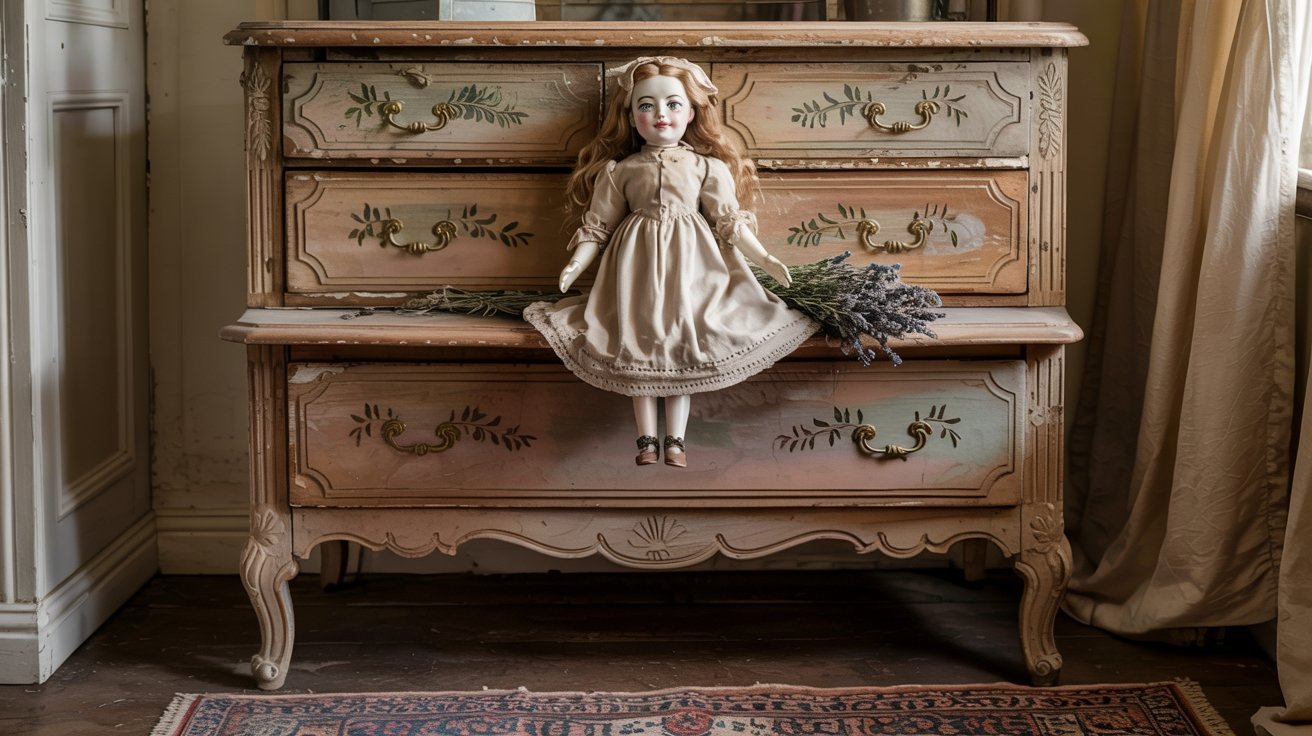
Not every old dresser needs paint. If the piece has beautiful original wood, rare veneer, or collectible value, refinishing rather than painting may be the better choice. For an everyday thrifted or inherited dresser, however, paint can hide cosmetic wear and make the piece work with your current decor.
Good candidates usually have solid construction, drawers that still work properly, and only surface-level wear. Avoid furniture with extensive water damage, severe warping, mold, or loose structural joints unless you are comfortable making repairs first.

What You Need to Paint a Vintage Dresser
You do not need a huge collection of tools. A small, practical kit is enough for most furniture makeovers:
- Mild soap or a degreasing cleaner
- 120- and 220-grit sandpaper
- Tack cloth or lint-free microfiber cloth
- Bonding or stain-blocking primer when needed
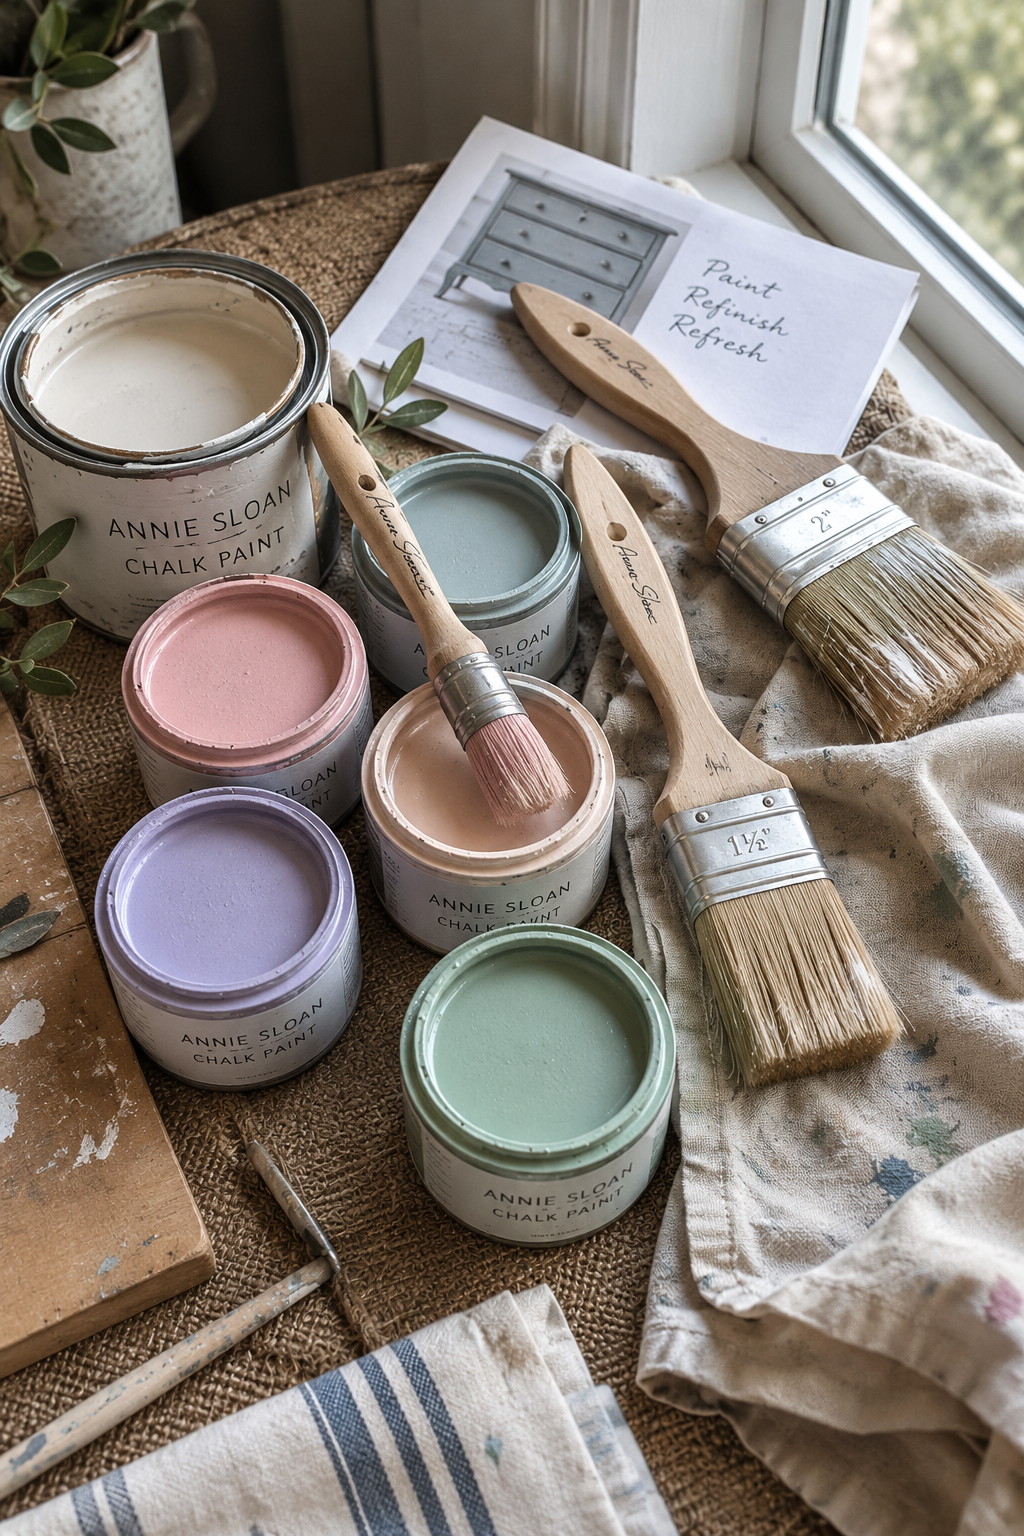
- Furniture paint or chalk-style paint
- A good-quality angled brush and/or small foam roller
- Clear wax or a durable water-based topcoat
For basic prep, an assorted pack such as 3M assorted 100/150/220-grit sandpaper. It covers both the initial scuff-sanding stage and the light smoothing you may want between coats.
For detailed edges and drawer fronts, an angled brush gives you much more control than a large wall-painting brush. The Wooster Shortcut 2-inch angled sash brush is compact enough for furniture but still holds enough paint to work efficiently.
Step 1: Remove Hardware and Clean the Dresser
Start by removing the drawers, knobs, pulls, and any removable hardware. Label the drawers if they fit only one opening. Then clean the dresser thoroughly, paying extra attention to drawer fronts and the top surface where furniture polish, skin oils, and dust tend to build up.
Let the piece dry completely before sanding. Painting over residue is one of the most common reasons a new finish does not adhere properly.
Step 2: Sand the Surface for Better Paint Adhesion
For most previously finished wood furniture, you do not need to strip every trace of the old finish. Lightly sand with approximately 120-grit paper to dull glossy areas and create a surface the primer or paint can grip.
After sanding, remove all dust with a tack cloth or clean microfiber cloth. Use 220-grit paper later for gentle smoothing or distressing.

Step 3: Prime When the Surface Needs It
Primer is especially helpful on very glossy finishes, laminate, mahogany and other tannin-rich woods, or pieces with stains that may bleed through light paint. A shellac-based stain blocker such as Zinsser B-I-N primer-sealer can help create a more reliable base when bleed-through is a concern.
If the dresser is already matte, clean, and in good condition, some furniture paints may adhere with minimal primer. Always follow the paint manufacturer’s surface-preparation instructions rather than assuming every product works the same way.
Step 4: Apply Furniture Paint in Thin Coats
Stir the paint well and apply a thin first coat, working in the direction of the wood grain where possible. Avoid loading the brush heavily — several thin coats usually look smoother and cure more evenly than one thick coat.
For an easy matte furniture finish, Rust-Oleum Chalked Ultra Matte Paint in Linen White is a beginner-friendly option for wood furniture and decorative pieces. If you are still deciding between brands and finishes, see the comparison guide to the best paint brands for furniture.
Allow each coat to dry according to the manufacturer’s instructions. Depending on your color and the original finish underneath, you may need two or three coats.

Step 5: Distress the Finish if You Want a Vintage Look
Distressing is completely optional. If you want a naturally aged look, wait until the final paint coat is dry, then lightly sand selected edges with 220-grit paper. Focus on places that would realistically show wear: drawer edges, corners, raised trim, feet, and handles.
Use a light hand. Random heavy sanding can make the piece look artificially distressed instead of authentically worn.

Step 6: Seal and Protect the Painted Dresser
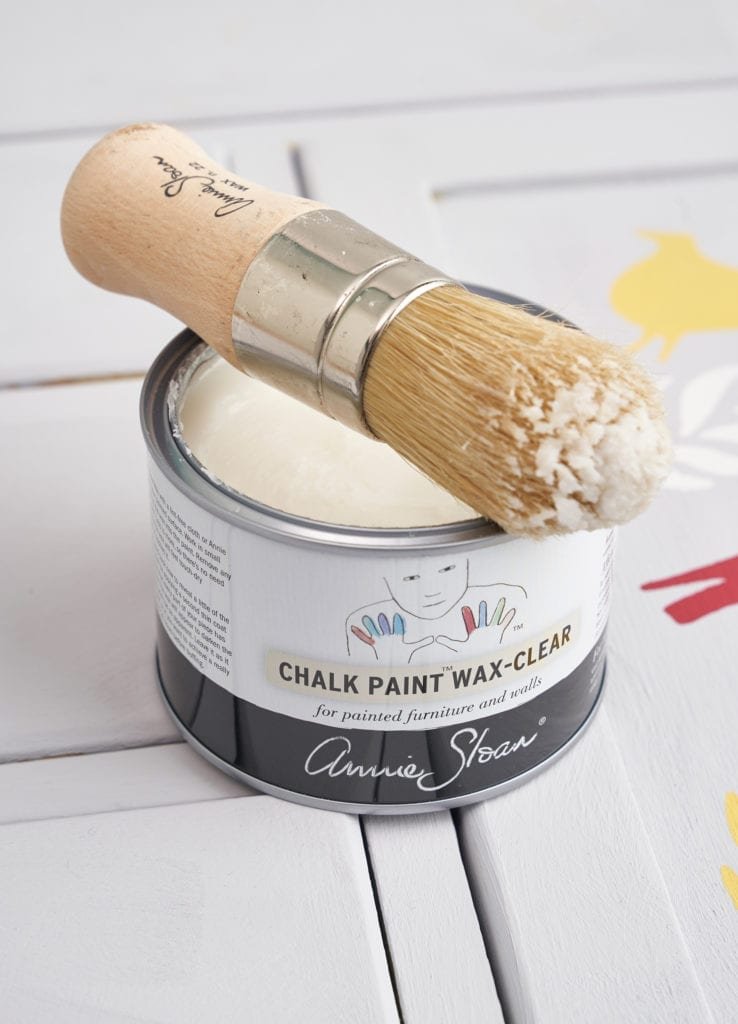
A dresser gets touched, opened, and cleaned regularly, so a protective finish can make a big difference in durability. Wax creates a softer traditional look, while a water-based protective finish is often easier to maintain on high-use surfaces.
For a clear protective layer, Minwax Polycrylic Protective Finish in Clear Satin is designed for interior wood surfaces and dries clear. Apply thin coats and follow the recoat and curing instructions on the label.
Quick Vintage Dresser Painting Checklist
- Remove drawers and hardware.
- Clean away dust, grease, and furniture polish.
- Lightly sand glossy surfaces.
- Prime stain-prone or difficult surfaces when needed.
- Apply two or more thin coats of furniture paint.
- Distress selected edges only if you want an aged finish.
- Protect the finish with wax or a clear topcoat.
- Allow the dresser to cure before heavy daily use.
Common Mistakes to Avoid
- Skipping cleaning: old polish and grease can cause adhesion problems.
- Applying thick coats: thick paint takes longer to dry and is more likely to show texture.
- Painting hardware in place: removing it usually gives you a much cleaner result.
- Over-distressing: keep wear concentrated in realistic areas.
- Using the dresser too soon: paint can feel dry before it is fully cured.
Frequently Asked Questions
Do I have to sand a vintage dresser before painting?
Not always, but light sanding is a reliable way to improve adhesion on glossy or previously sealed furniture. Even paints marketed as low-prep still perform best on a clean, sound surface.
What is the best paint for an old wooden dresser?
Furniture paint, chalk-style paint, mineral paint, and durable interior enamels can all work. The best choice depends on the finish you want, how much prep you are willing to do, and whether you prefer a matte or more washable surface.
How long should a painted dresser cure?
Dry time and full cure time are not the same. Check the specific paint and topcoat instructions, and treat the surface gently until the finish has fully cured.
Final Thoughts
Learning how to paint a vintage dresser is mostly about patience and preparation. Clean well, sand only as much as necessary, apply thin coats, and protect the finished piece. Those simple habits make a much bigger difference than complicated techniques.
For more inspiration before choosing your color and final style, browse this collection of vintage painted dresser ideas. If you are considering decorative details, you may also like this comparison of floral transfers vs. hand painting.