Air-Dry Cat Crafts You’ll Want to Keep Forever
Disclosure: This post contains affiliate links. I may earn a commission from qualifying purchases at no additional cost to you. As an Amazon Associate I earn from qualifying purchases.
Air-dry cat crafts are an easy no-bake project when you want something cute, giftable and beginner-friendly. With a small amount of clay, a few shaping tools and acrylic paint, you can make shelf figures, magnets and seasonal cat decor without an oven or kiln.
3 Easy Cat Crafts to Start With
- Stretching cat: one elongated body, simple paws and a curved tail.
- Tea-time cat: a rounded sitting cat holding a tiny clay cup.
- Cat magnet: a flatter face or paw shape that is easy to paint and attach to a magnet.
If you want more colorful clay inspiration, see our Colorful Cat Decor with Clay.
Air-Dry Cat Crafts: Supplies Worth Having
| Supply | Best for | Shop |
|---|---|---|
| Crayola Air Dry Clay | Building the main cat forms without baking | View on Amazon → |
| Sculpey Clay Tool Starter Set | Shaping faces, paws, tails and fine details | View on Amazon → |
| Shuttle Art Acrylic Paint Set | Painting pastel, striped, floral or graphic finishes | View on Amazon → |
| E6000 Craft Adhesive | Attaching magnets or mixed-material embellishments | View on Amazon → |
| X-bet Ceramic Disc Craft Magnets | Turning flatter cat shapes into fridge magnets | View on Amazon → |
Start With These 3 Supplies
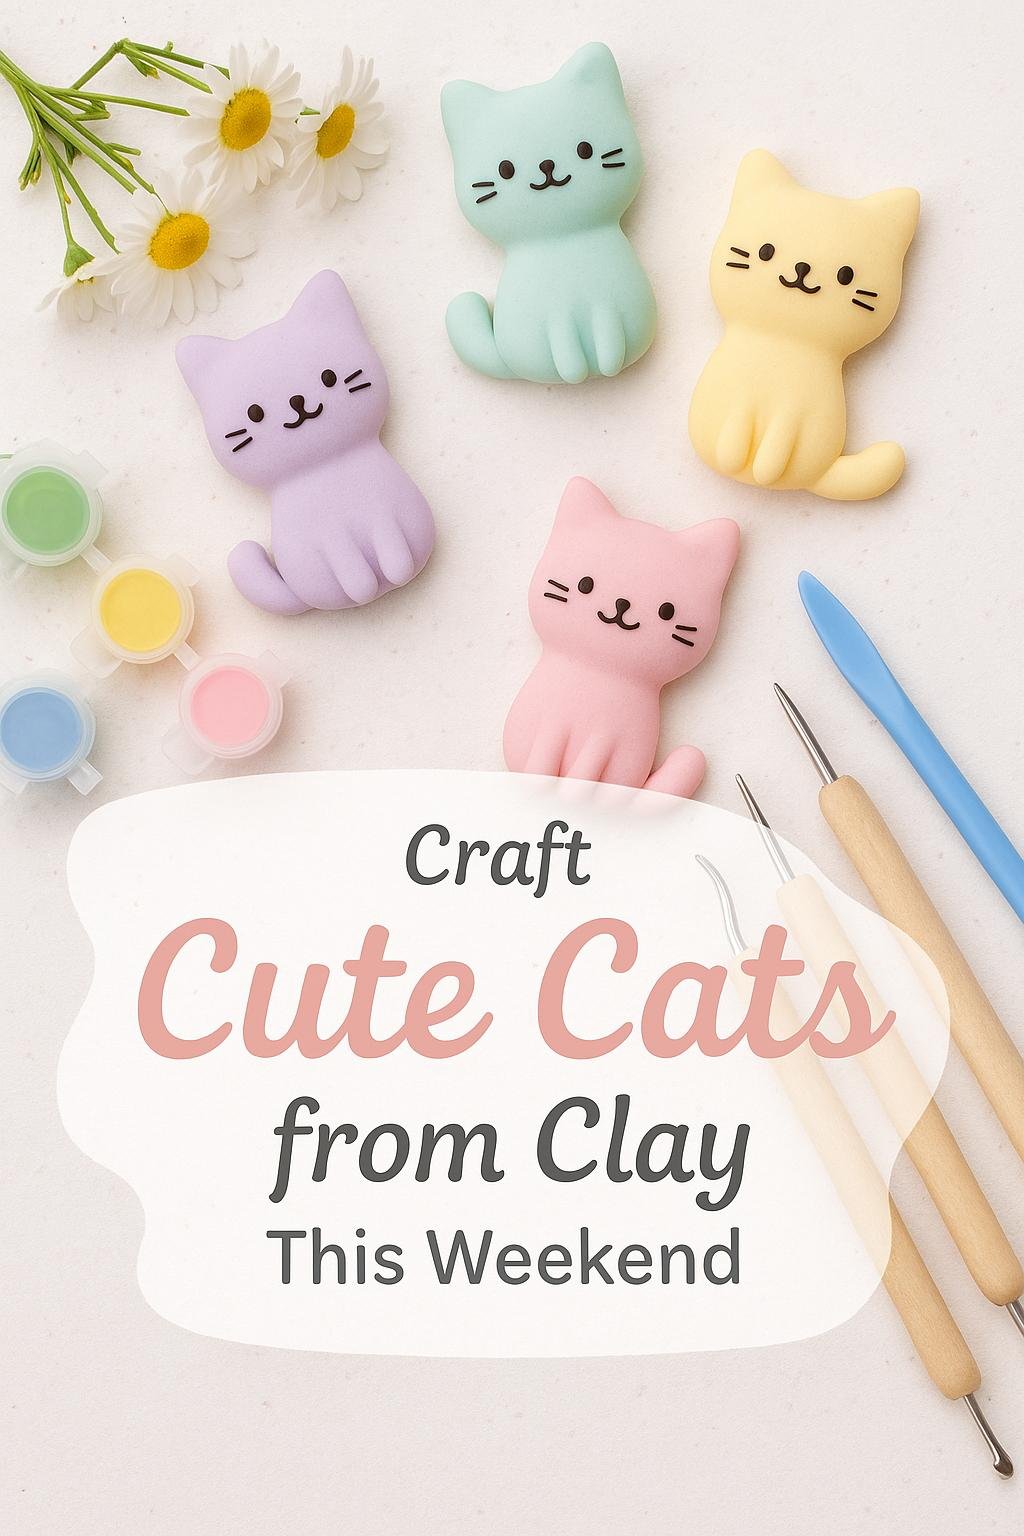
If you are starting from scratch, you only need three core items for most of the projects below: air-dry clay for the base shapes, a small clay tool set for faces and paws, and acrylic paint for the finish. Add magnets and adhesive only if you decide to make the fridge-magnet variation.
You can also use parchment paper, a small rolling pin or smooth bottle, fine paintbrushes and an optional clear craft sealer.
Step-by-Step Guide to Create Air-Dry Cat Crafts
1. Prep and Condition Your Clay
Knead each piece until it feels smooth and pliable. Working the clay before sculpting helps reduce surface cracks and makes small details easier to shape. If you are starting without clay already at home, Crayola Air Dry Clay is a simple no-bake option for this type of project.
2. Shape the Base Cat Forms
Sunbathing Stretch Cat: roll an elongated body, flatten gently, then pinch out the legs and tail.
Tea-Time Tabbie: form a rounded body and add small coil arms around a miniature clay teacup.
3. Carve Features and Texture
Use a toothpick for whiskers and fur strokes, or use a dedicated tool when you want cleaner eyes, paws and facial details. The Sculpey Clay Tool Starter Set includes several useful shaping ends without requiring a large professional kit.
4. Let the Crafts Air Dry
Place the pieces on parchment and let them cure according to the clay manufacturer’s directions. Depending on the size, thickness and humidity, drying can take roughly 24–48 hours or longer. Turn flatter pieces carefully if needed so both sides dry evenly.
5. Paint and Personalize
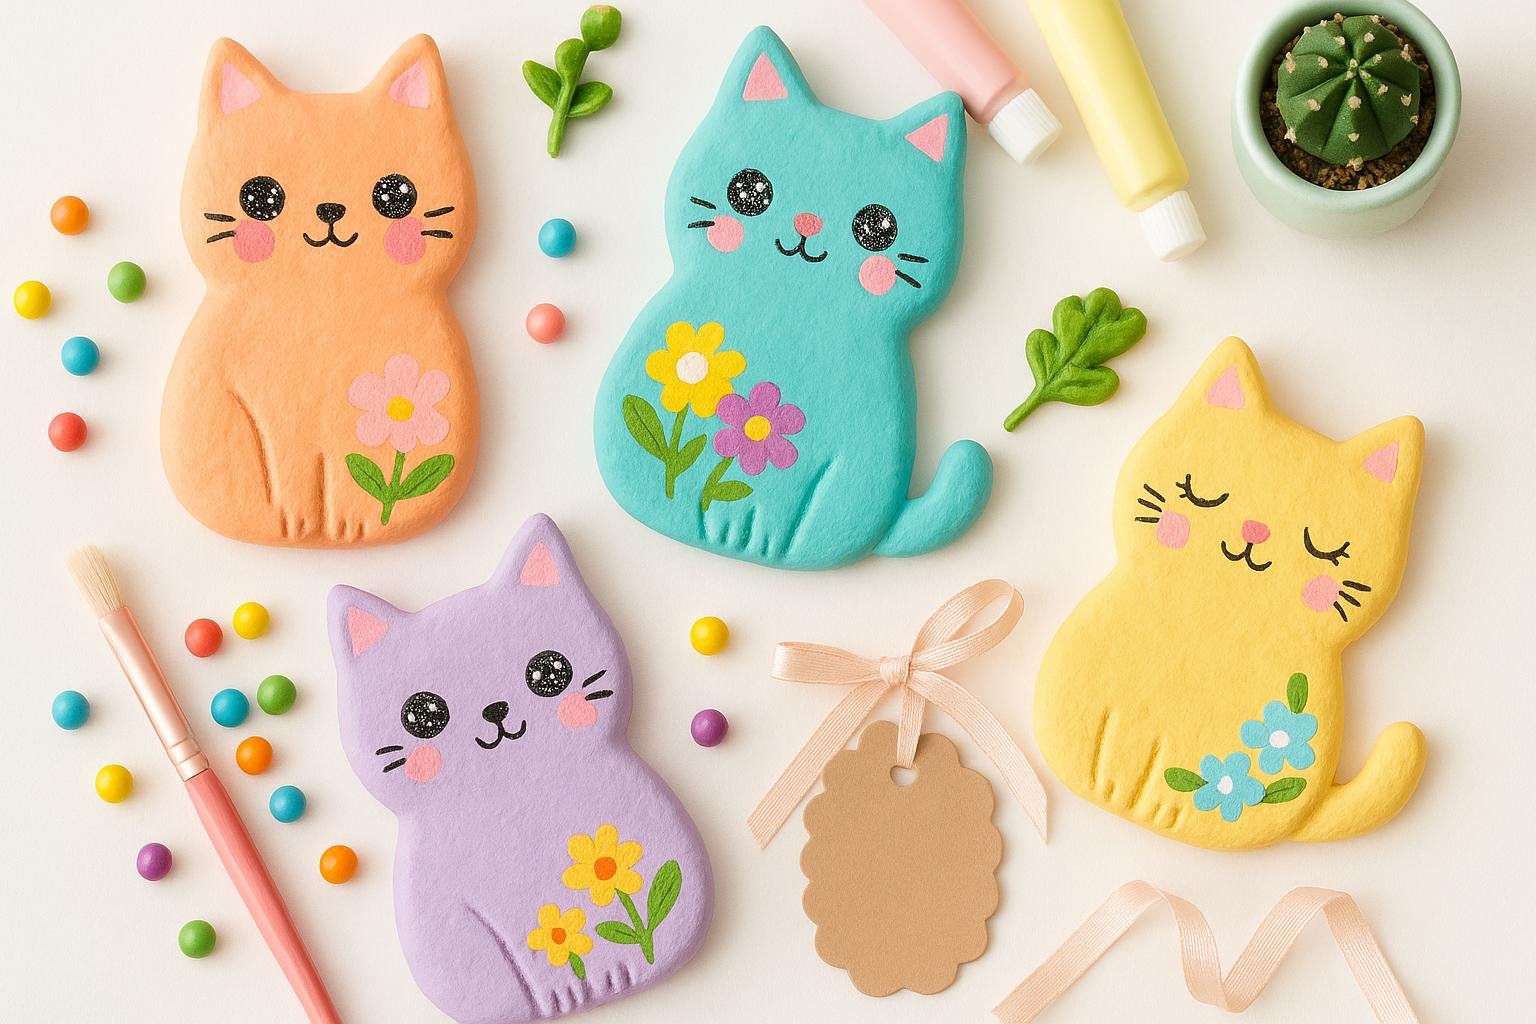
Once the clay is completely dry, add spring pastels, bold stripes, tiny florals or expressive faces. A multi-color set such as the Shuttle Art Acrylic Paint Set is useful if you want several cat styles without buying individual paint bottles.
6. Seal and Showcase
After the paint is dry, you can leave the surface matte or apply a compatible clear craft sealer for extra protection. Always check compatibility and follow the product instructions before sealing air-dry clay.
Pro Tips for Better Air-Dry Clay Cats
- Work in small batches so unused clay does not begin drying while you sculpt.
- Smooth joins before drying rather than trying to repair every seam afterward.
- Keep delicate tails, ears and legs slightly thicker if the finished piece will be handled frequently.
- Paint fine facial details only after the base coat is fully dry.
- For very small decorative details, use a clay tool rather than forcing the shape with your fingers.
Visual Inspiration: Unique Cat Figures to Craft
Peek-a-Boo Planter Pal
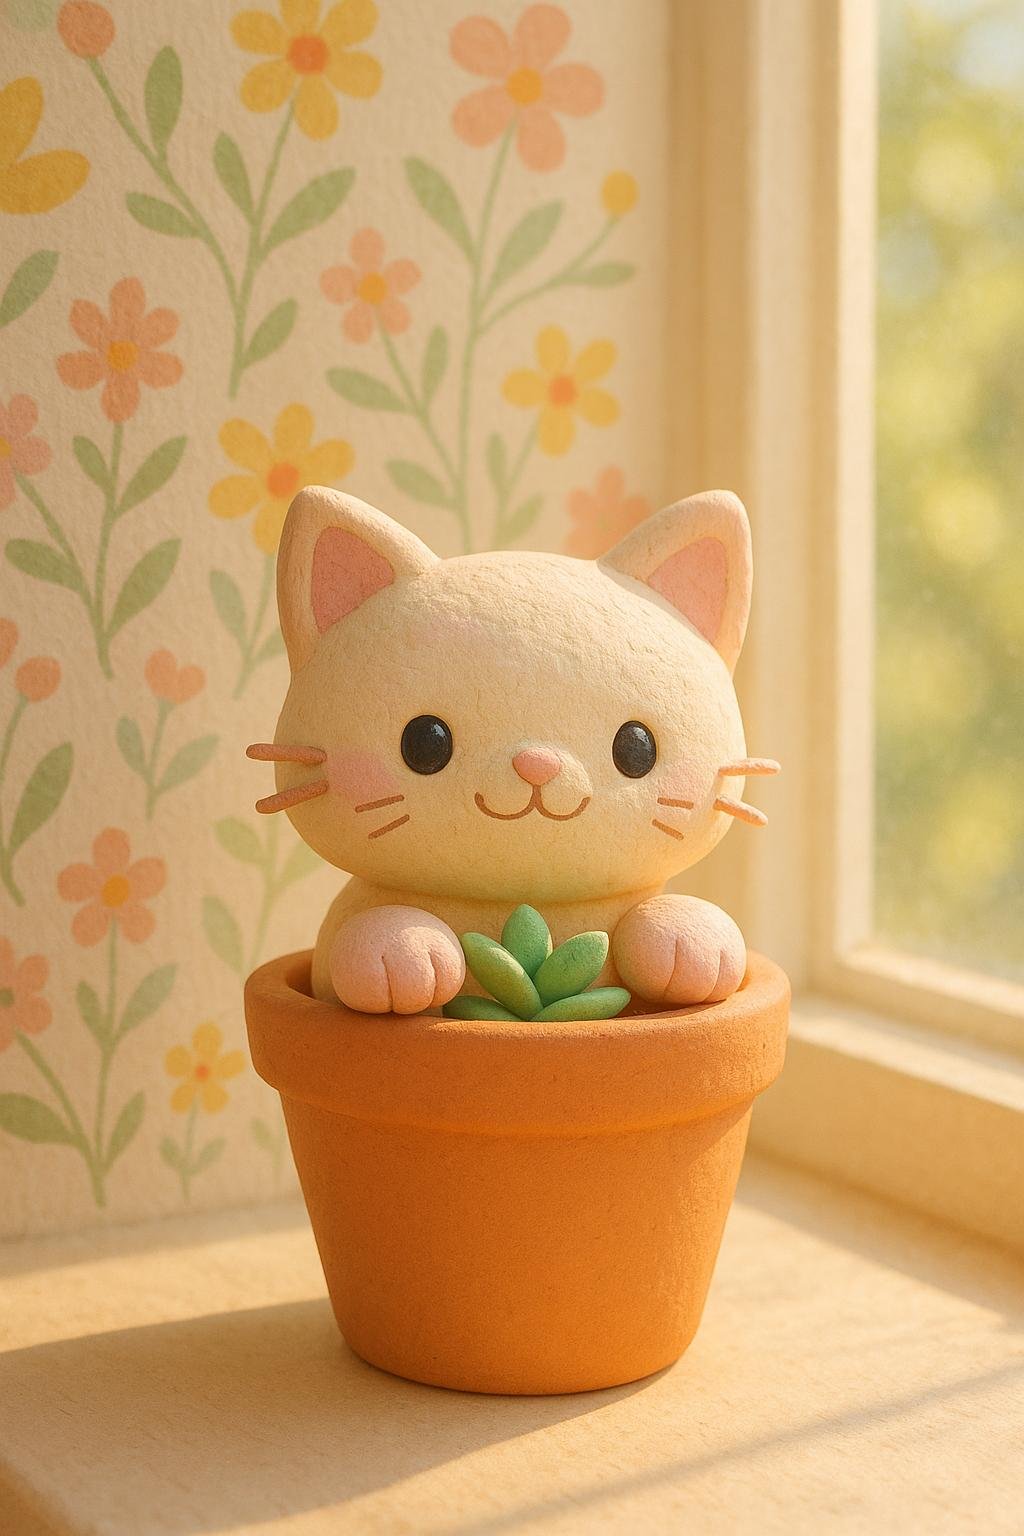
Create a small cat that appears to peek over a miniature planter or pot. Keep the front paws slightly oversized so the expression reads clearly from a shelf.
Tea-Time Tabbie
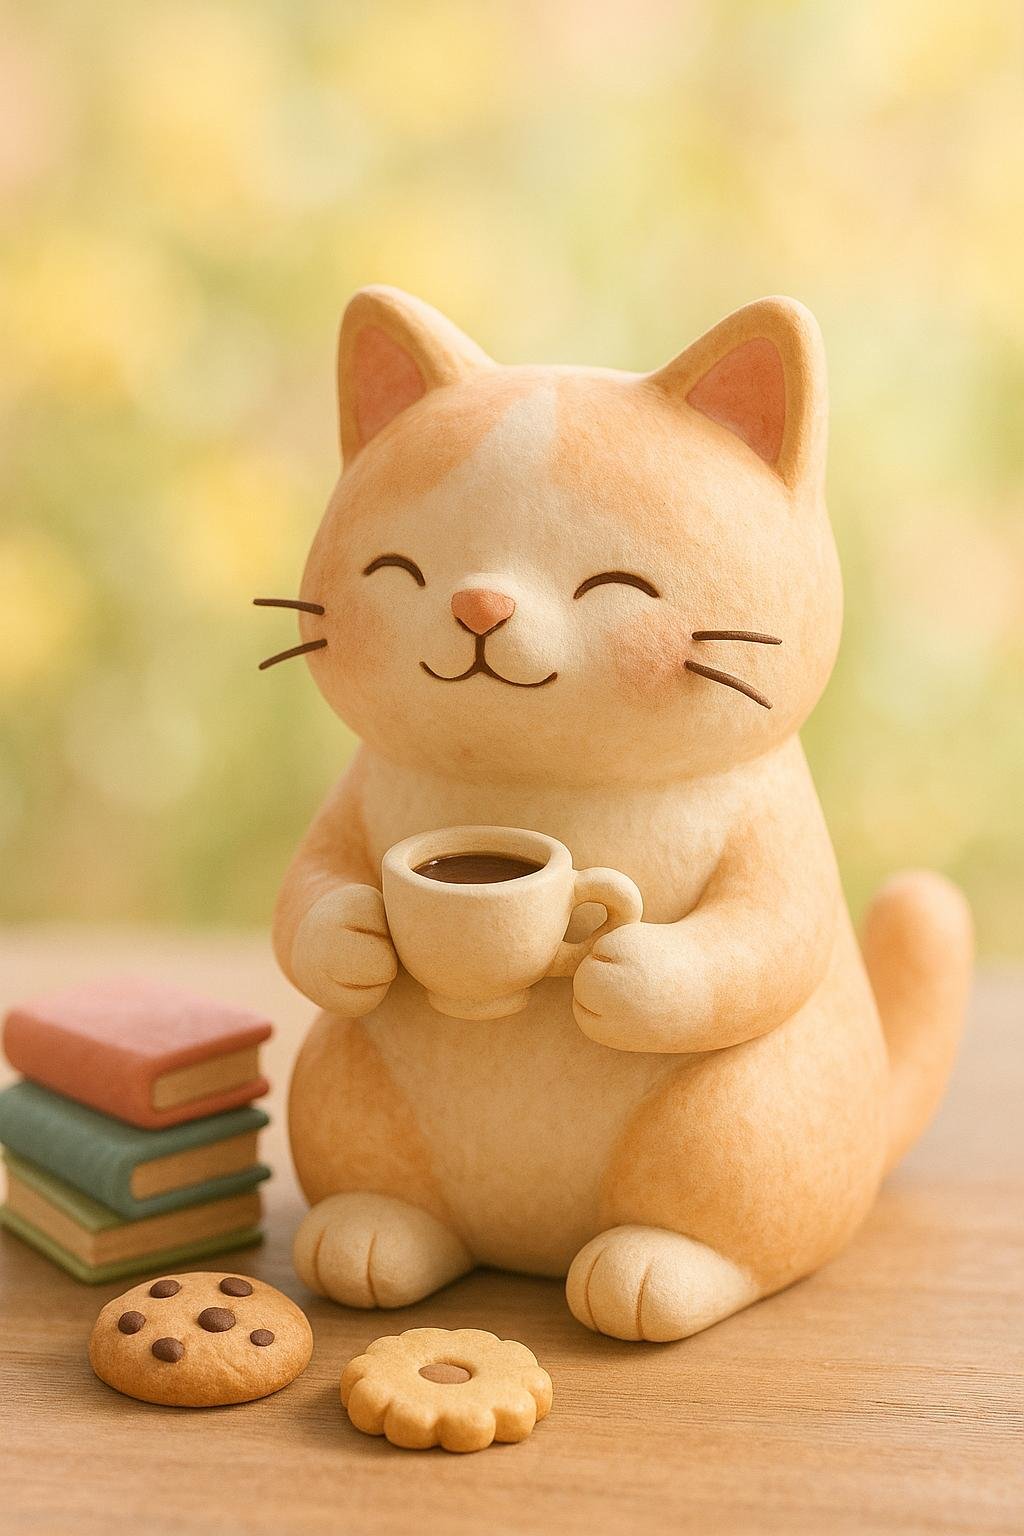
A rounded clay cat holding a tiny teacup makes a charming shelf figure and works especially well as a handmade gift for a tea lover.
Balloon-Riding Kitty
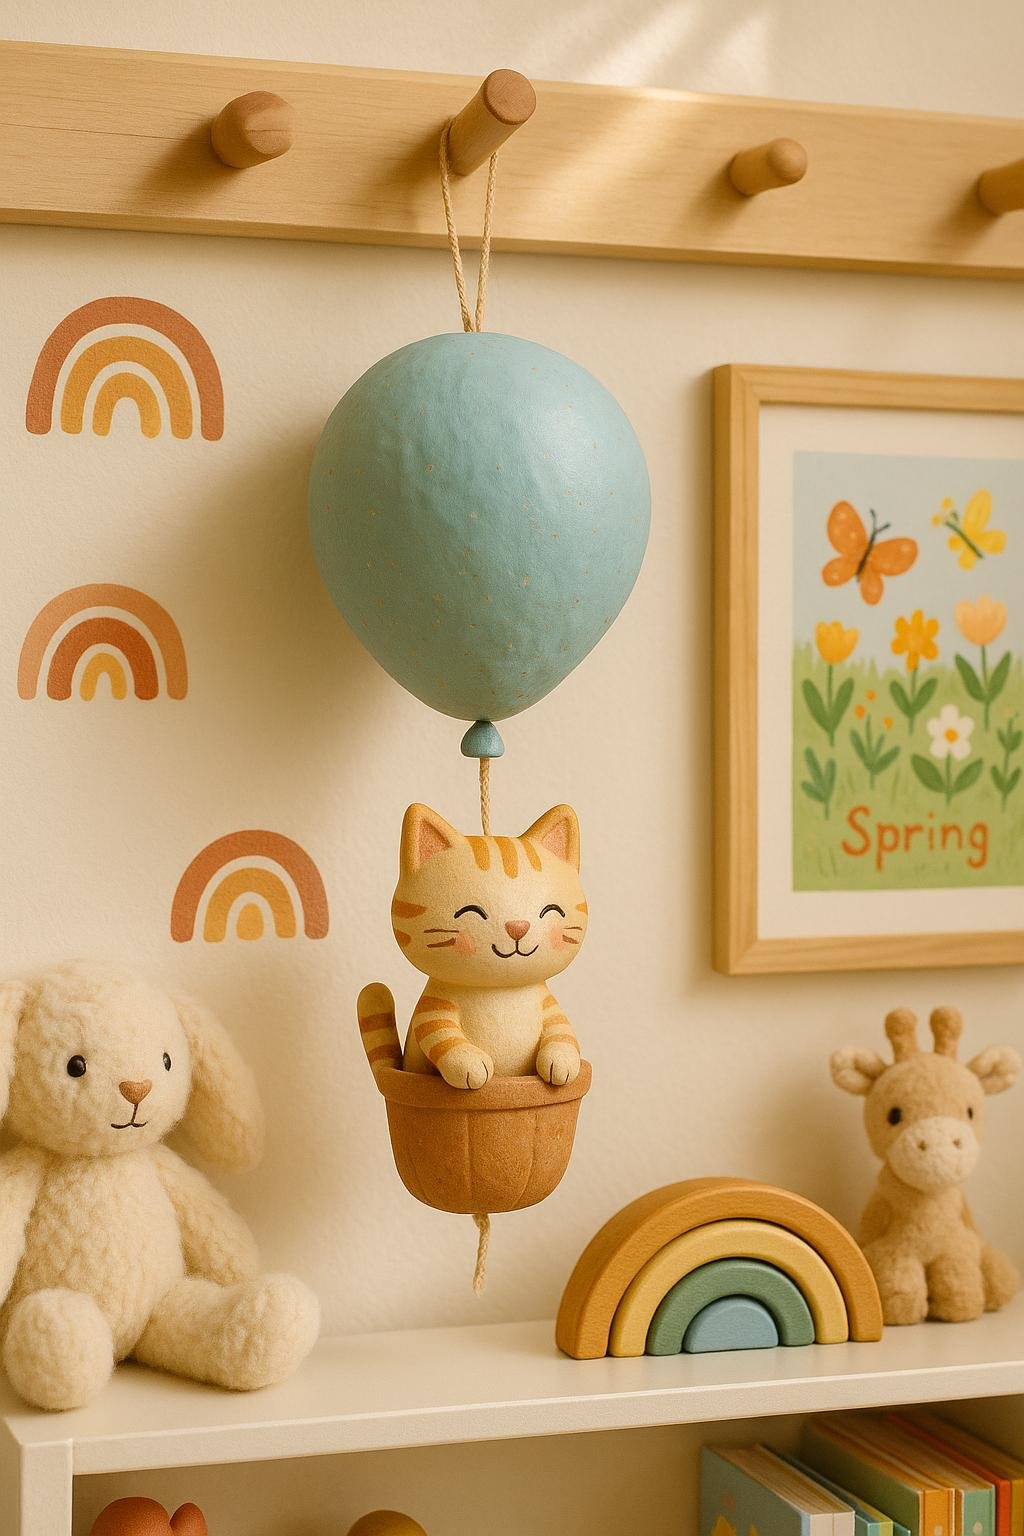
Use a small cloud base to support the figure and keep thin balloon elements decorative rather than load-bearing.
Bookish Cat Nook
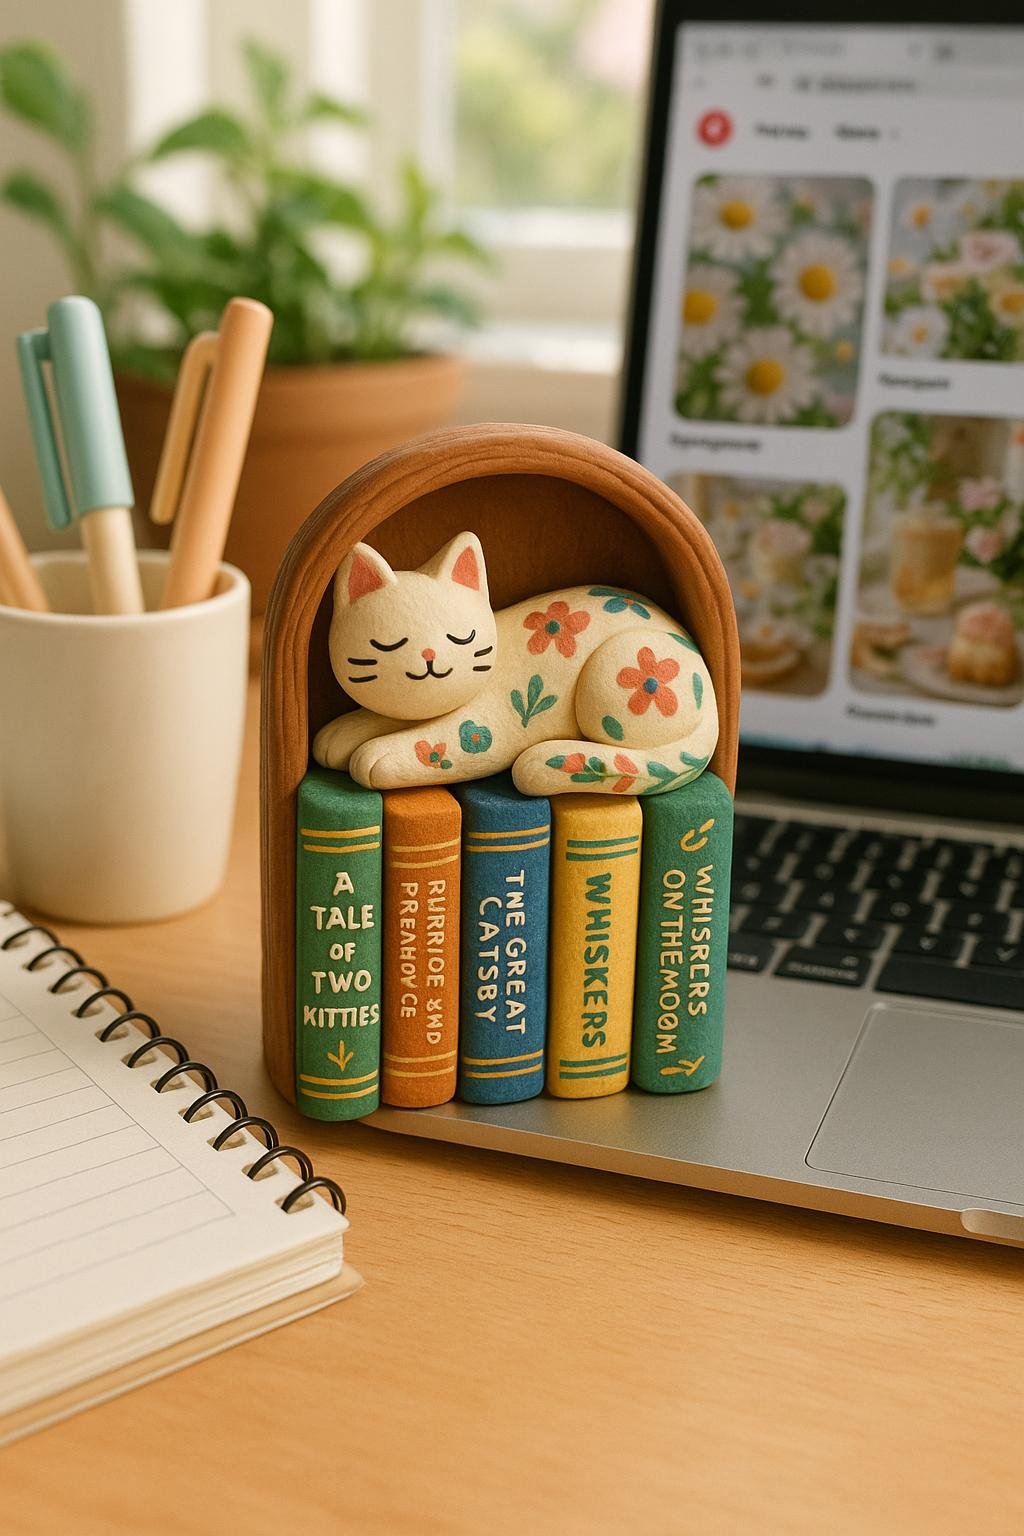
Stack several simple rectangular clay books and place a lounging cat across the top for a playful reading-nook accessory.
Stretch-and-Yawn Sphinx
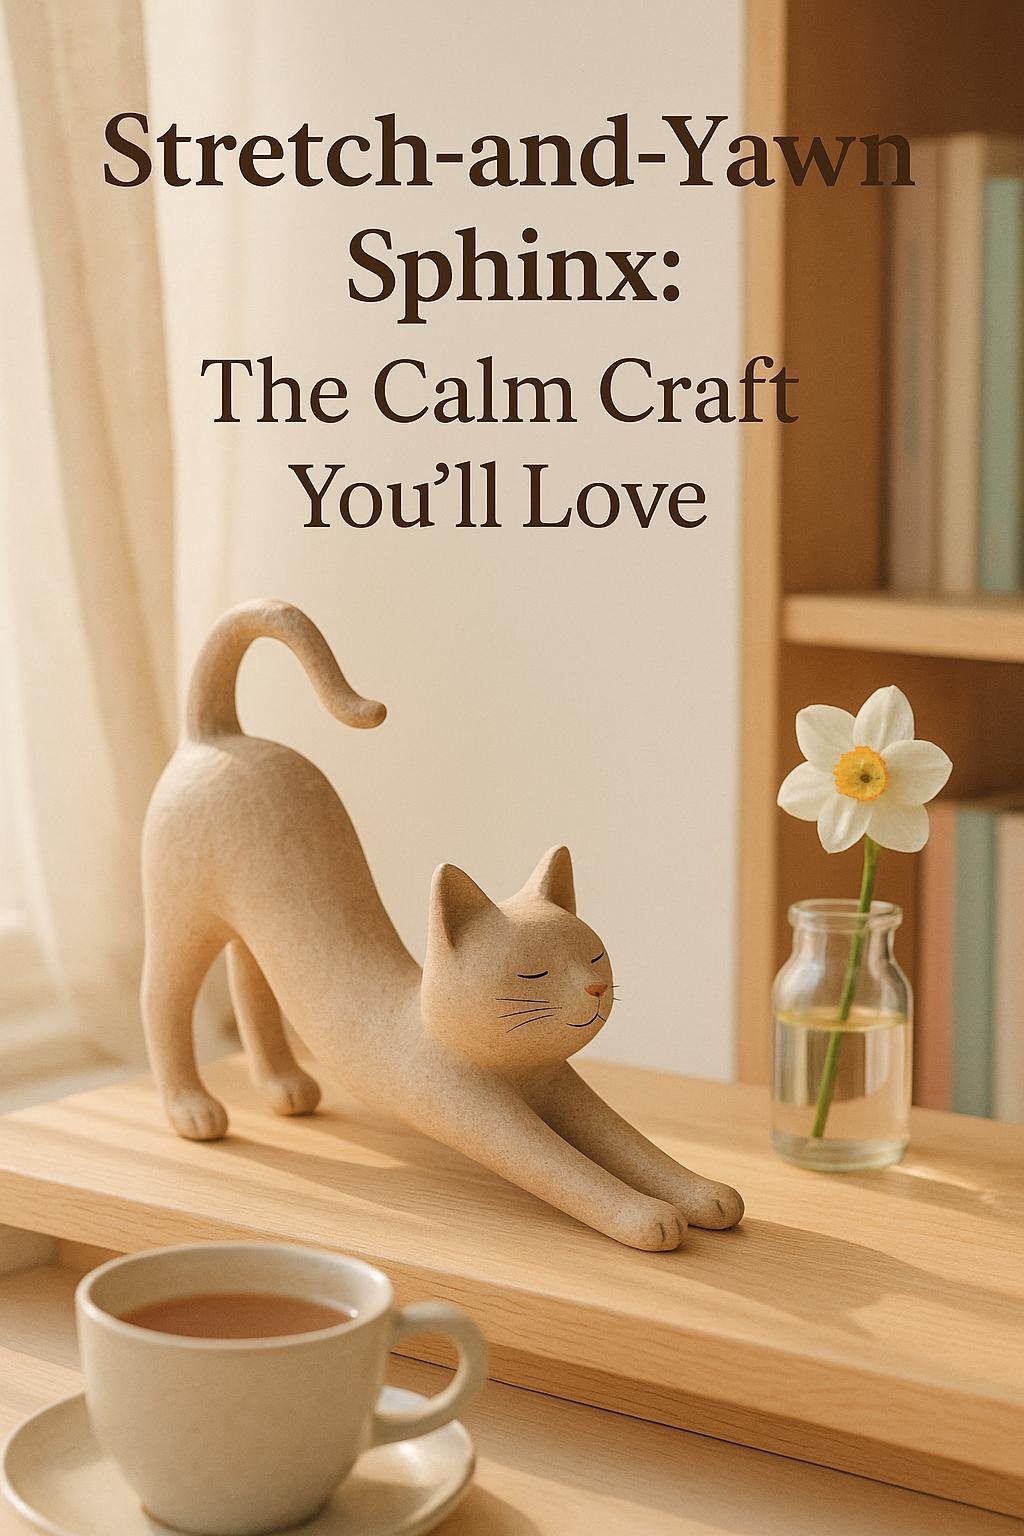
An elongated stretching pose looks elegant on a bookshelf or windowsill. Keep the body broad enough to support the pose as the clay dries.
Whimsical Witch Cat
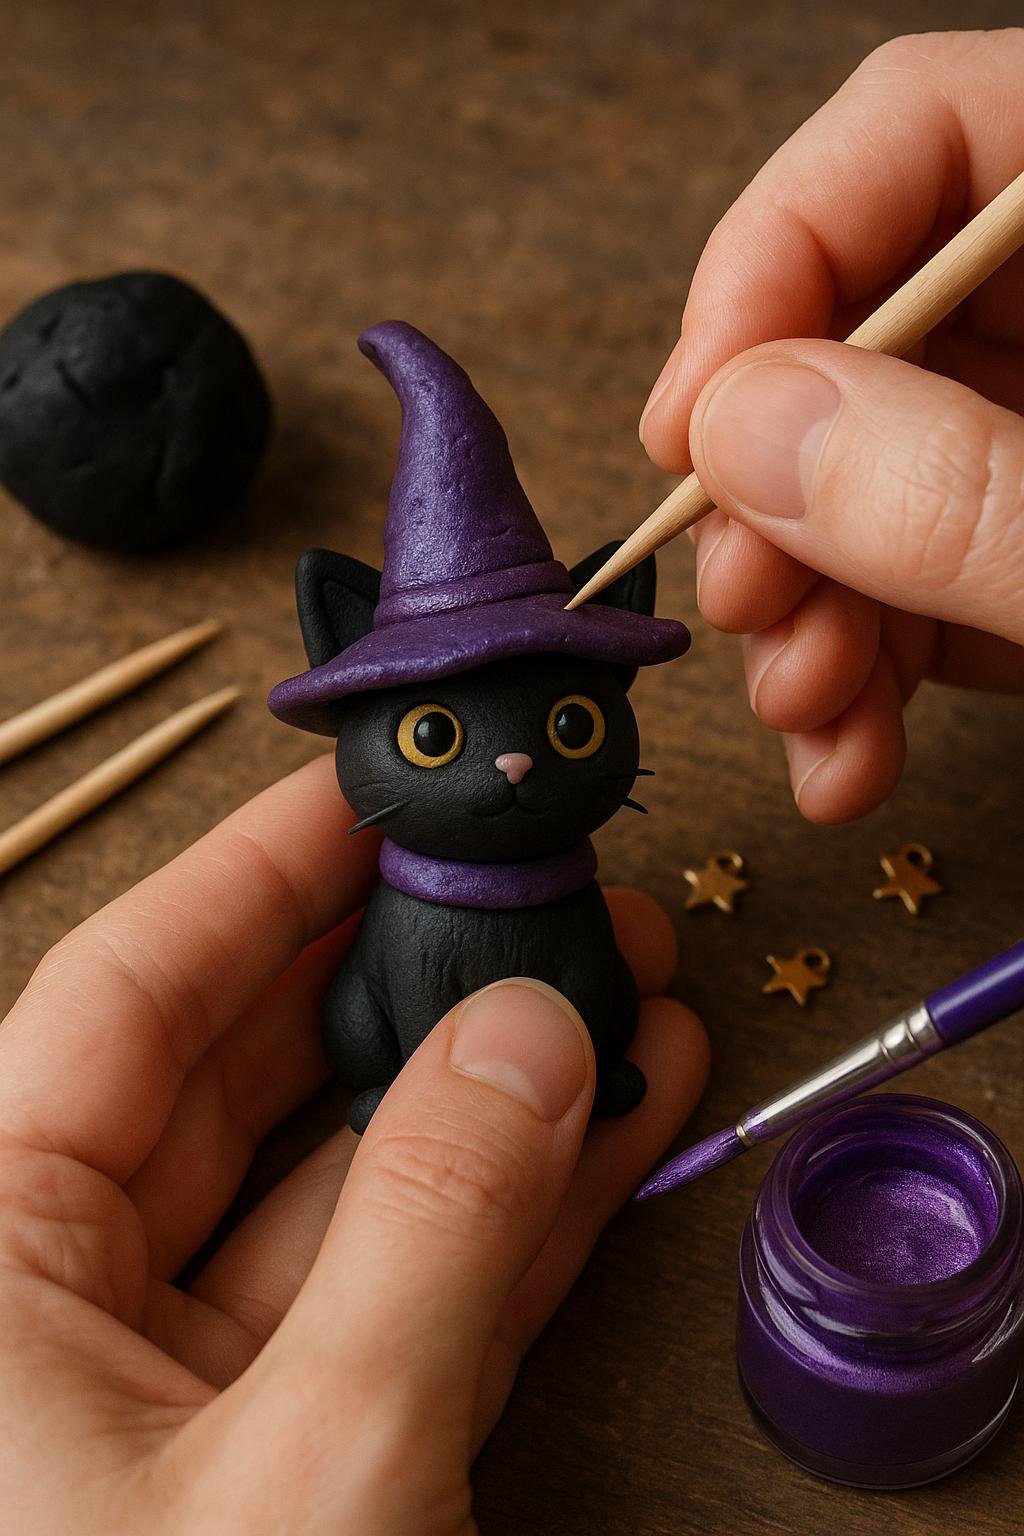
For an autumn variation, add a miniature pointed hat and a darker color palette. This is an easy way to adapt the same basic cat form for seasonal decor.
Turn Your Clay Cats Into Magnets
Flat cat faces, paws and silhouettes can become practical fridge magnets. Allow the clay to dry completely, keep the back surface flat and attach an appropriately sized magnet with an adhesive that works with both materials.
For this variation, you can pair X-bet ceramic disc craft magnets with E6000 Craft Adhesive. Follow the adhesive manufacturer’s curing and ventilation instructions, and keep loose magnets away from children and pets.
Ready to make the magnet version? Check the craft magnets on Amazon → Check E6000 adhesive on Amazon →
For a dedicated tutorial, see our Cat Paw Magnets guide.
Display and Gifting Ideas
- Fridge gallery: turn flatter cat shapes into magnets and arrange them around photos and notes.
- Reading shelf: pair a Bookish Cat Nook with a Stretch-and-Yawn Sphinx.
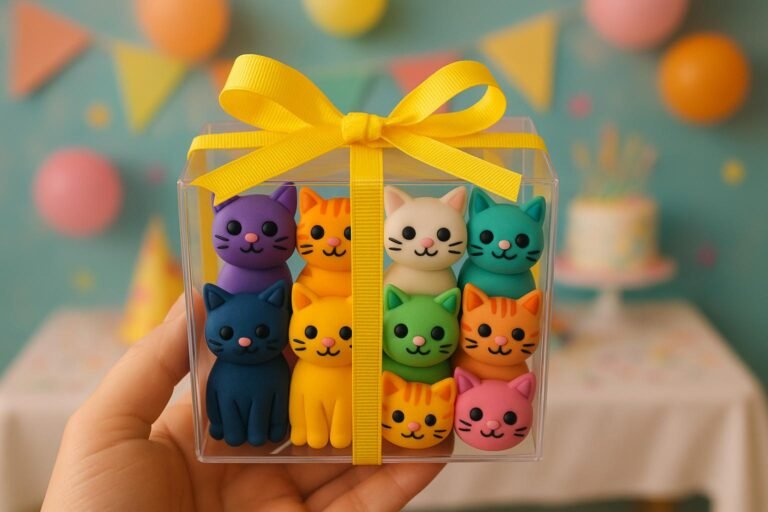
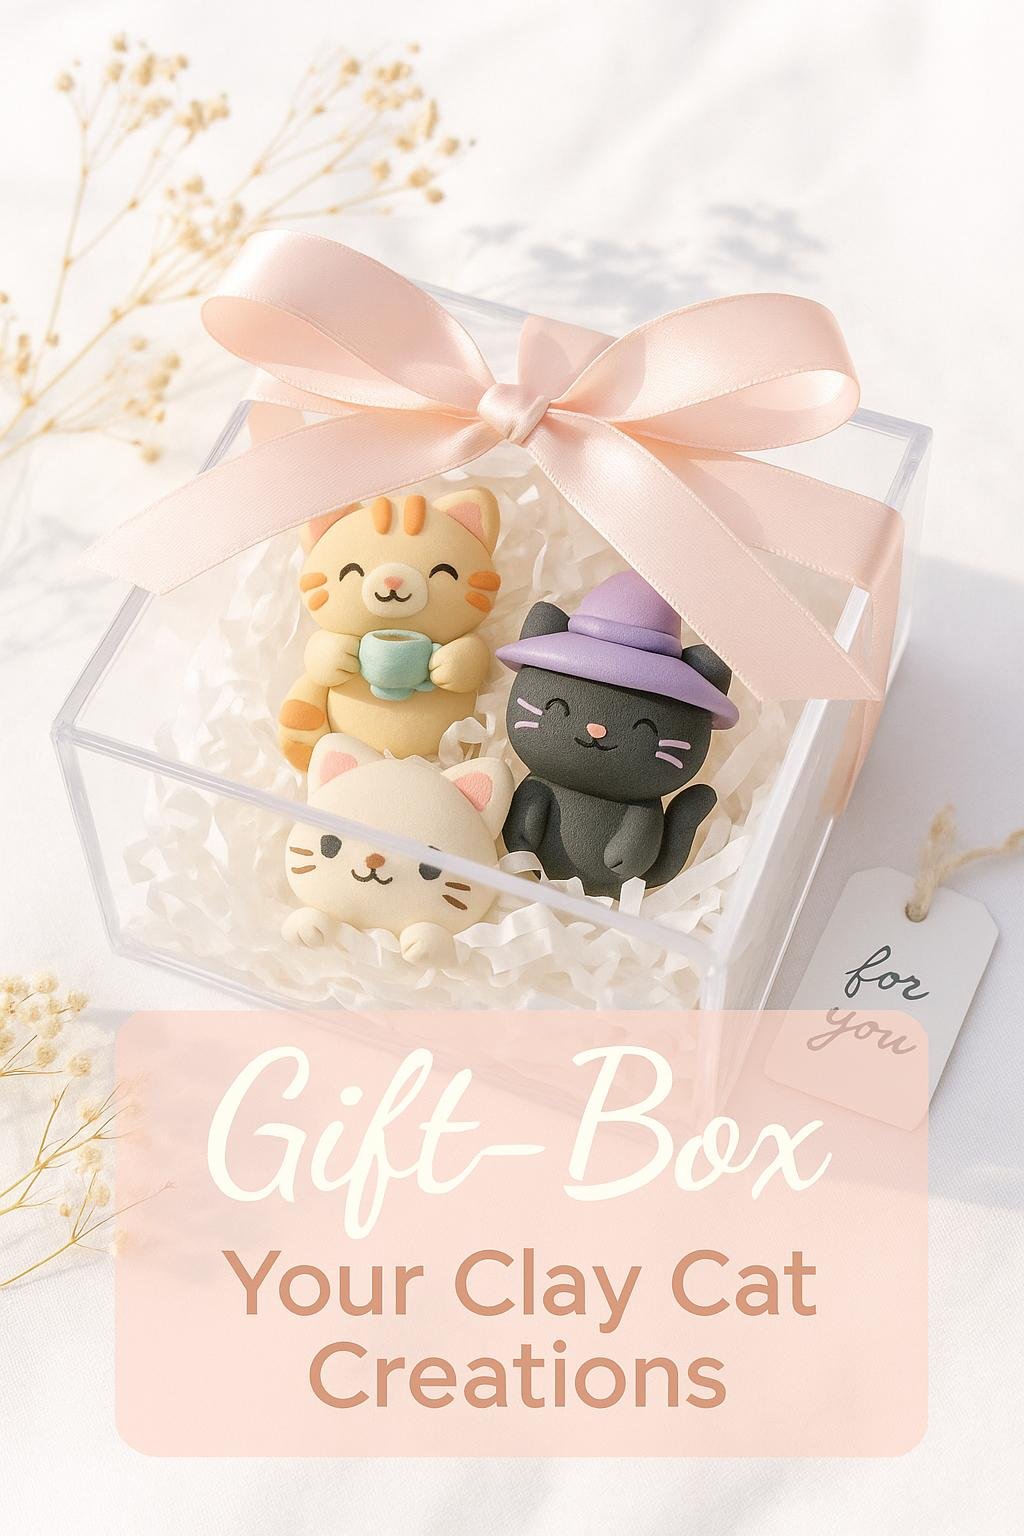
- Small gift set: group two or three coordinating cats in a simple box with tissue paper.
- Seasonal decor: reuse the same cat forms with spring florals, autumn colors or Halloween details.
Air-Dry Cat Craft FAQ
What air-dry clay is easiest for beginners?
A smooth craft-grade air-dry clay is usually the easiest starting point. For small figurines, avoid making thin unsupported details because they can be more fragile after drying.
Can you paint air-dry clay with acrylic paint?
Yes. Acrylic paint is commonly used on fully dried air-dry clay. Apply thin coats and allow each layer to dry before adding fine details or a compatible sealer.
Can air-dry clay be used for magnets?
Yes, particularly for flatter designs. Keep the back flat, allow the clay to dry completely and use a magnet and adhesive appropriate for the weight of the finished piece.
How do you reduce cracking in air-dry clay?
Condition the clay well, avoid abrupt changes in thickness, smooth joins carefully and let the project dry gradually according to the manufacturer’s directions.
Start With One Simple Cat
You do not need a large craft setup to try these ideas. Start with one simple cat shape, let it dry fully and use paint to give it personality. Once you are comfortable with the material, the same supplies can be used for magnets, miniature shelf figures, seasonal decorations and handmade gifts.