Colorful Cat Decor with Clay: Spring DIY Alert
Disclosure: This post contains affiliate links. I may earn a commission from qualifying purchases at no additional cost to you. As an Amazon Associate I earn from qualifying purchases.
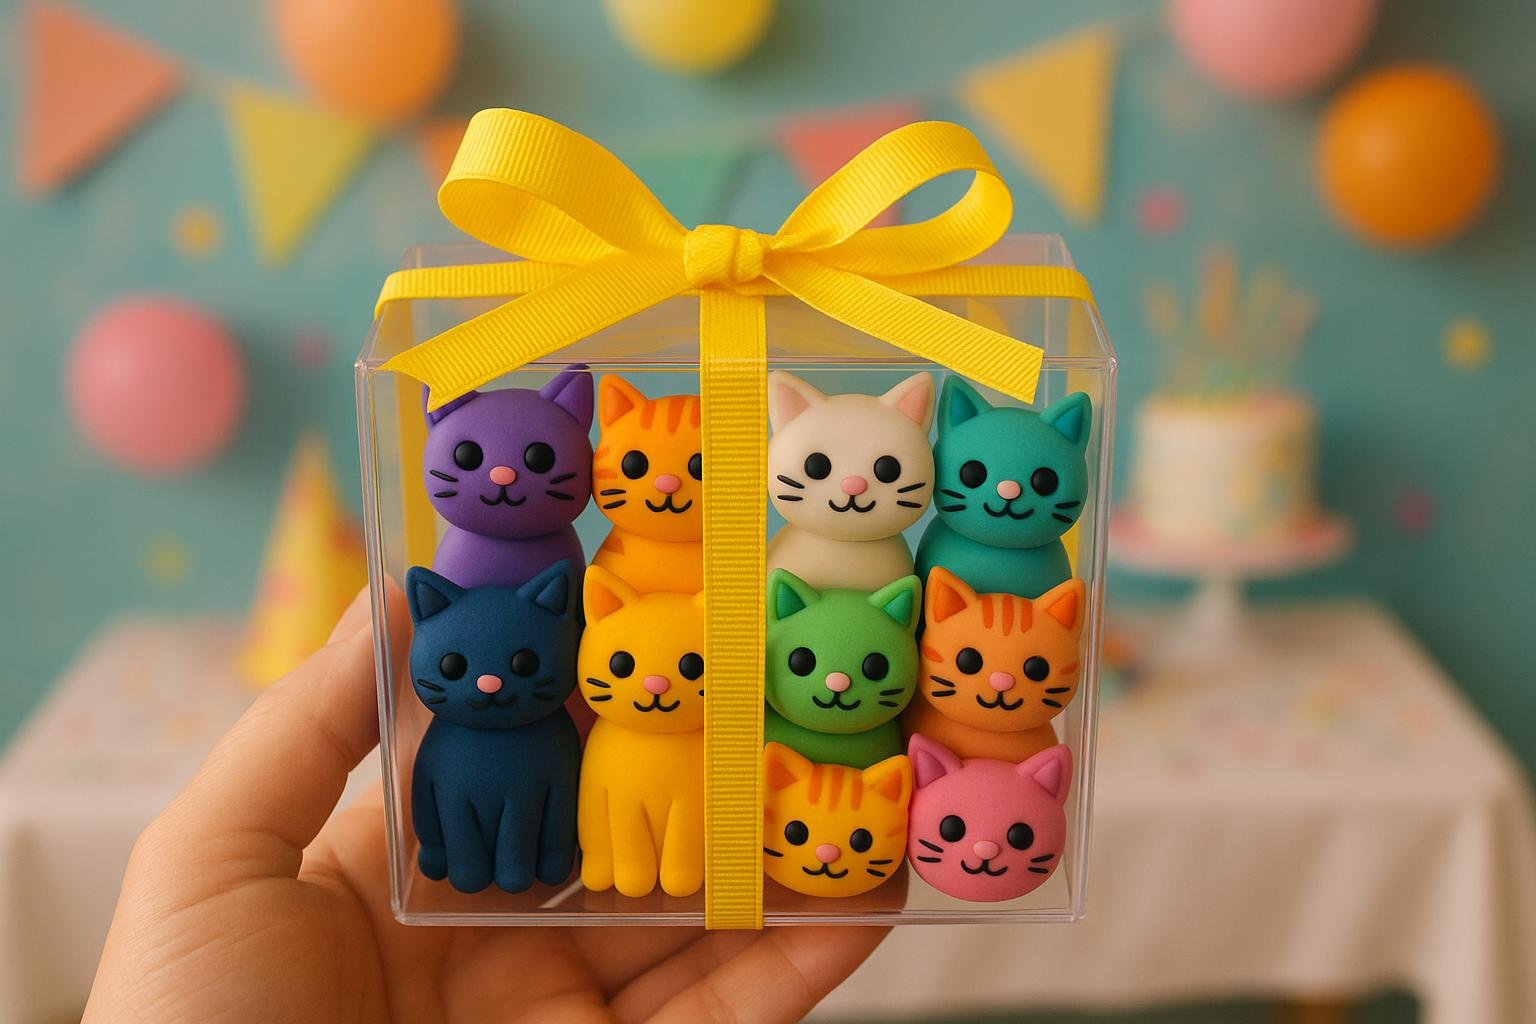
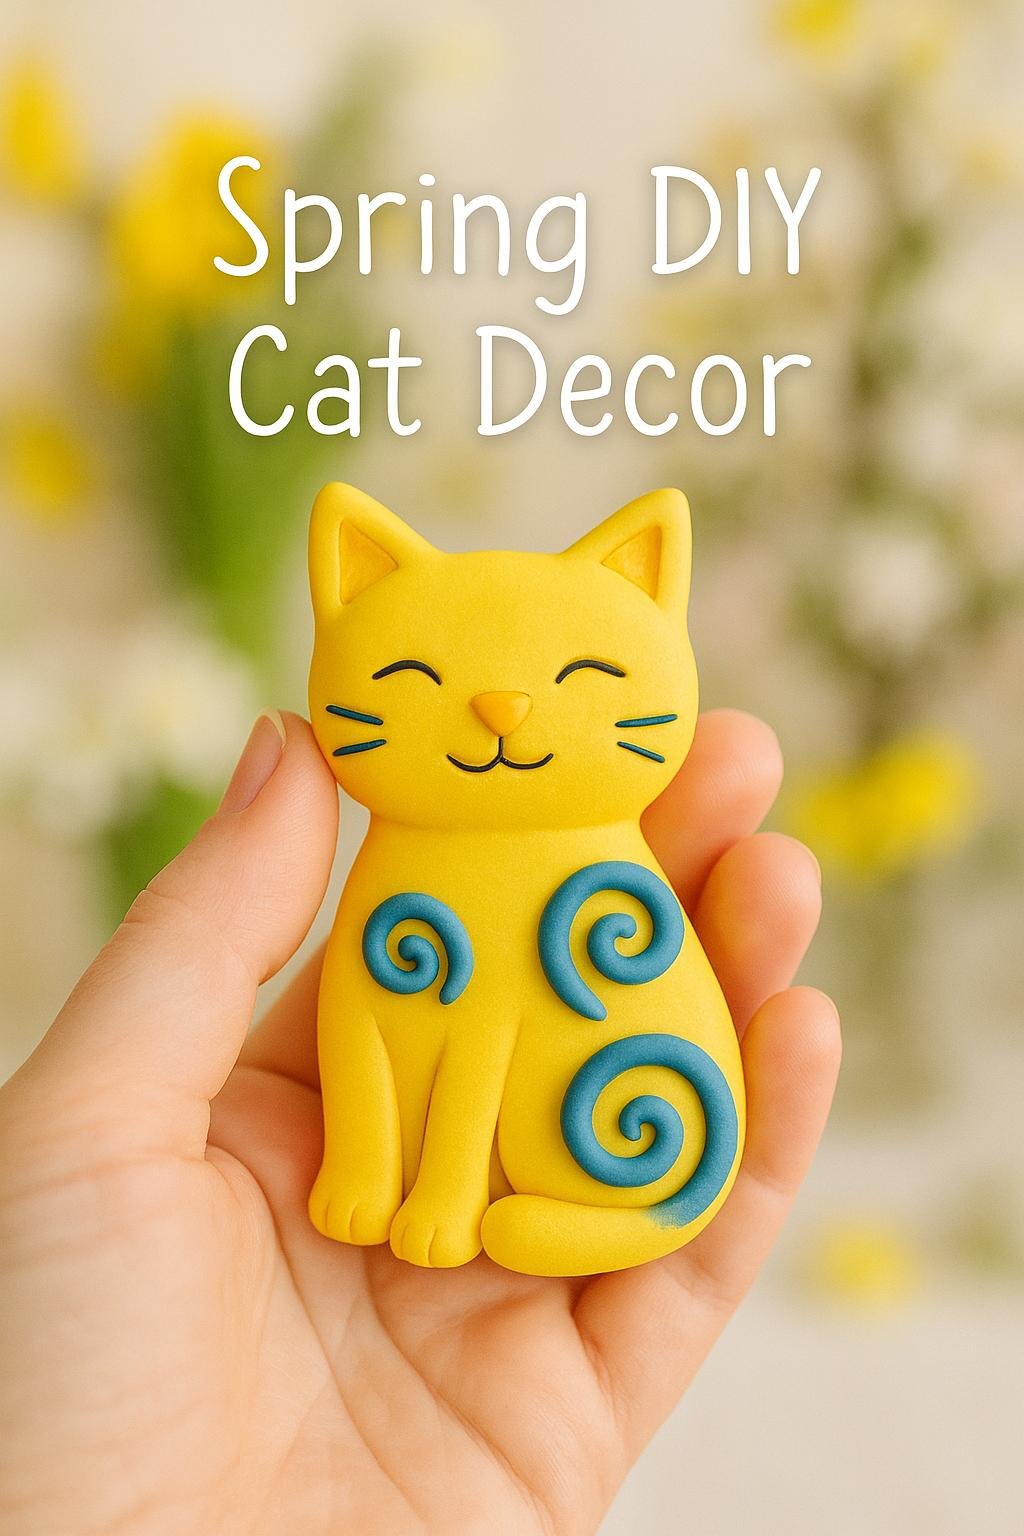
Colorful polymer-clay cat decor is an easy beginner project that works as desk decor, handmade gifts, keychains, or fridge magnets. With a simple cat silhouette and a few bright colors, you can create playful pieces without advanced sculpting skills.
Why You’ll Love Colorful Cat Decor with Clay
- It’s beginner-friendly—no sculpting experience required.
- You can customize every cat with different colors, stripes and details.
- The same technique works for desk decor, magnets, keychains and handmade gifts.
Colorful Cat Decor with Clay: Supplies Worth Buying
| Supply | Best for | Shop |
|---|---|---|
| Aestd-ST 50-Color Polymer Clay Kit | Bright oven-bake clay colors for cat bodies and details | View on Amazon → |
| 12-Piece Polymer Clay Tool Kit | Rolling, cutting, shaping and adding texture | View on Amazon → |
| Sculpey Clay Tool Starter Set | Fine lines, facial details, smoothing and small-scale sculpting | View on Amazon → |
| X-bet Ceramic Disc Craft Magnets | Turning flat cat silhouettes into fridge magnets | View on Amazon → |
| E6000 Craft Adhesive | Attaching magnets or other hardware after baking | View on Amazon → |

You’ll also want a baking sheet, parchment paper and an optional polymer-clay-compatible glaze if you prefer a glossy finish.
Step-by-Step Guide to Create Colorful Cat Decor with Clay
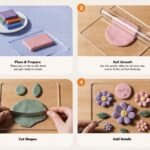
1. Condition Your Clay
Soften each color by kneading it in your hands until it is smooth and pliable. A multi-color kit such as the Aestd-ST 50-Color Polymer Clay Kit is especially useful for this project because you can create several cats without mixing every shade from scratch.
2. Roll and Cut Your Cat Shape
Roll a thin sheet of clay on parchment paper and cut a simple cat silhouette with pointy ears and a rounded body. The 12-Piece Polymer Clay Tool Kit includes an acrylic roller and cutting tools that suit this step better than a full-size kitchen rolling pin.
3. Add Colorful Cat Details
Roll tiny balls of a second color for eyes and nose, flatten them gently and place them on the head. Use a toothpick or a dedicated sculpting tool for whiskers, fur lines and small indentations. The Sculpey Clay Tool Starter Set is a compact option for these details.
4. Assemble and Layer the Design
Roll thin snakes of contrasting clay and press them onto the body as stripes, collars, swirls or tiny floral accents. Keep added pieces firmly attached but avoid flattening the whole silhouette.
5. Bake According to the Clay Package
Polymer clay brands and formulas can require different temperatures and baking times, so follow the exact directions printed on the clay you use rather than relying on one universal temperature.
6. Glaze and Finish
Let the pieces cool fully before adding any finish or hardware. Leave them matte for a modern look, or apply a glaze specifically labeled as compatible with polymer clay.
Turn Your Clay Cats Into Magnets
Flat cat silhouettes are particularly easy to convert into fridge magnets. After the clay has baked and cooled, attach a flat X-bet ceramic craft magnet to the back with E6000 Craft Adhesive. Follow the adhesive’s ventilation and curing directions before using the finished piece.
For a softer no-bake version of the same idea, see our Cat Paw Magnets tutorial made with air-dry clay.
Pro Tips for Better Polymer Clay Cat Decor
- Condition each color thoroughly before shaping so the surface stays smooth.
- Keep silhouettes fairly even in thickness so they bake more consistently.
- Build details gradually rather than pressing heavily into the main shape.
- Use only finishes and adhesives that are compatible with polymer clay.
- For a no-bake alternative, explore our Air-Dry Cat Crafts.
Visual Inspiration: Showcase Your Colorful Cat Decor
Bright Pink and Gold Accent Cat
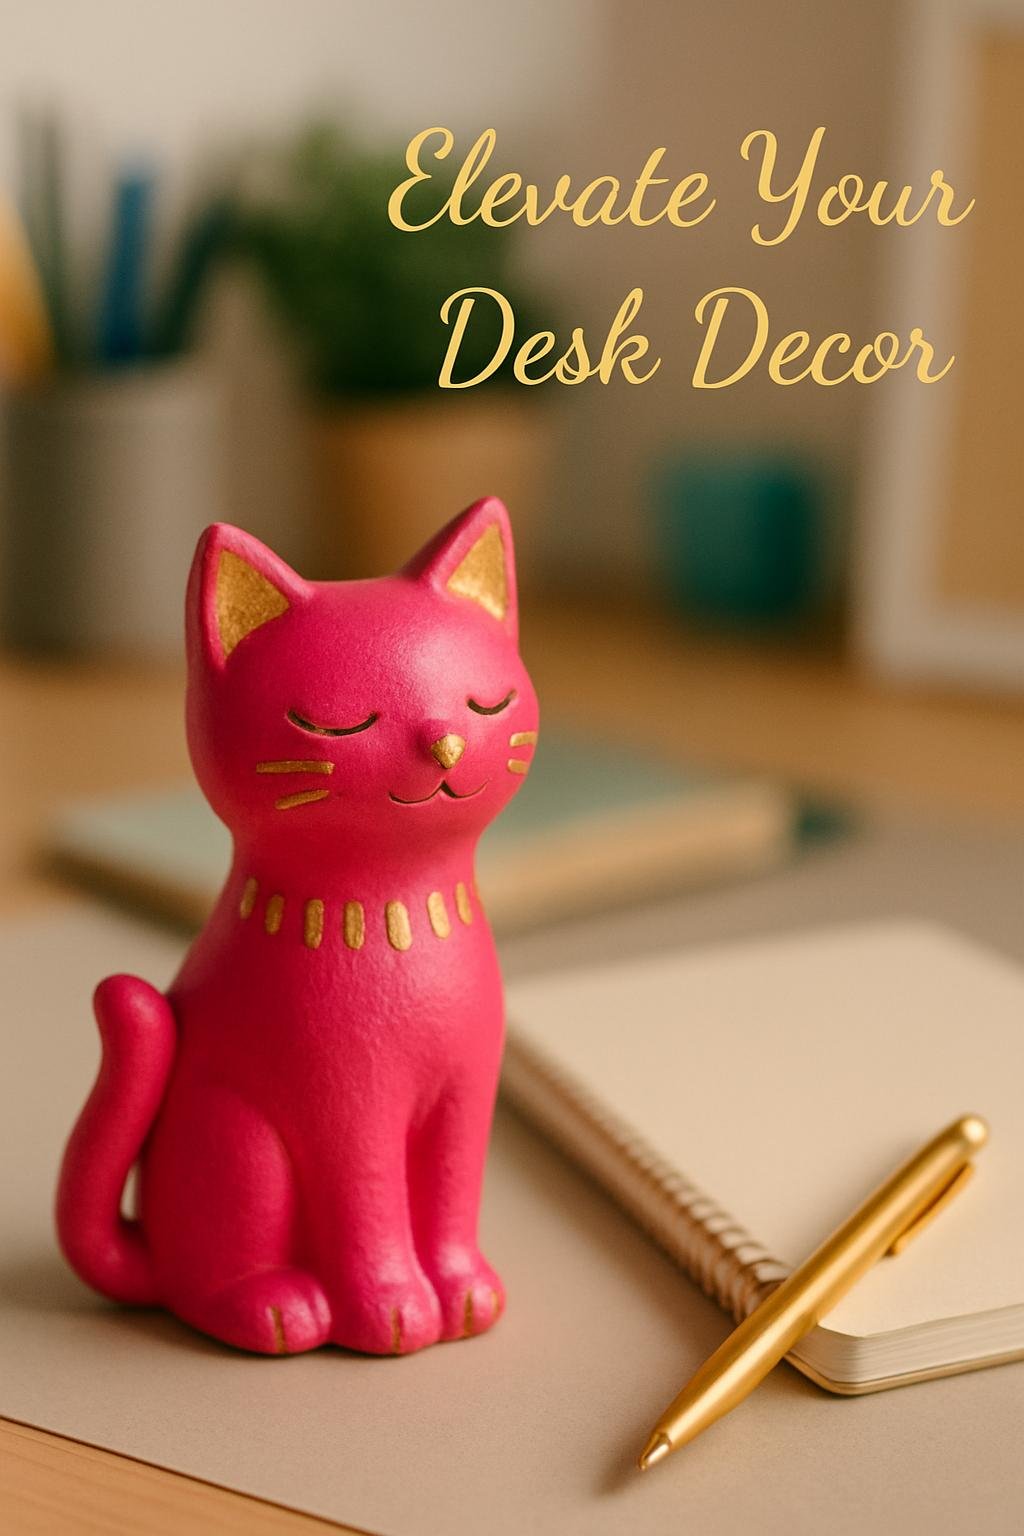
A sleek bright-pink silhouette with limited metallic accents works well as a small desk or shelf piece.
Mint Green Striped Magnet
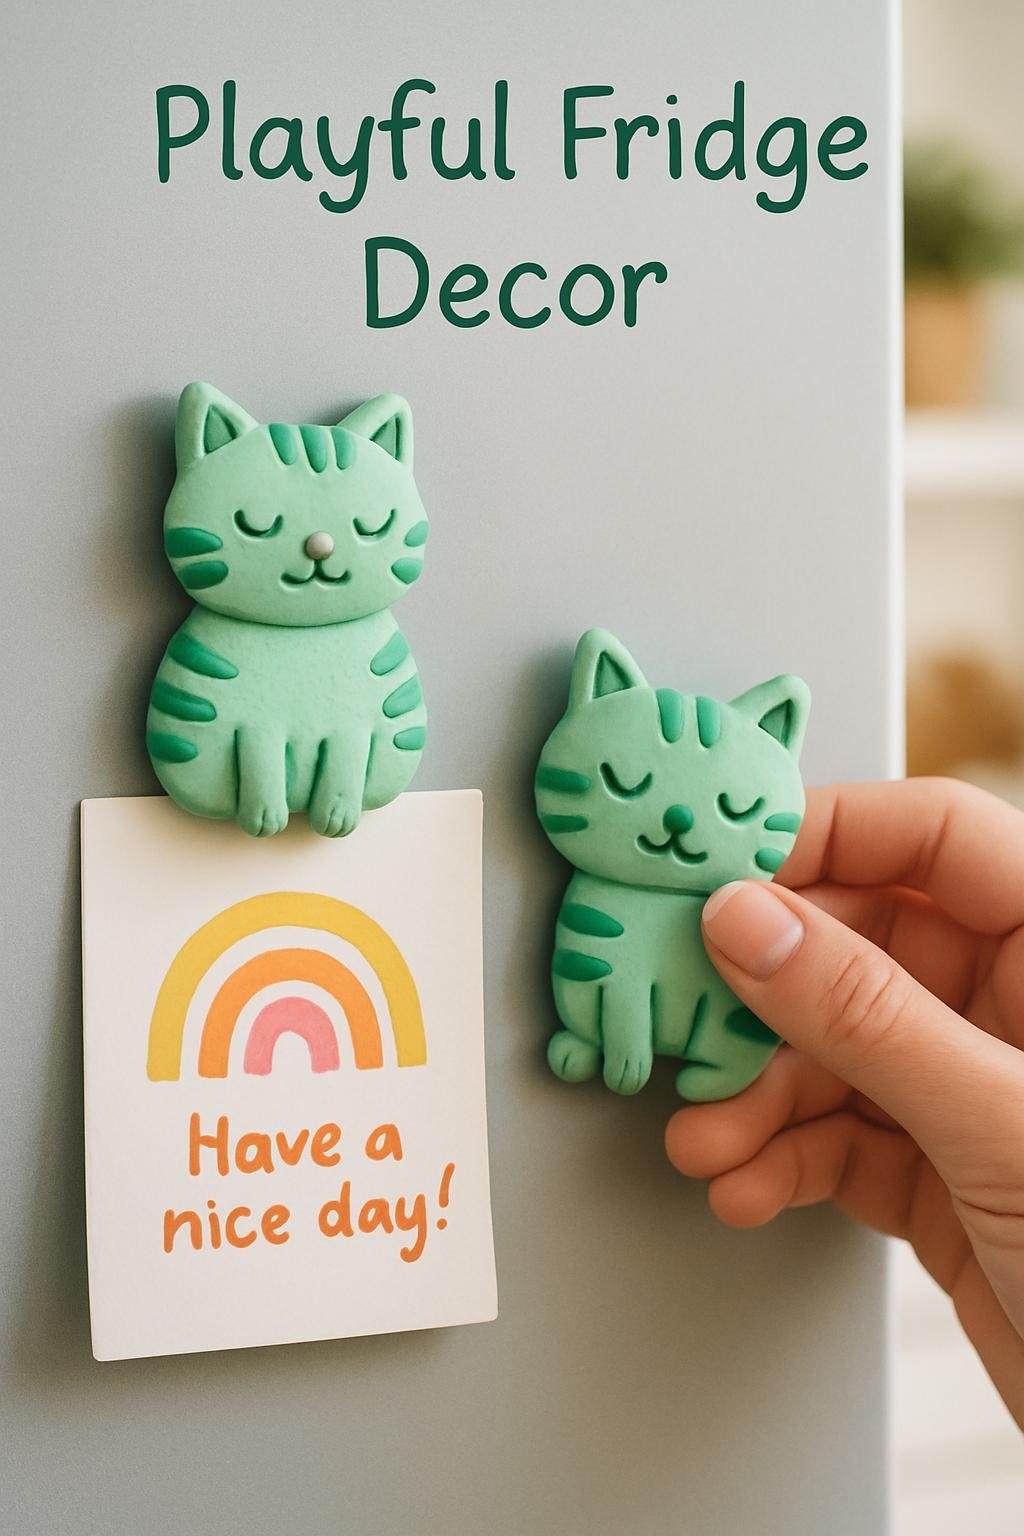
Keep the silhouette flatter and add a magnet backing after baking for a practical fridge decoration.
Sunshine Yellow Swirl Figurine
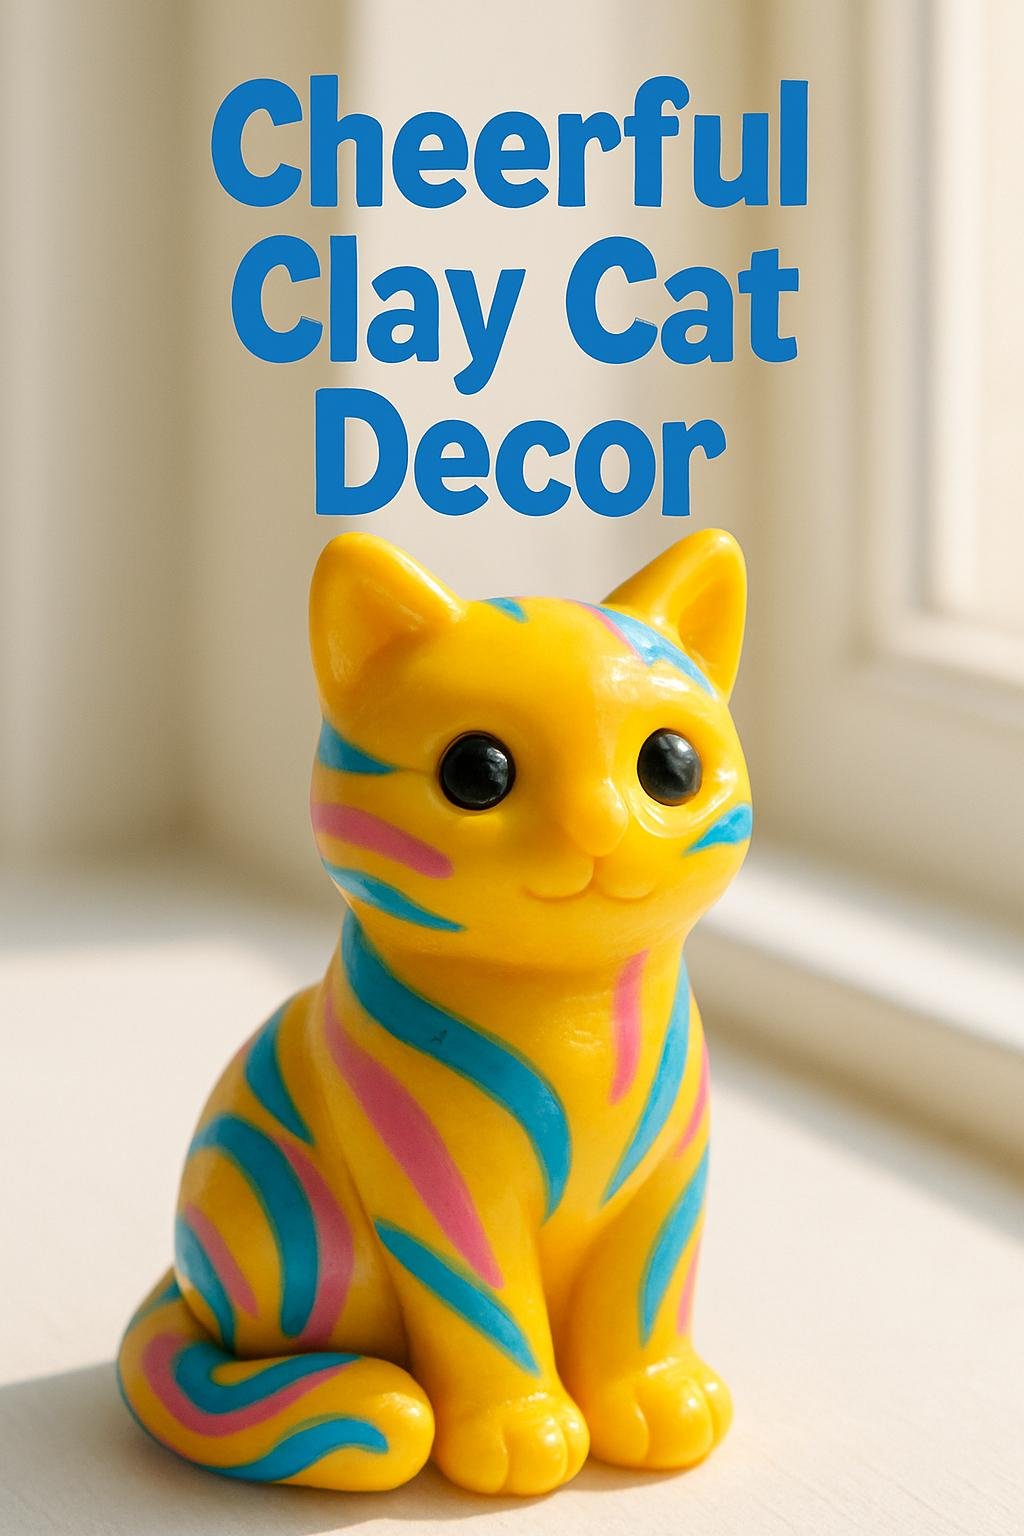
Use thin contrasting clay coils to create swirls and graphic details without needing paint.
Pastel Rainbow Keychain Cats
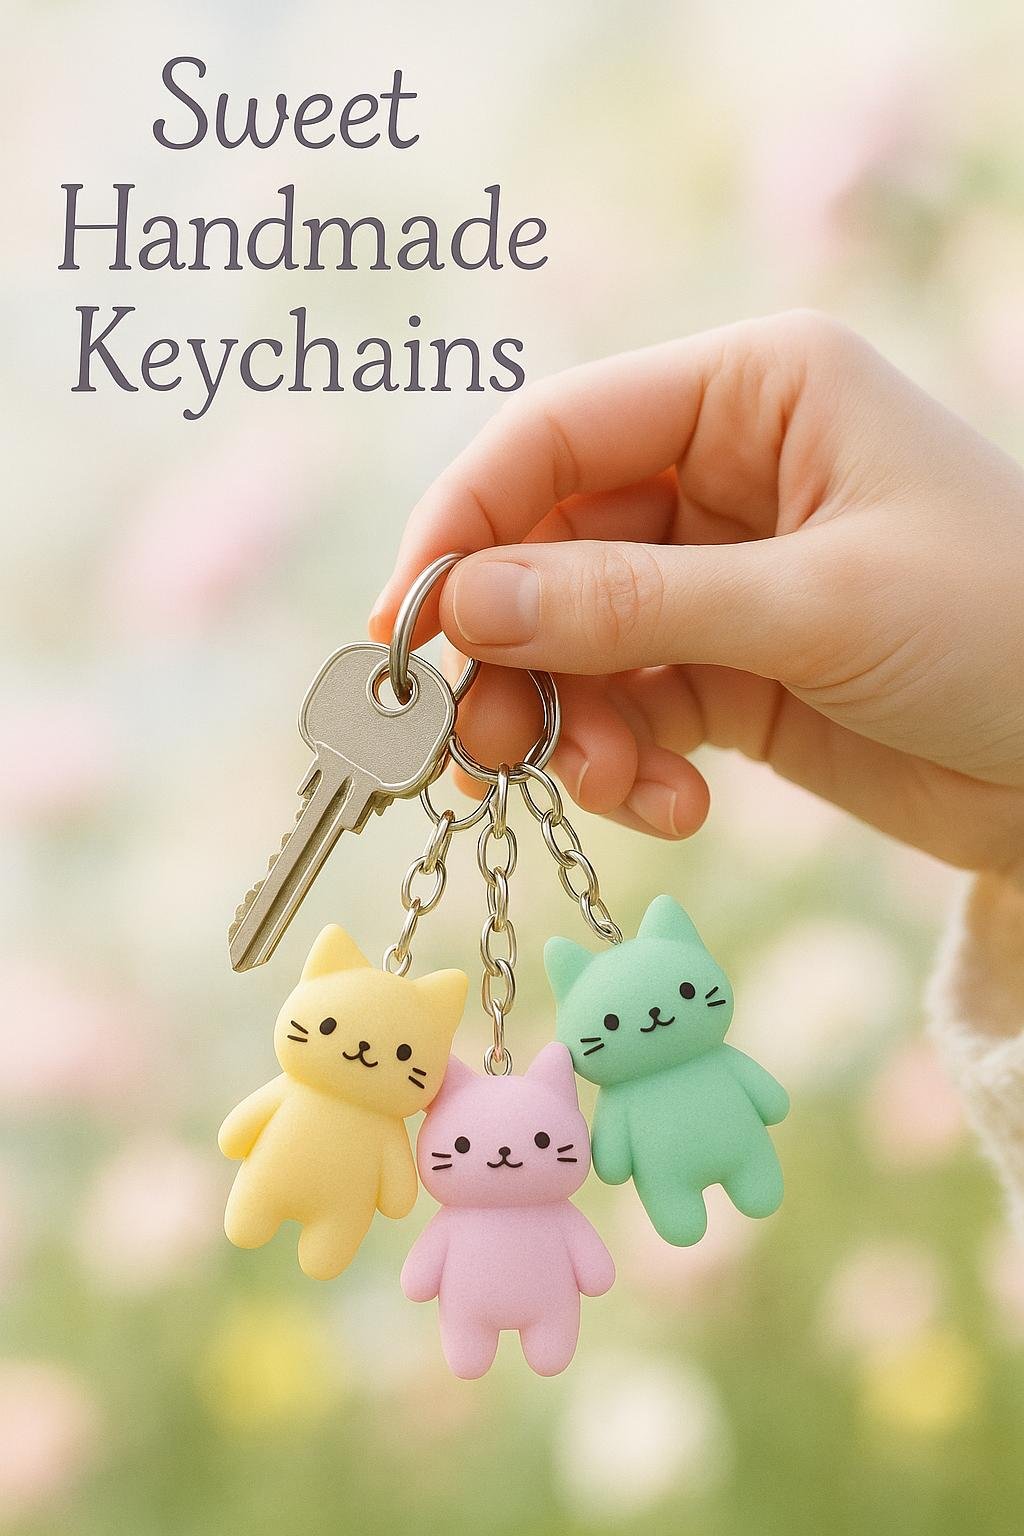
Make several small cats in different colors for a coordinated keychain or bag-charm set.
Matte Black Cat with Neon Eyes
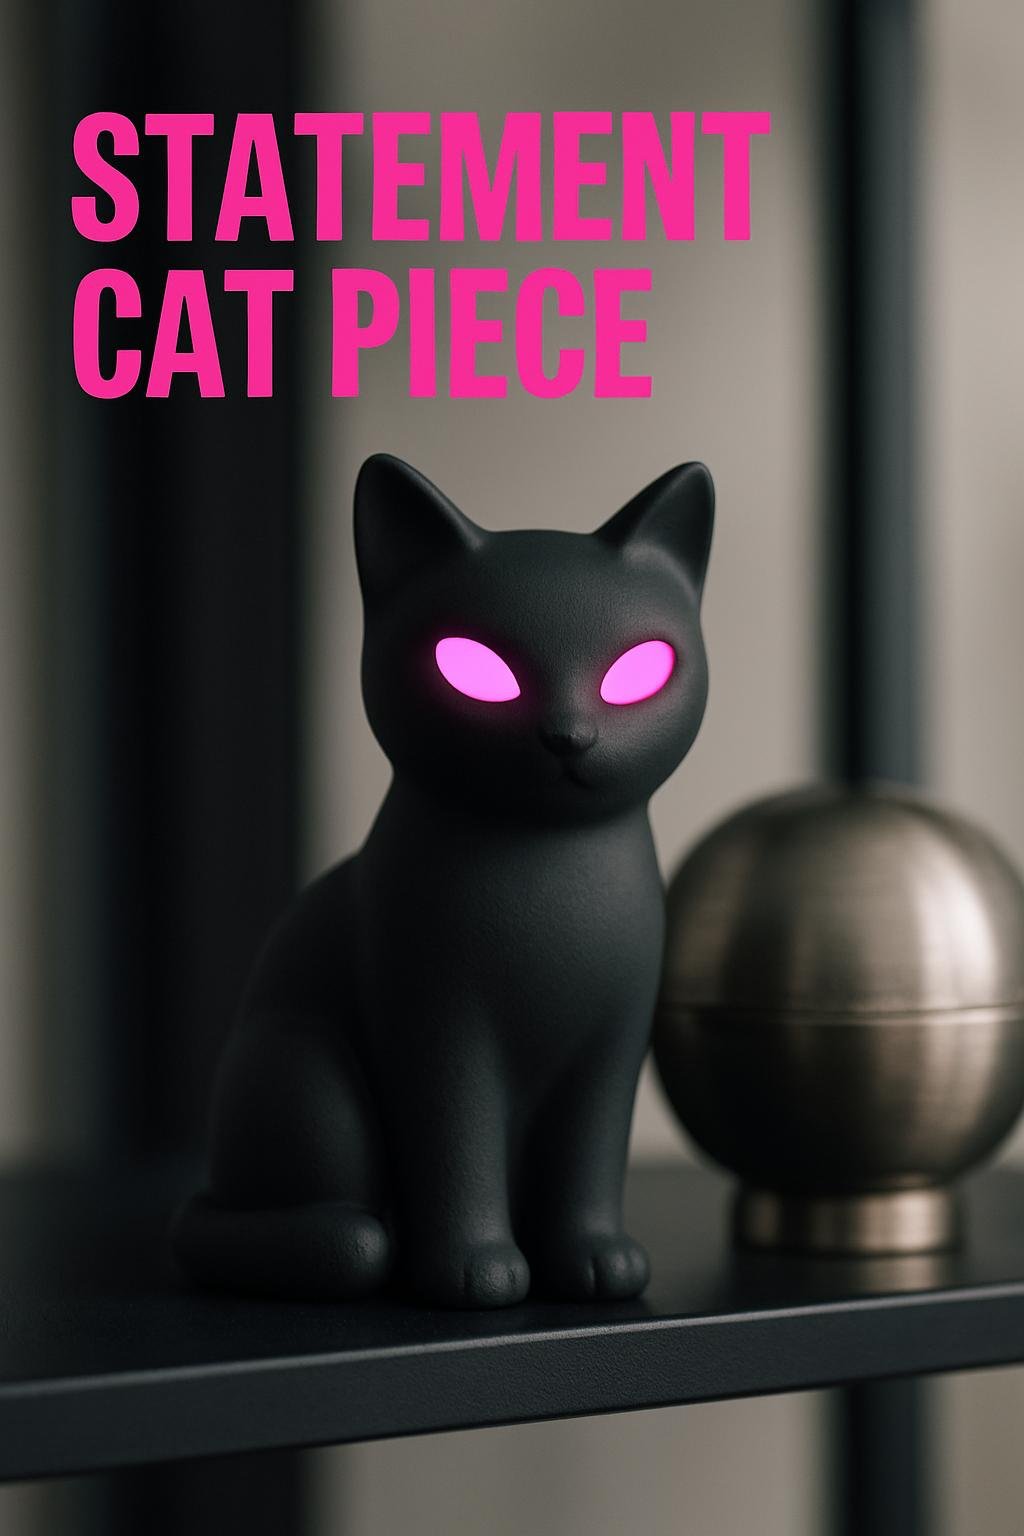
A dark base with tiny bright accents creates a completely different look from the spring pastels.
Display and Gifting Ideas
Magnet Gallery
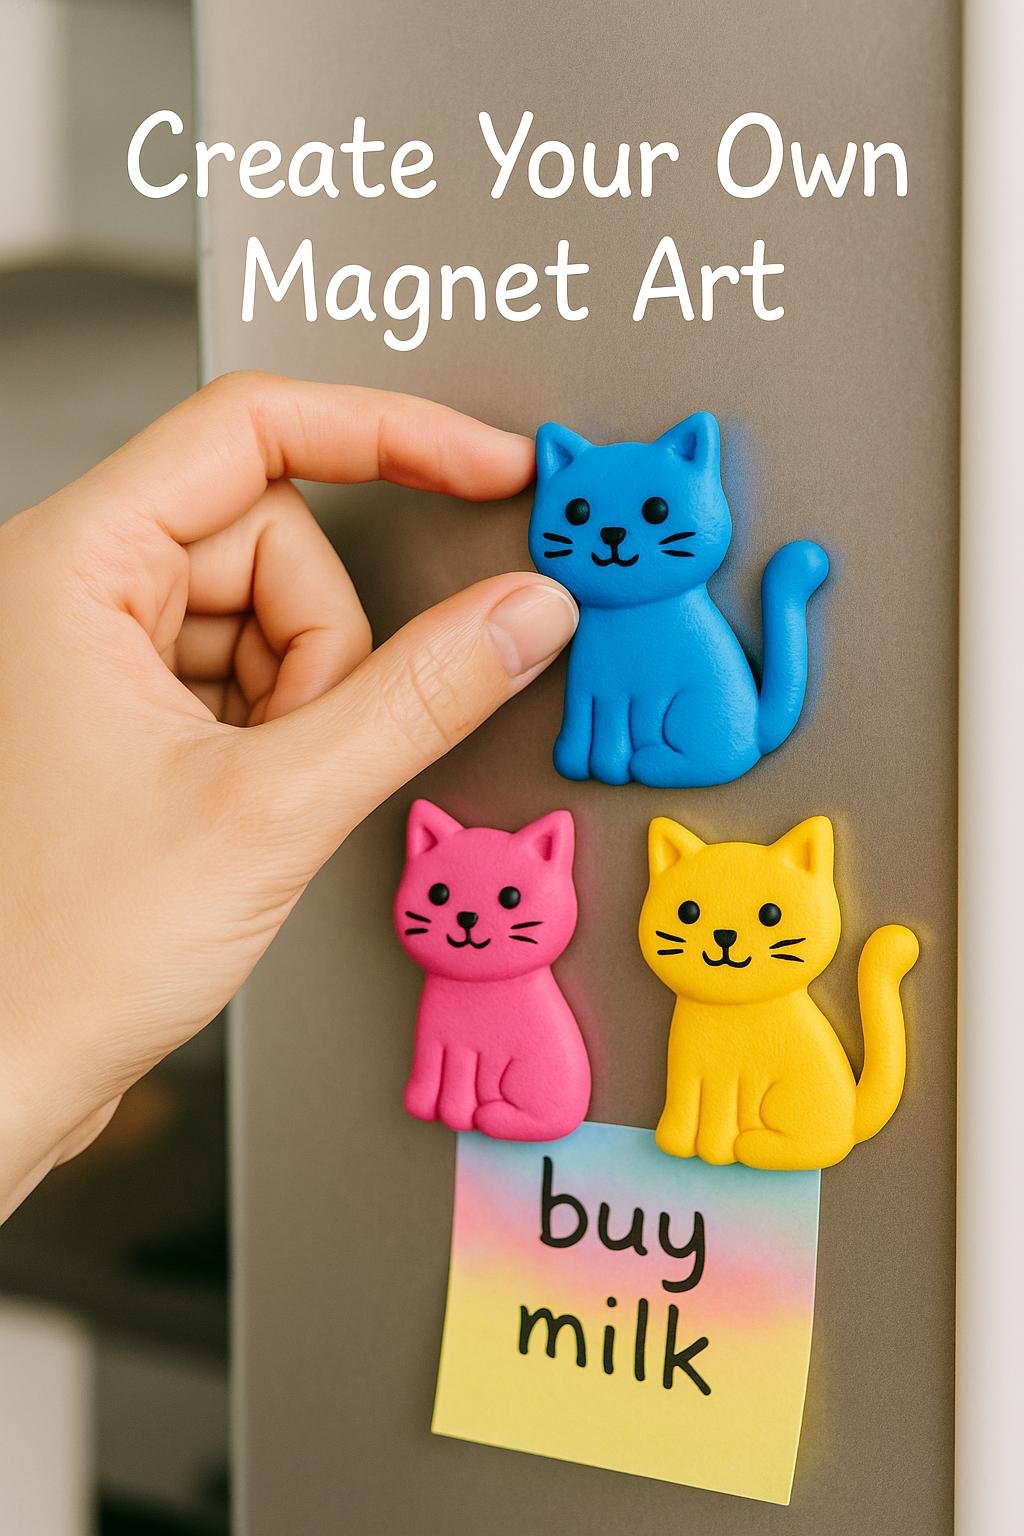
Arrange three cats in complementary colors on a magnetic board or fridge.
Desk Trio

Use three different body colors but repeat one accent color across all three pieces so the group feels coordinated.
Handmade Gift Set
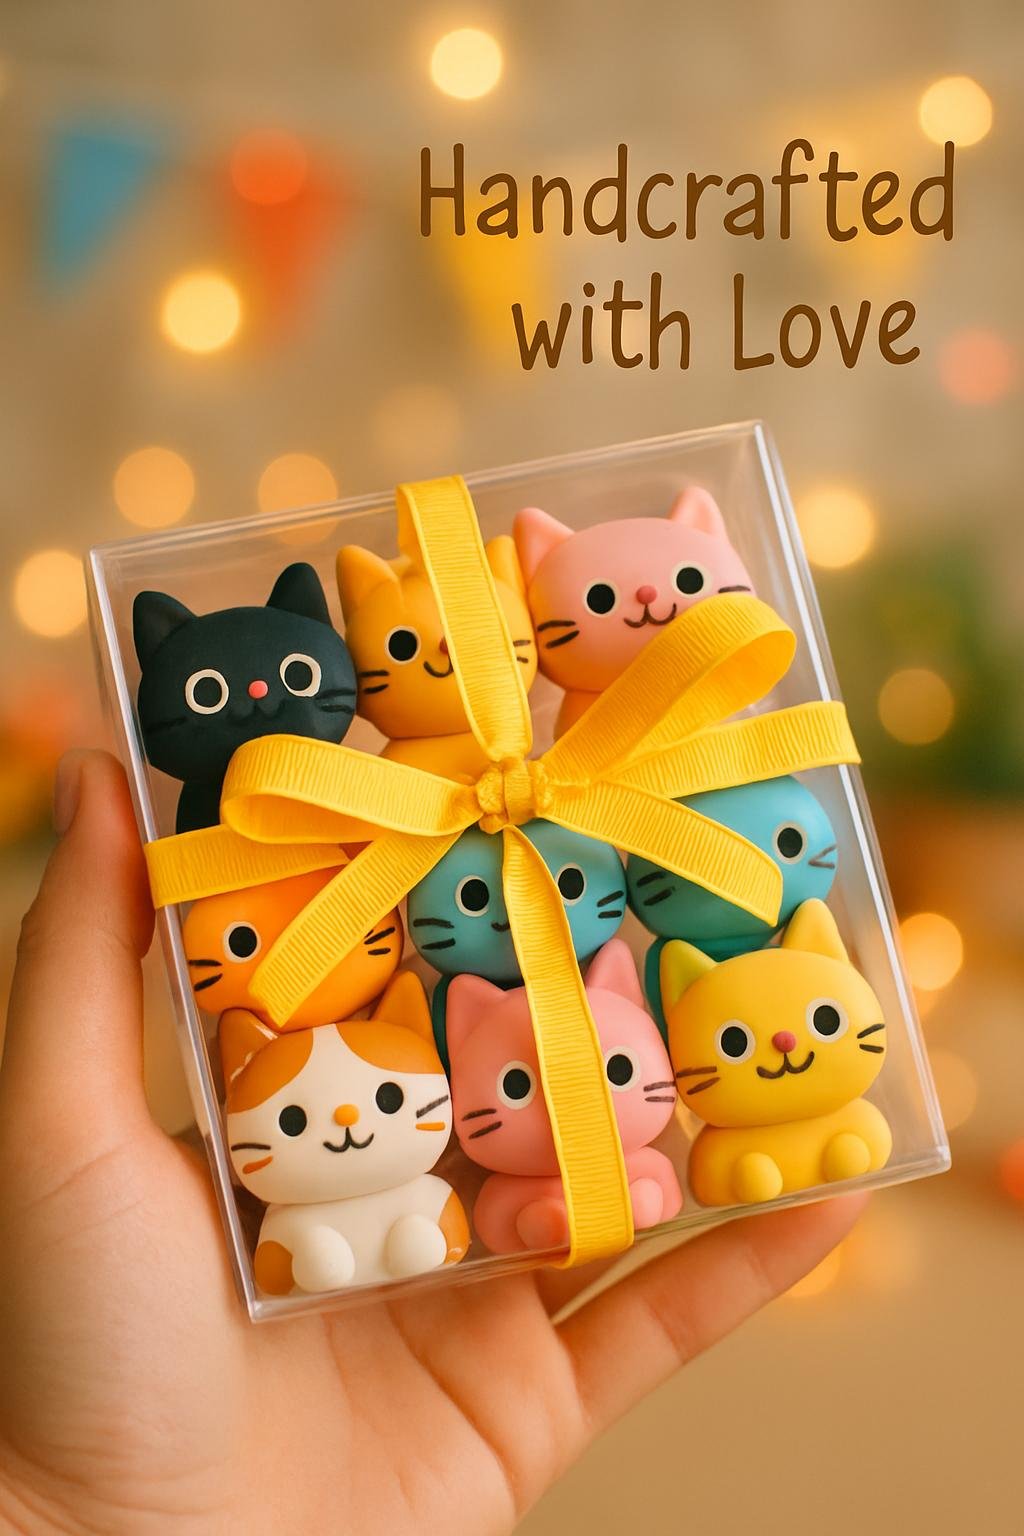
Package several small cats together in a simple clear box or cotton pouch for an easy handmade gift.
FAQ
Is polymer clay the same as air-dry clay?
No. Polymer clay remains workable until it is cured with heat according to the manufacturer’s instructions, while air-dry clay hardens through exposure to air. Use the material required by the specific project.
What should I buy first for this project?
If you are starting from zero, prioritize a colorful polymer clay multipack and a small roller-and-tool set. Add magnets and adhesive only if you specifically want fridge decor.
Can I make these cats without special clay tools?
Yes. A smooth bottle, toothpick and carefully used craft knife can cover the basics, although dedicated polymer clay tools make repeat shapes and fine details easier.
These colorful cats are small enough for a quick project but flexible enough to become magnets, keychains, shelf decor or gifts. Once you have the basic silhouette, the fun is in changing the palette and details from one cat to the next.