Disclosure: This post contains affiliate links. I may earn a commission from qualifying purchases at no additional cost to you. As an Amazon Associate I earn from qualifying purchases.
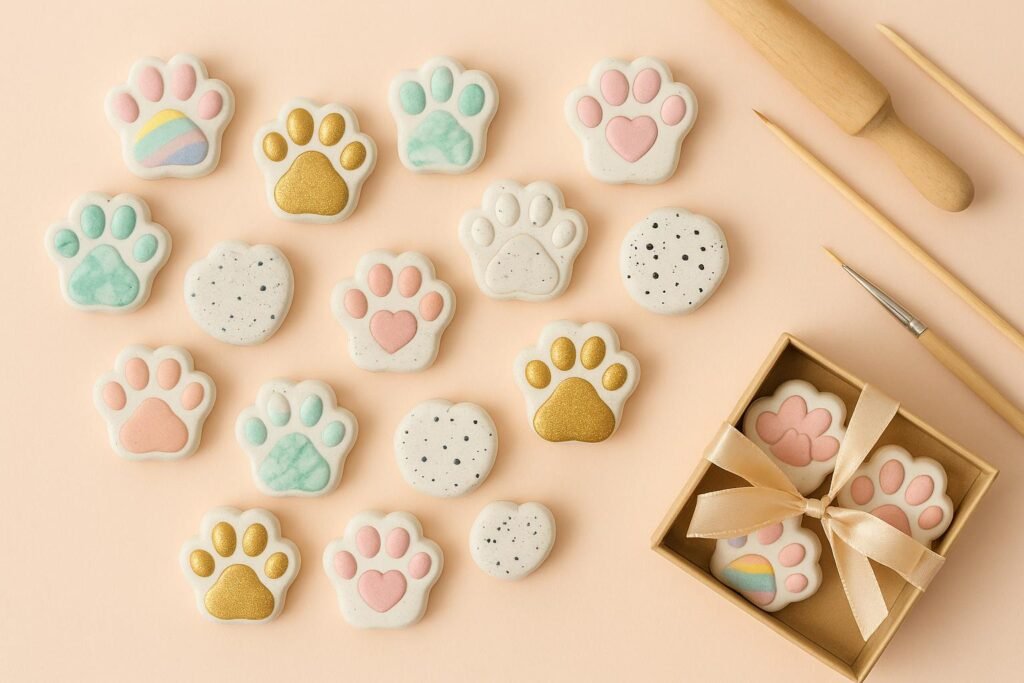
Cat paw magnets are one of those small DIY projects that feel playful without needing a complicated setup. With air-dry clay, paint and simple craft magnets, you can make a set for the fridge, a magnetic board or a handmade gift in an afternoon of crafting.
This version keeps the project beginner-friendly and focuses on supplies that are easy to reuse for other clay crafts. If you enjoyed our Colorful Cat Decor with Clay, this is an easy next project to try.
What You Need to Make Cat Paw Magnets
| Supply | Why You Need It | Shop |
|---|---|---|
| Crayola Air Dry Clay | Easy-to-shape base for the paw forms; no oven required | View on Amazon → |
| X-bet Ceramic Disc Craft Magnets | Flat round magnets that can be glued to the back of finished paws | View on Amazon → |
| E6000 Craft Adhesive | Strong craft adhesive for attaching the magnet to hardened clay | View on Amazon → |
| Shuttle Art Acrylic Paint Set | Multiple colors for pastel, speckled or contrasting paw designs | View on Amazon → |
| Sculpey Clay Tool Starter Set | Useful for shaping toe pads, smoothing edges and adding small details | View on Amazon → |
You can also use a small rolling pin or smooth bottle, parchment paper, a fine paintbrush and optional clear varnish.
How to Make Cat Paw Magnets Step by Step
1. Condition and Roll the Clay
Knead the air-dry clay until it feels smooth and pliable. Roll it on parchment to roughly 1/4 inch (6 mm) thick. Keeping the clay fairly even helps the finished magnets dry more consistently.
2. Shape the Paw
Form one larger central pad and four smaller toe pads. You can sculpt the shape freehand or use small round cutters as guides. Press the pieces together gently so the paw becomes one solid shape.
3. Add Texture and Details
Use a toothpick or a small clay tool to refine the edges, indent the toe pads or add tiny decorative details. Keep the back reasonably flat so the magnet will sit securely after drying.
4. Let the Clay Dry Completely
Place the paws on parchment and allow them to air-dry according to the clay manufacturer’s instructions. Depending on thickness and humidity, this often takes 24–48 hours.
5. Paint Your Cat Paw Magnets
Once fully dry, paint the paws in colors that suit your space. Pastel pink, mint, lavender and warm cream work well for a soft look, while black, white and metallic accents create a more graphic style.
6. Attach the Magnets
Glue one flat craft magnet to the back of each paw and allow the adhesive to cure fully before placing the finished piece on a fridge or magnetic board. Follow the adhesive manufacturer’s ventilation and curing instructions.
Five Cat Paw Magnet Styles to Try
Pastel Rainbow Paws
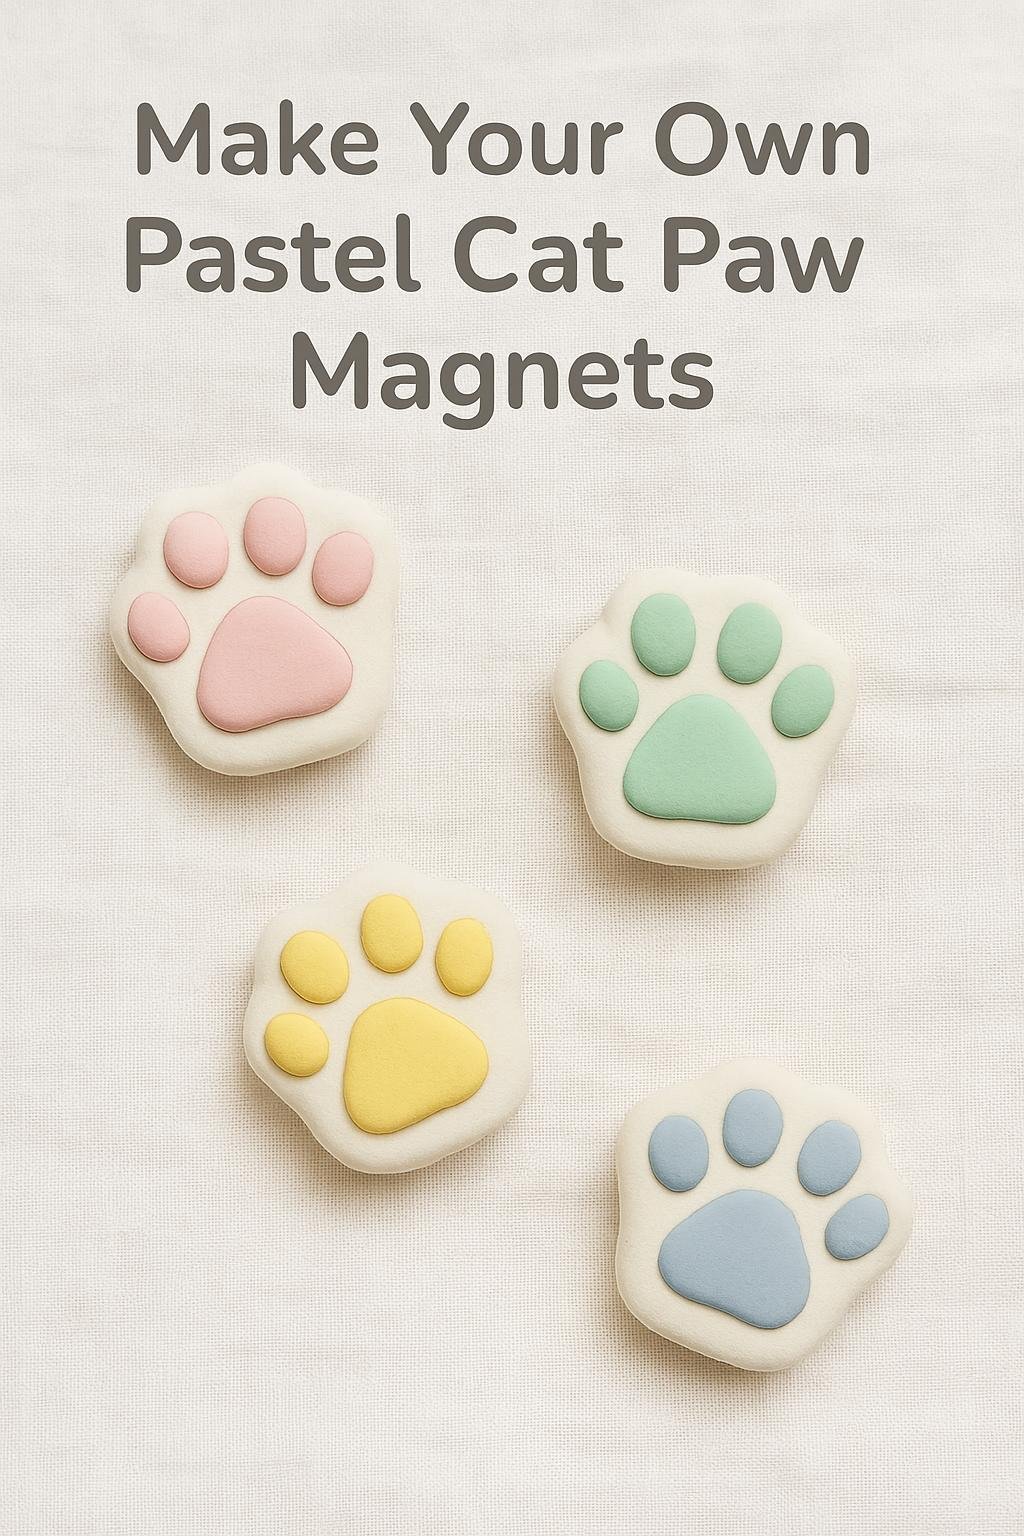
Paint each toe in a different pastel shade for a cheerful mixed-color set. This is especially cute when you display several paws together as a trail across the fridge.
Marbled Mint and White
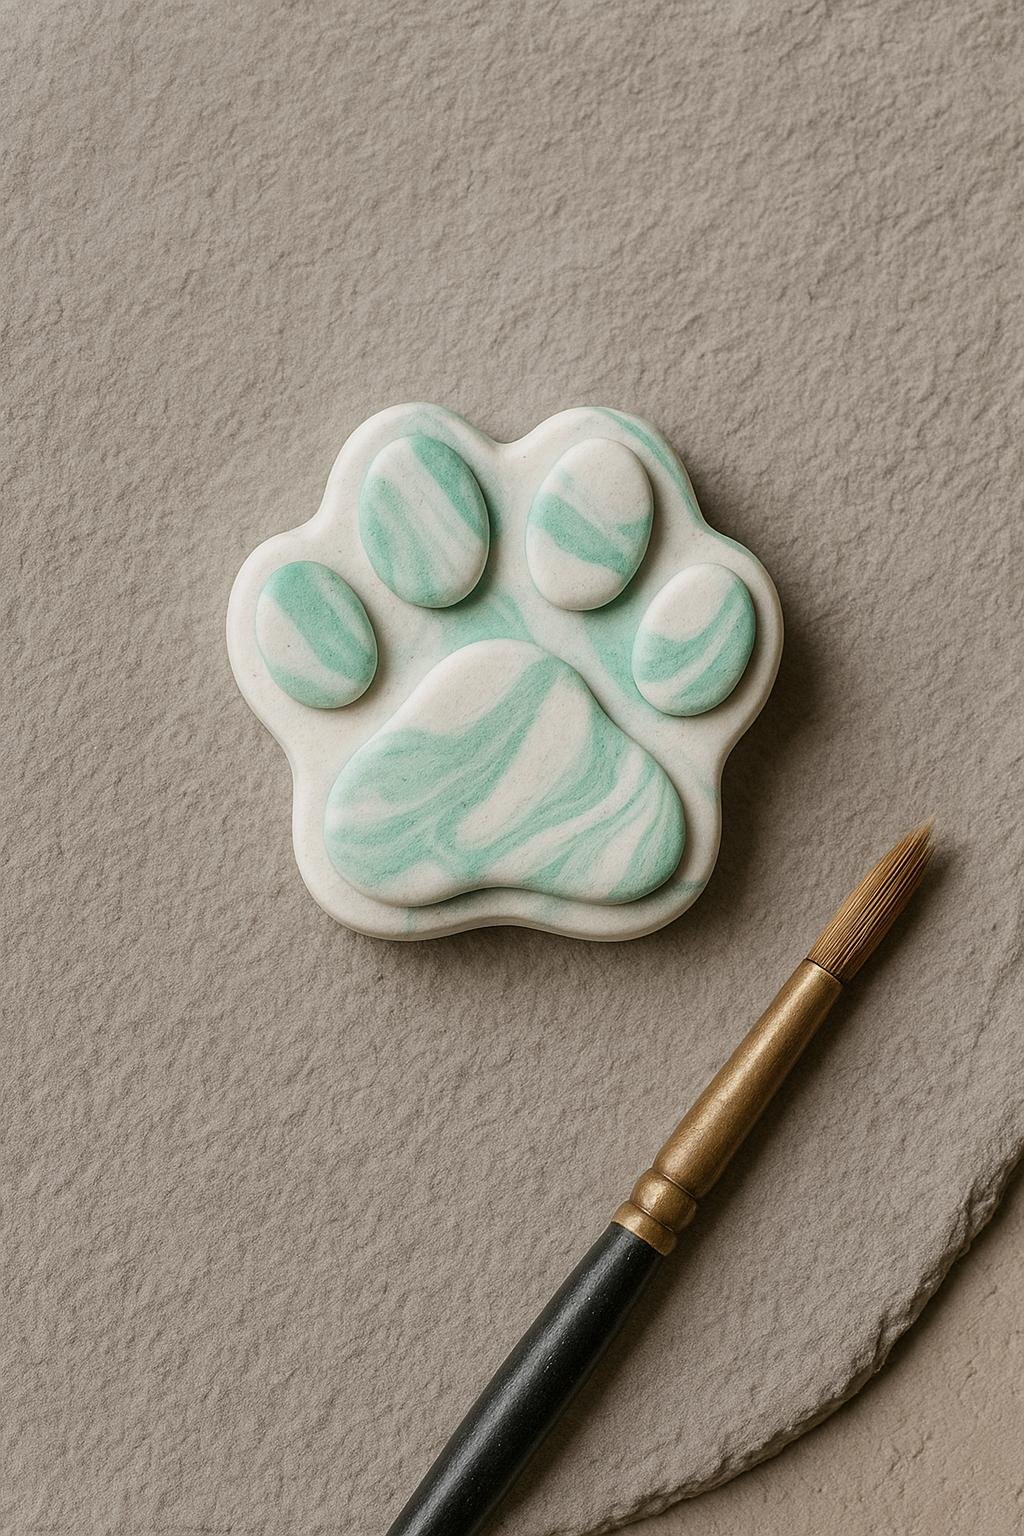
Blend mint and white clay lightly before shaping, or recreate the effect with paint after drying. Avoid over-mixing if you want the marbled pattern to stay visible.
Gold-Dipped Accents
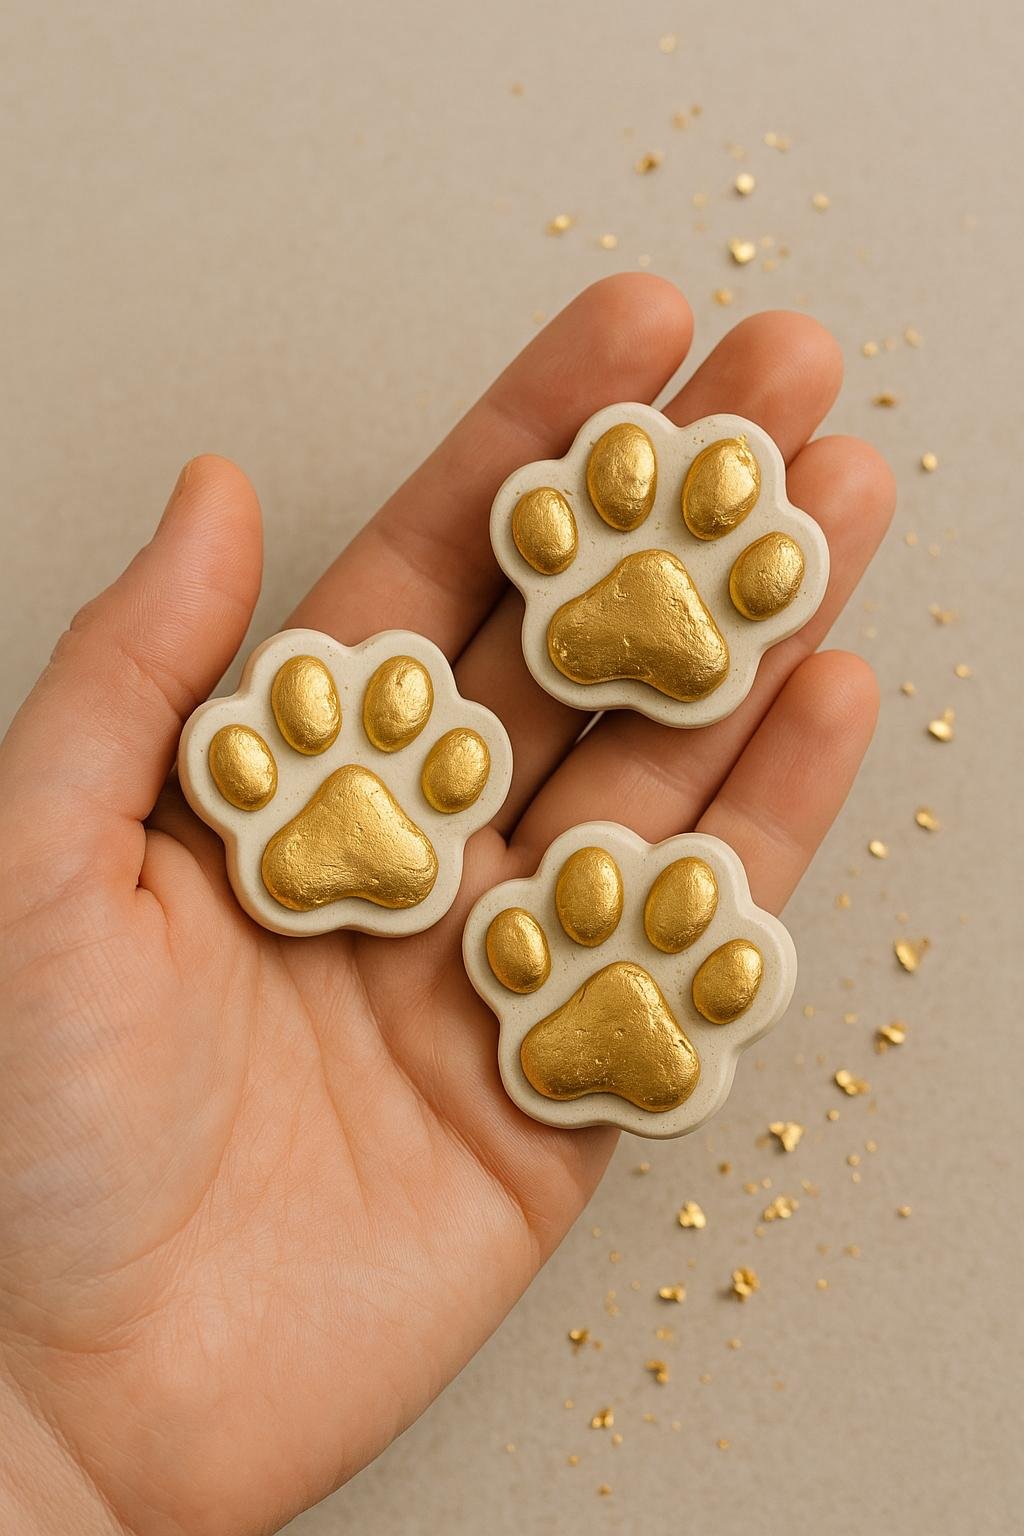
A thin metallic edge can make simple white paws feel more polished. Keep the gold detail limited to the outer edge or central pad so the design does not become too busy.
Speckled Spring Mix
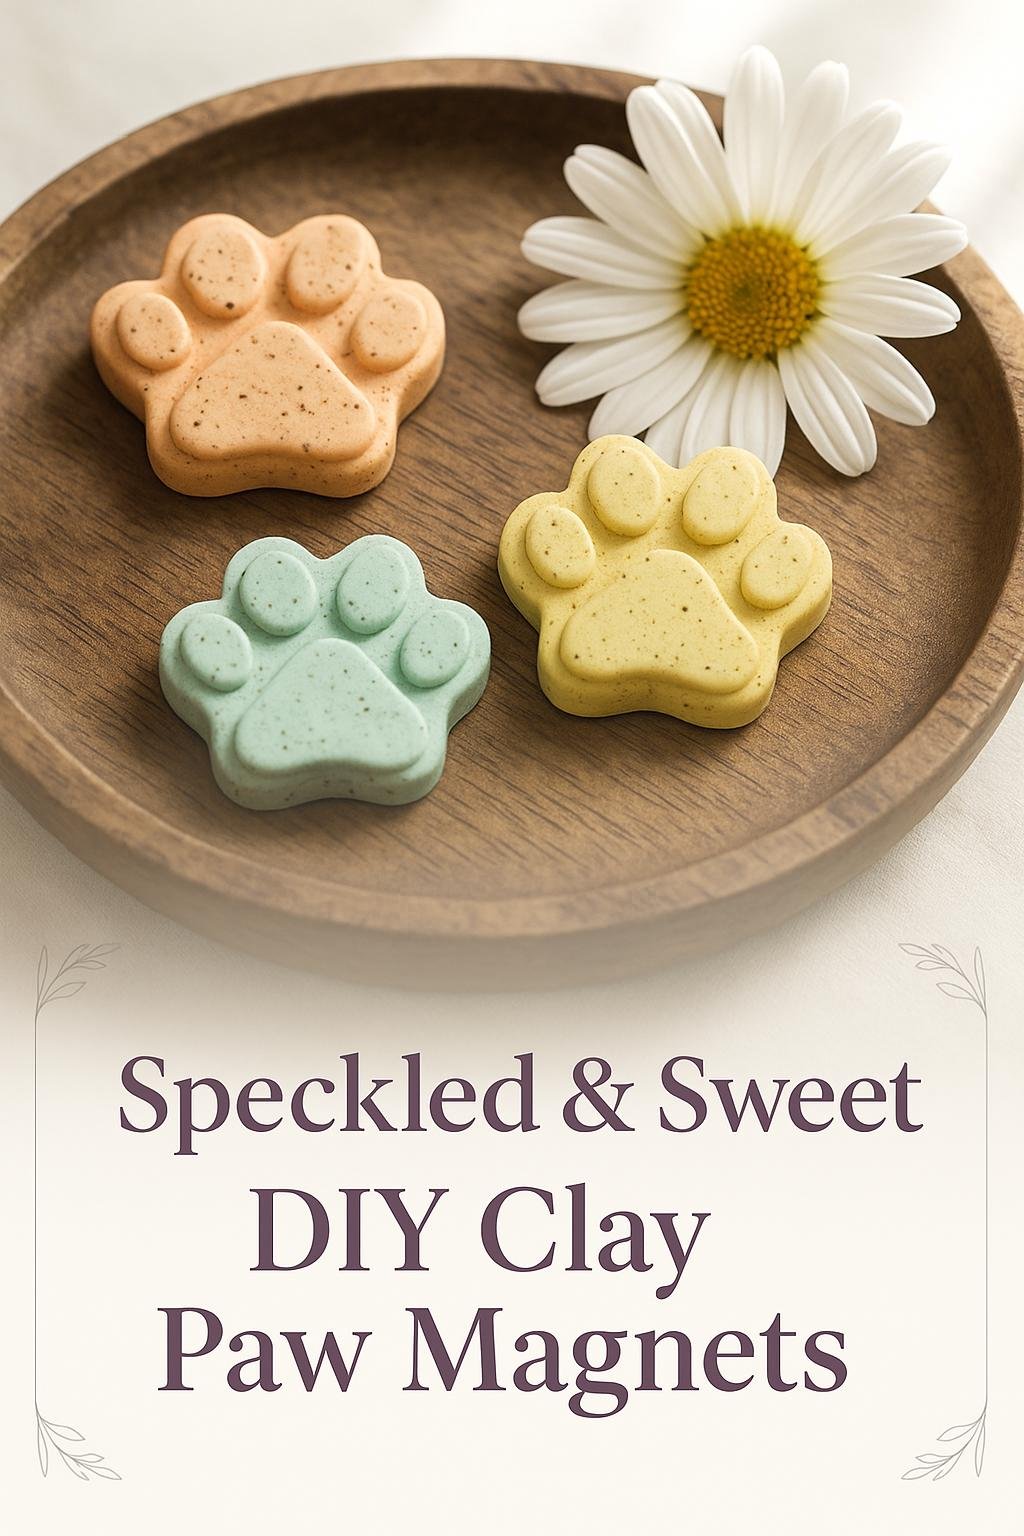
Use a stiff brush to flick tiny dots of contrasting paint over a pale base. Test the technique on scrap paper first so the speckles stay fine rather than turning into large splashes.
Heart-in-Paw Design
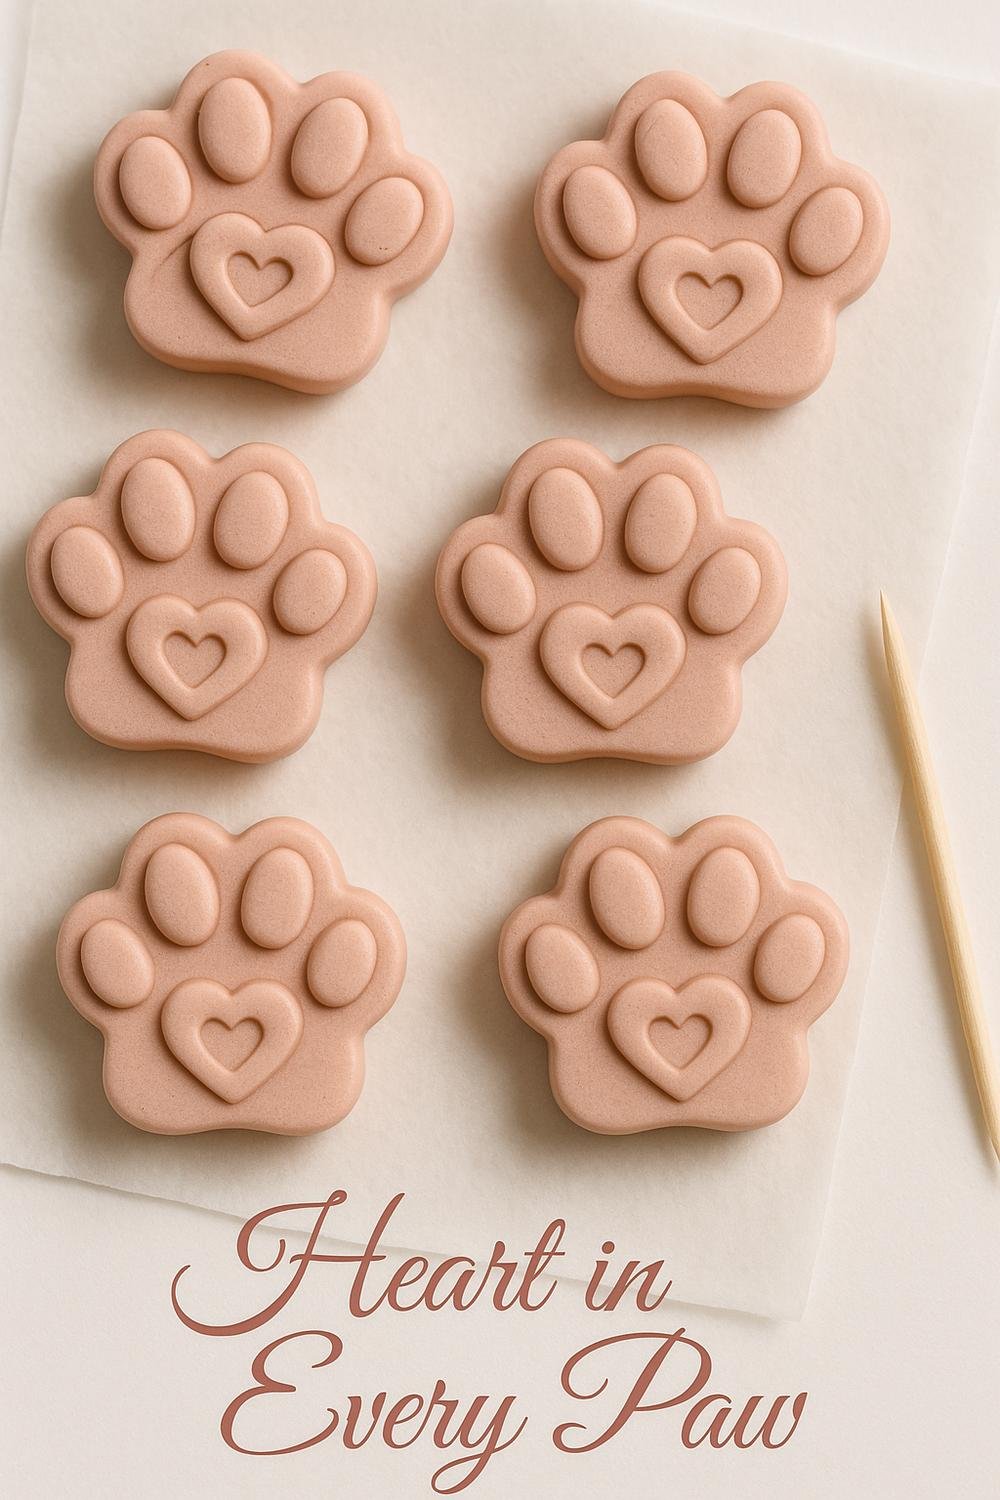
Press a tiny heart into the central pad before the clay dries, or paint one on afterward. This variation works especially well for a small handmade gift set.
Best Supplies to Buy First
If you are starting from scratch, the most useful purchases are the clay, the craft magnets and a dependable adhesive. Paint and sculpting tools are helpful, but you can improvise with supplies you already own.
For the clay: Crayola Air Dry Clay is a straightforward option for a no-bake project.
For the magnet backing: X-bet round ceramic craft magnets have a broad flat surface that suits larger handmade pieces better than tiny loose novelty magnets.
For assembly: E6000 Craft Adhesive is commonly used for mixed-material craft projects; read and follow all package safety directions.
Display and Gift Ideas
- Fridge gallery: arrange several paws in a playful trail around photos or notes.
- Workspace board: use them on a magnetic memo board to hold reminders and inspiration.
- Small gift set: package three or five coordinating magnets in a simple box or cotton bag.
- Cat-lover add-on: pair the magnets with a card, mug or small handmade item for an easy themed gift.
Cat Paw Magnet FAQ
What type of clay works best for cat paw magnets?
Air-dry clay is convenient because it does not need an oven. Choose a smooth, craft-grade formula and keep the pieces relatively flat so they dry evenly.
What kind of magnets should I use?
Flat ceramic craft magnets are a practical choice for this project because they provide a broad gluing surface. Whatever type you choose, keep loose magnets away from children and pets and follow the product’s safety guidance.
How do I stop the magnet from coming off the clay?
Make sure the clay is completely dry, the back surface is flat and dust-free, and the adhesive is suitable for both materials. Let the glue cure fully before testing the magnet.
Can I seal painted air-dry clay?
Yes. An optional clear craft varnish can help protect painted surfaces. Make sure the paint is fully dry and check that the sealer is compatible with your clay and paint.
A Simple Craft With Plenty of Variations
Cat paw magnets are easy to personalize, inexpensive to make in small batches and useful enough to feel like more than a decorative craft. Start with one color palette, make a few matching paws and then experiment with marbling, metallic accents or speckles once you have the basic shape down.
For another cat-themed project, see our guide to Air-Dry Cat Crafts.