DIY cork Christmas ornaments: 5 ideas with bottle caps and beads
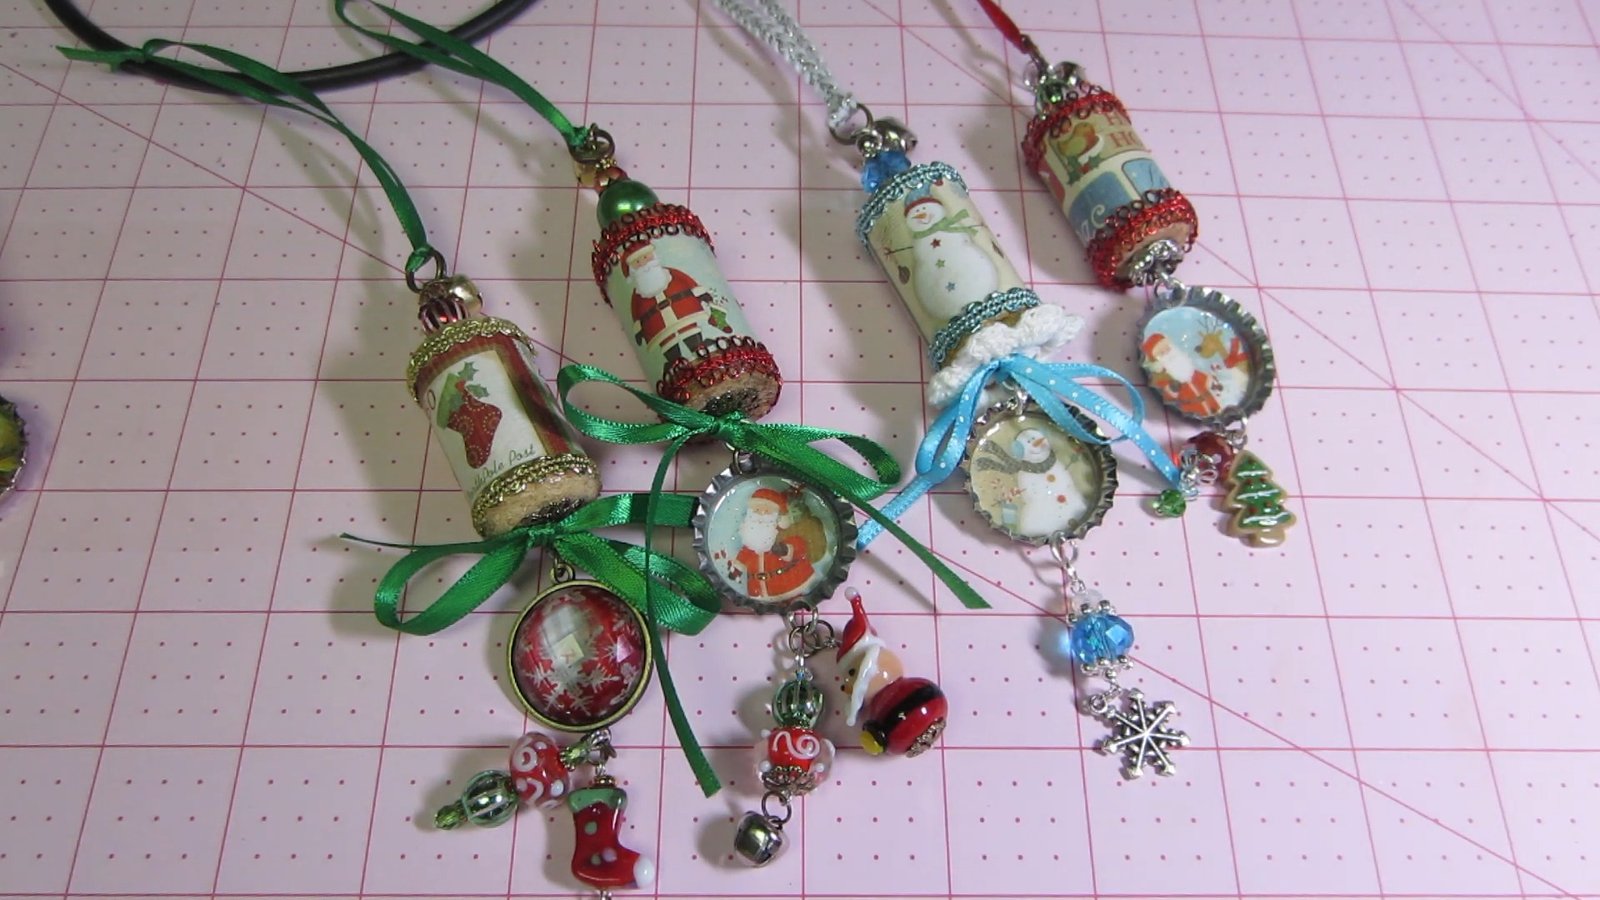
A wine cork, a bottle cap and a few leftover beads can make a surprisingly personal Christmas ornament. The cork gives you room for a tiny winter scene; the cap becomes a little picture frame underneath. Ribbon and a single dangling charm finish the piece without hiding all that detail.
These DIY cork Christmas ornaments are a good project for the bits that never quite make it into another craft: a short length of trim, one crocheted flower, a lonely bead cap. The five ideas below explain how to choose a style, use what you already have and avoid a few frustrating finishing mistakes.
What you need for cork and bottle-cap Christmas ornaments
Start by making one ornament. Once you know how the parts hang together, it is much easier to repeat the construction with different pictures and colors.
- A clean, dry wine cork with a firm surface
- A clean metal bottle cap or a craft bottle-cap blank with smooth, safe edges
- Small paper pictures for the cork and cap, plus cardstock for testing the fit
- Ribbon or cord for hanging; narrow trim for the cork ends
- A few beads, spacer beads, a bead cap or a small charm
- Suitable jewelry findings, such as jump rings, head pins and small screw eyes
- Scissors, jewelry pliers and an adhesive labeled for the materials you are joining
- Optional glitter glue, a paper snowflake, a crocheted flower or a small wooden shape
Use pictures you own, public-domain artwork or printables whose license permits your intended use. Measure your actual cork and cap before cutting: the picture should sit inside the cap without buckling at the rim. A paper test piece is cheaper to replace than a favorite printed image.
For a first attempt, a pre-punched craft cap saves the awkward job of making holes in metal. Check reclaimed caps for sharp edges and rust. These are decorations with small parts and pointed findings, so keep the finished pieces and loose supplies away from young children and pets.
A simple way to plan the assembly
Lay out the ornament vertically before gluing: hanging loop, decorated cork, bottle-cap medallion, then the bead or charm at the bottom. This lets you judge the length and weight while every part is still easy to change.
As a practical starting method, trim the paper wrap to the cork, test the seam at the back, then glue it smoothly according to the adhesive directions. Fit a separate picture into the cap. Add the trim and connect the hanging parts using findings suited to your materials. Make holes and check hardware placement before adding delicate paper decoration.
A screw eye needs a firm grip in sound cork; stop if the cork splits or crumbles. Do not expect a dab of decorative glitter glue to hold a hanging assembly. Let the actual adhesive cure for the time on its label, then test the ornament over a soft surface before putting it on the tree.
1. Choose the ornament’s personality before choosing the trim
A cheerful snowman and a gold religious ornament can use the same basic construction yet feel entirely different. Choose the picture first, then pull the ribbon, metal and bead colors from it. That small decision makes it easier to leave unrelated supplies in the box.
A snowman in pale blue and white
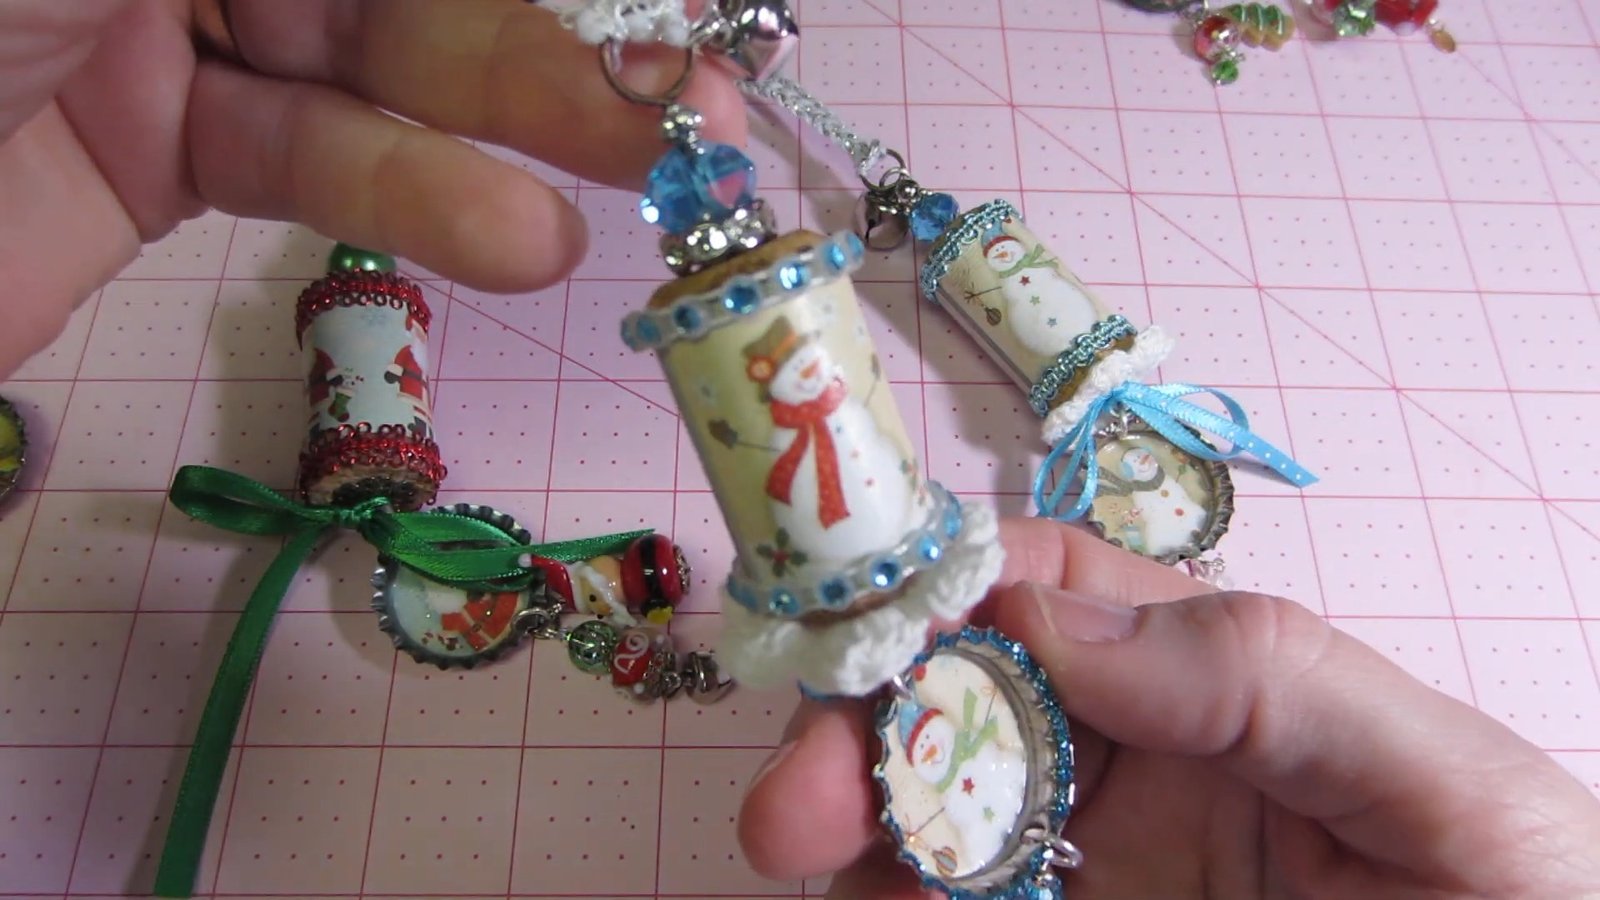
For a playful winter look, combine a snowman picture with pale blue ribbon and white texture. A crocheted flower can suggest a soft drift of snow behind a cap or other focal detail. Keep the glitter glue to a narrow edge so the picture stays readable.
Check the bottom drop before adding another charm. One clear accent often hangs better and gives a small ornament enough movement. If two charms keep colliding or conceal the medallion, remove one.
Santa with a red-and-green finish
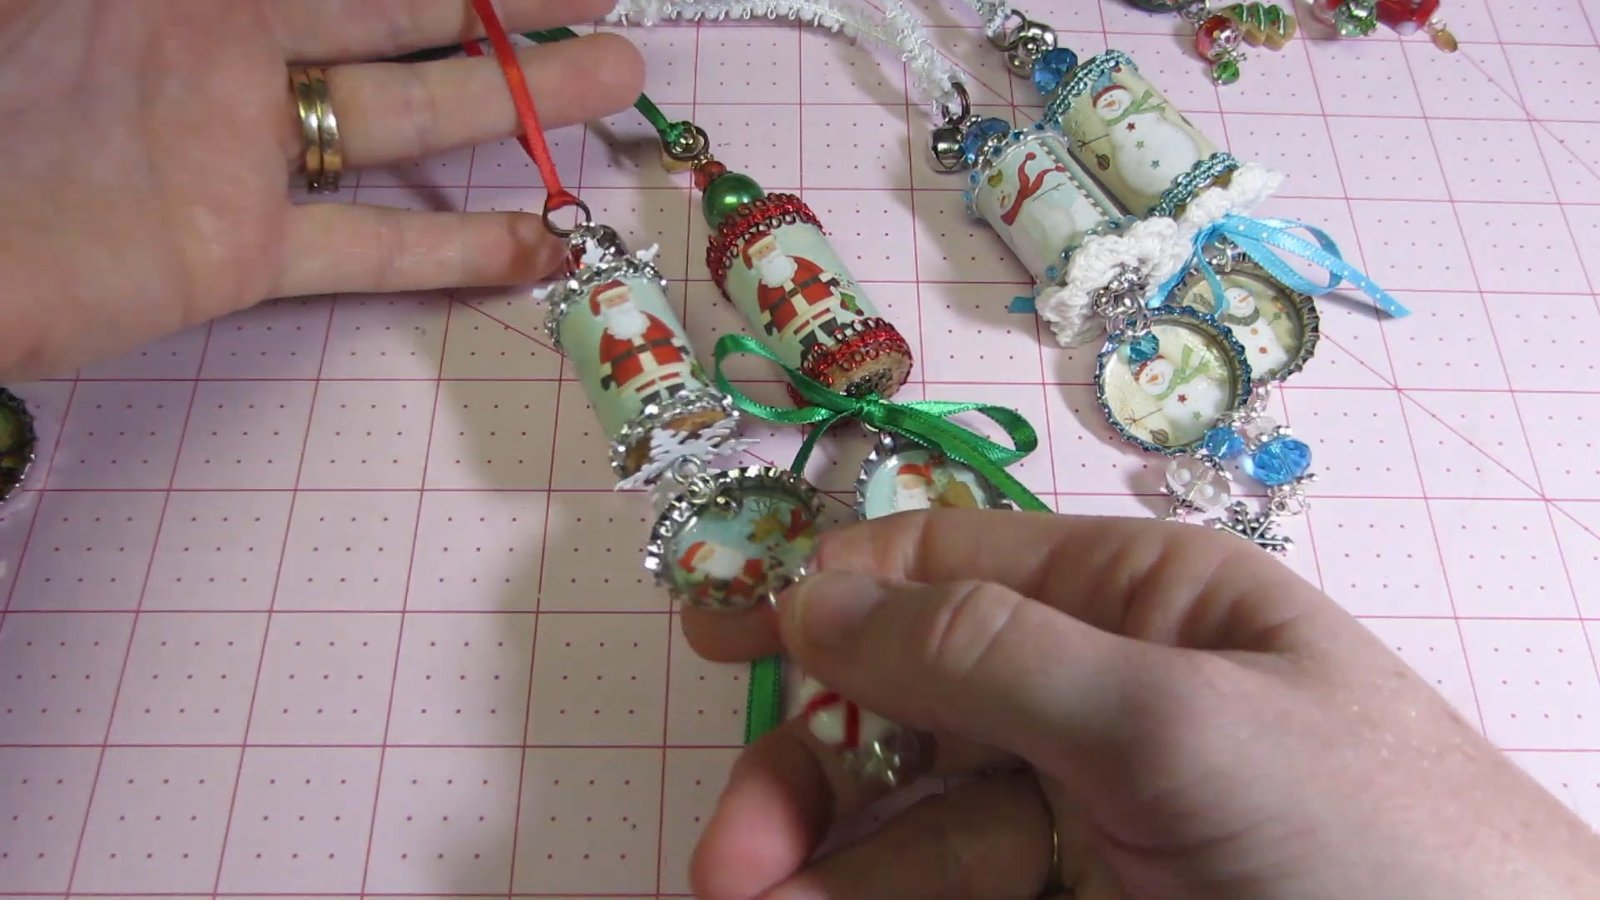
A Santa print works well with green ribbon and a few red details. Keep the ribbon narrow enough for the scale of the cork. A large bow can swallow the tiny picture, especially once the ornament is hanging among tree branches.
For a coordinated gift set, repeat one feature across the ornaments, such as the ribbon color or metal finish. The pictures can still vary. If you are pairing an ornament with another small present, our handmade Christmas gift ideas offer more ways to put the gift together.
A vintage gold ornament
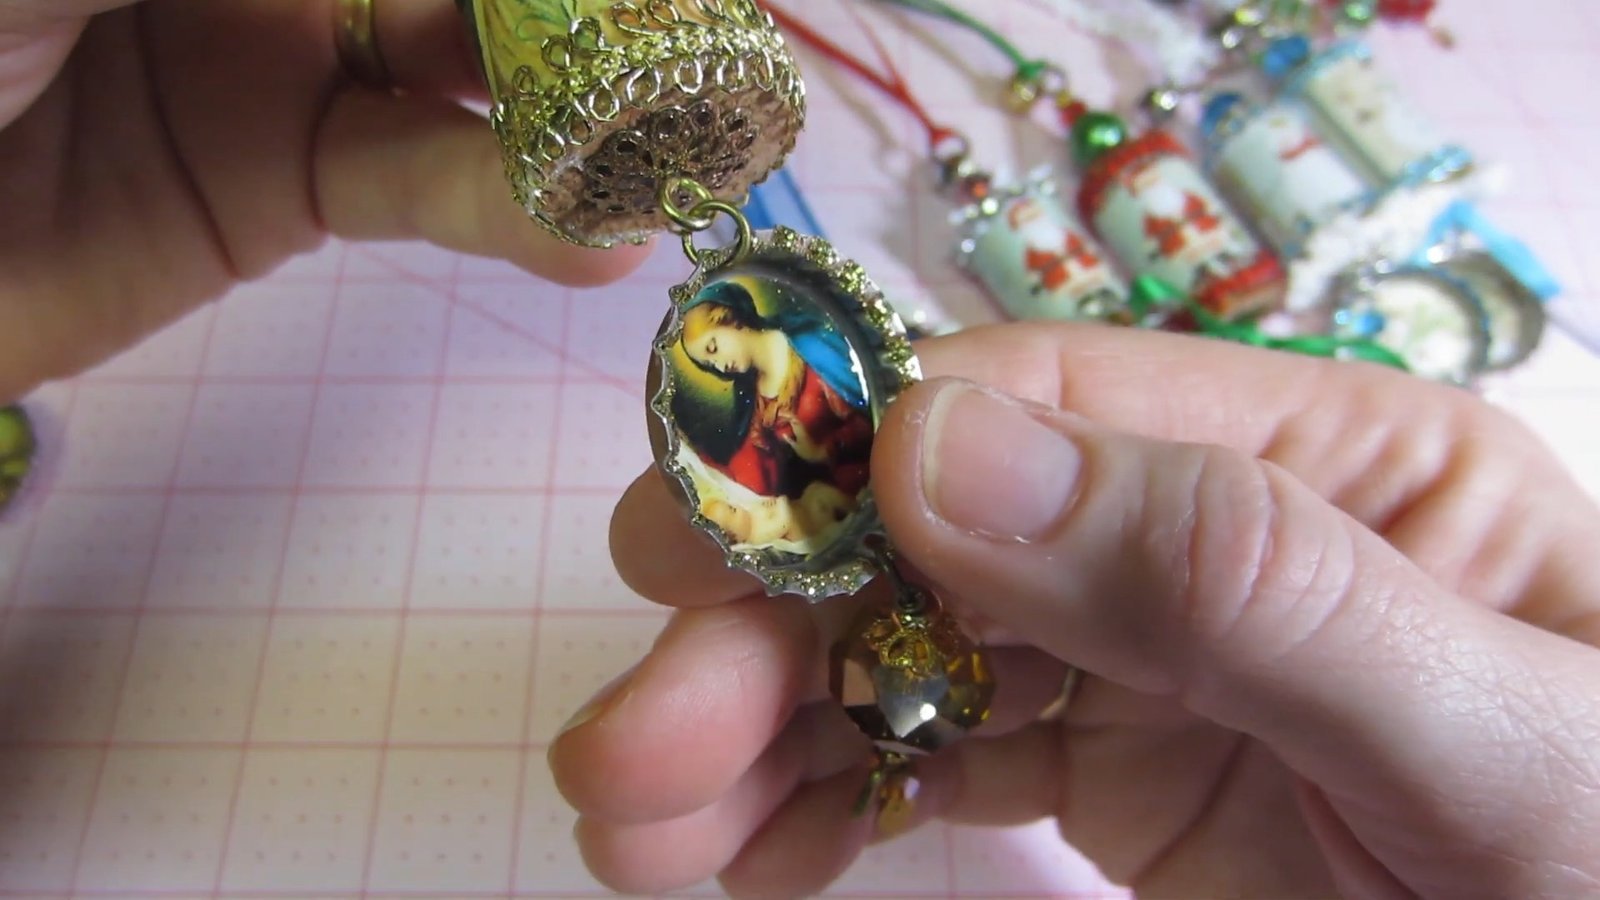
For someone who likes traditional or devotional decorations, choose a religious image and keep the metal details in a gold family. A small bell or angel charm suits that style, but it still needs room to move without knocking against the picture.
Choose the imagery for the recipient. A religious motif can be meaningful for one person; a snowman, botanical sprig or simple winter scene may suit another. For a warm tree palette around the finished pieces, see our burgundy and brown Christmas decor ideas.
2. Reuse beads, and improvise the decorative layers
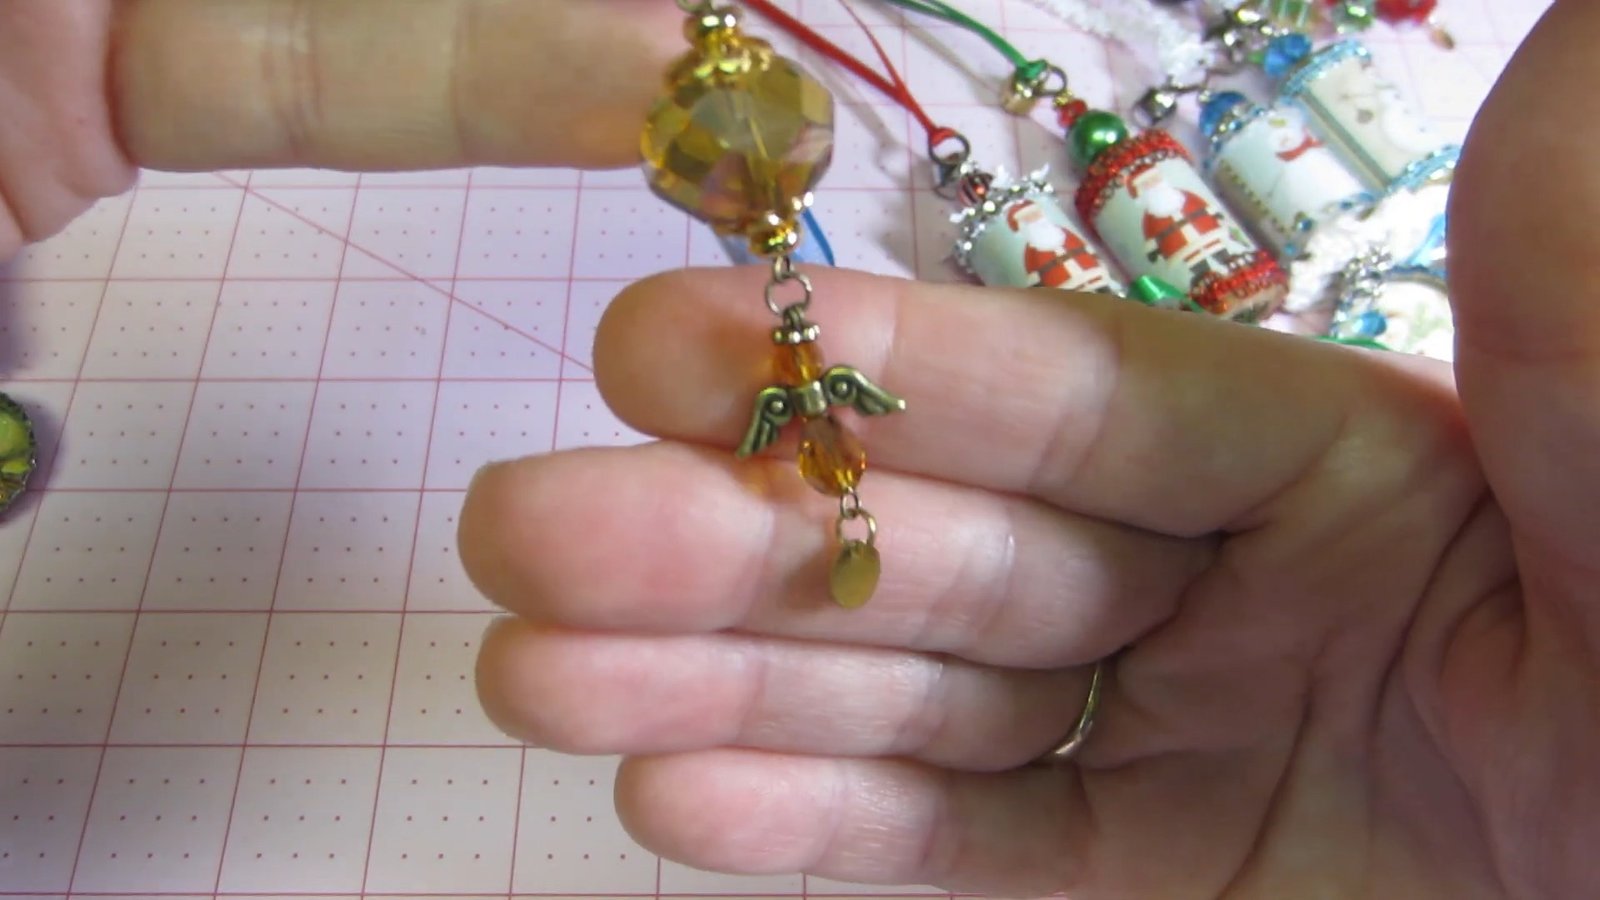
Before buying a packet of matching findings, check broken costume jewelry and bracelets you no longer wear. A single piece may supply several beads, spacers and bead caps. Sort them by size and finish before deciding which ones belong together.
Reused jewelry is only useful if the parts are sound. Discard chipped beads, bent findings and anything with rough edges. Keep a few matching pieces aside for repairs instead of using every last spacer in the first batch.
A stamped cardstock snowflake can also stand in for a decorative collar when a large metal bead cap is missing. Stamp it, cut it out and test it above or below the cork. Paper is easier to bend than metal, so use it as decoration around a secure connection; it should not carry the ornament’s weight.
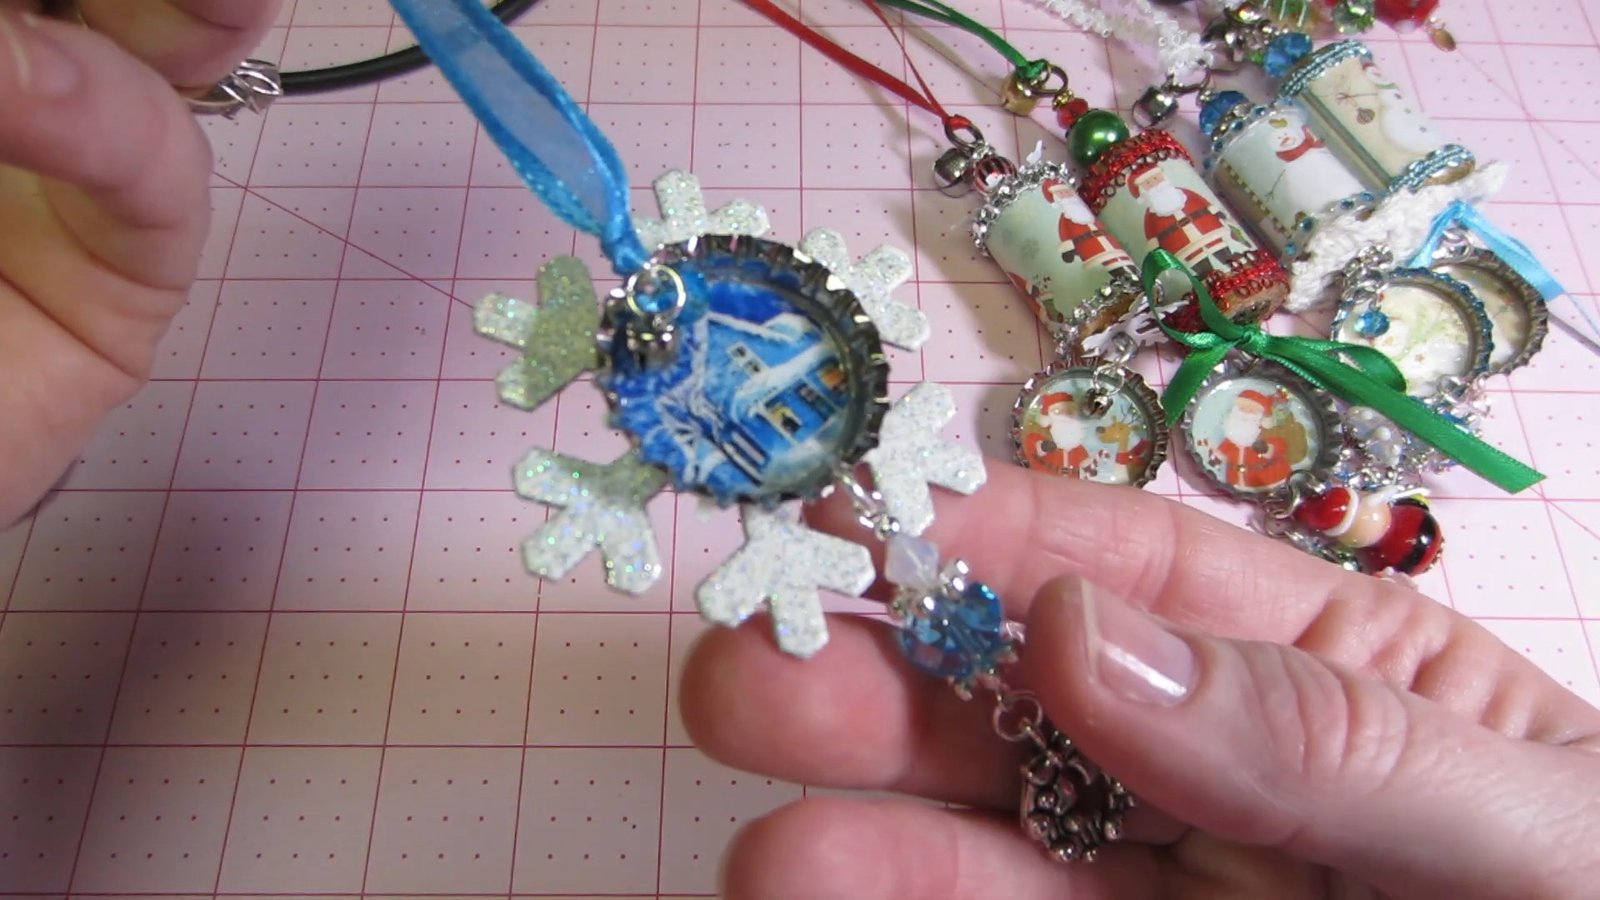
A snowflake behind a cap is particularly useful when the center picture looks too small on its own. Try the layers loose first. You should still be able to see the snowflake points, the cap edge and the focal picture as separate shapes.
3. Keep paper seams away from the focal image
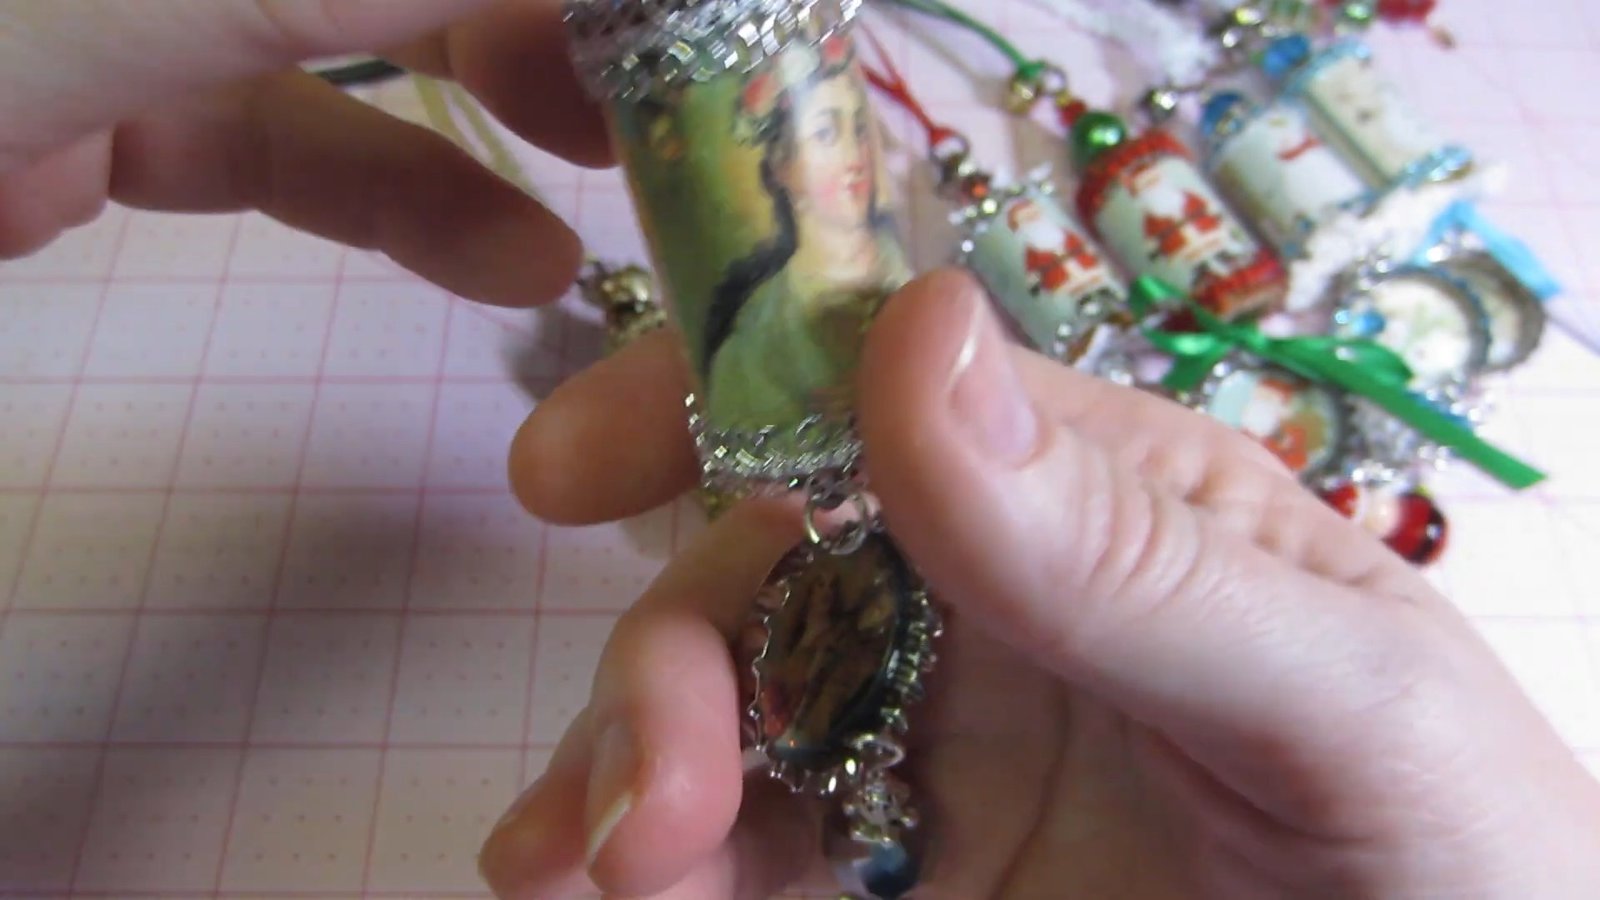
A raised paper overlap can show through the layer above it. On a small medallion, even a slight ridge may catch the light and make the picture look lumpy. Adding more glitter around the edge will not flatten the center.
Dry-fit the layers and feel the base with a fingertip before gluing the focal image. Keep a wrap seam toward the back of the cork, trim unnecessary overlap and use a smooth base beneath a cap insert. If the surface is uneven, fix it before adding the picture.
Color matching deserves the same restraint. White glitter is not always a good substitute for silver, and bright chrome can look abrupt next to dark gunmetal findings. Place the parts together in daylight. If a glitter accent looks wrong, leaving it off is a perfectly good finish.
4. Test wooden shapes before committing to glue
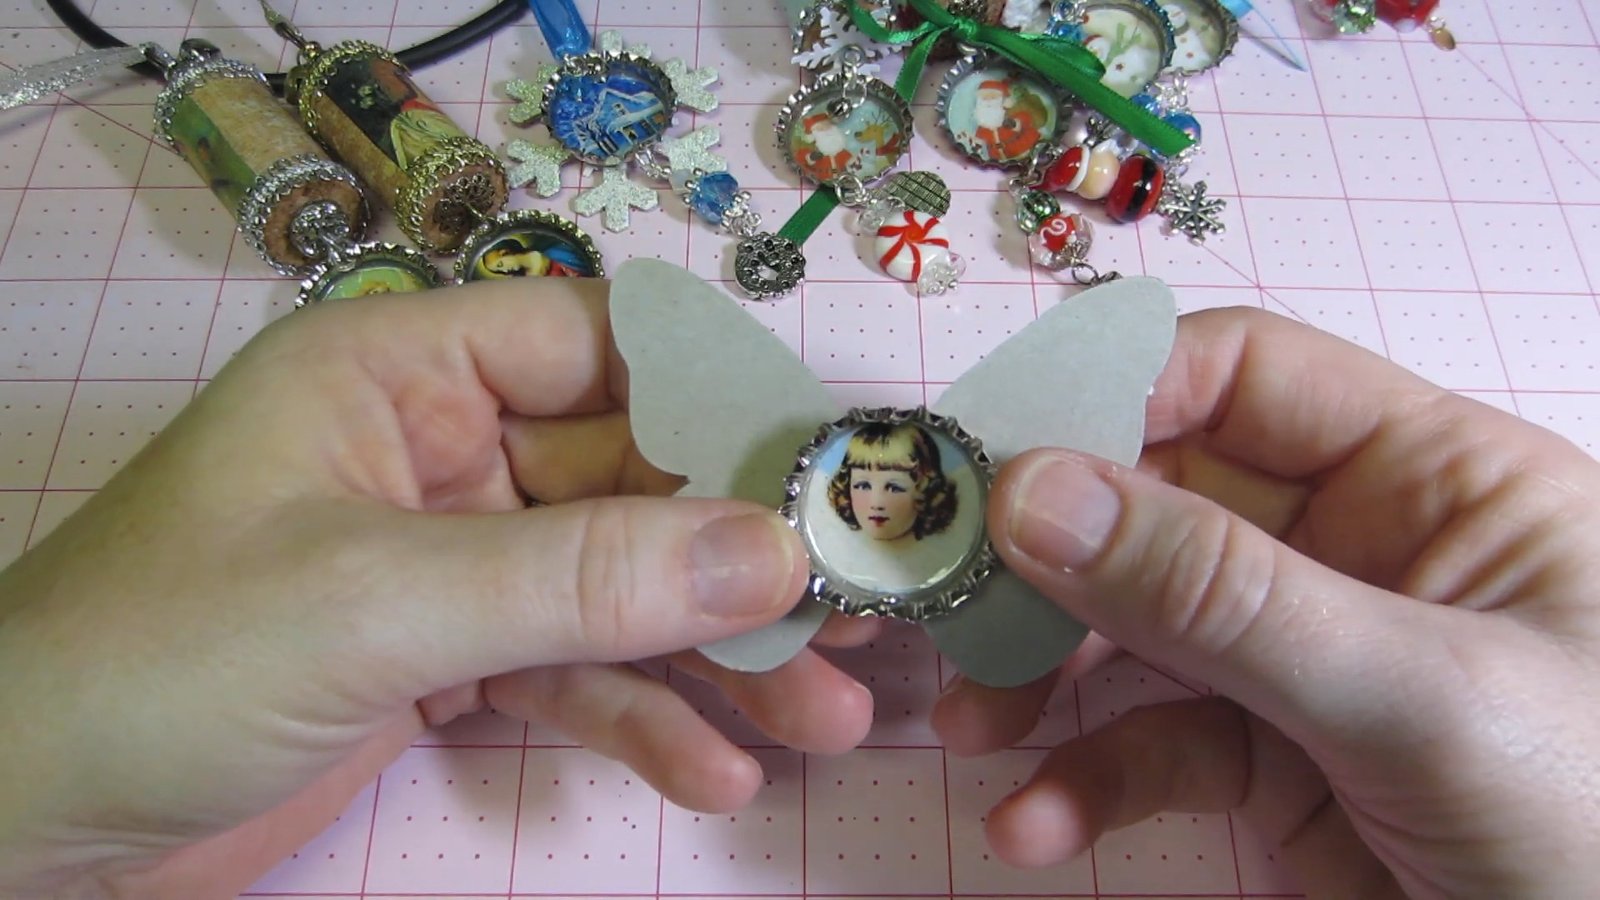
A butterfly or bird blank opens up another direction once you have tried the cork designs. Place a small face or picture medallion against the shape and move it around before choosing the final position. Check whether the wings remain visible and whether the piece can hang level.
The butterfly arrangement shown here is still at the planning stage. Treat metallic paint, embossing and layered wings as options to test on your own materials. The frame does not demonstrate a completed finish or prove how that finish will hold up.
If you try heat embossing, check that the blank and its coating are suitable for the process and follow the product directions. A spare offcut is a better place to discover bubbling or discoloration than the front of your ornament.
5. Make the small extras while the beads are out
Once the bead boxes and pliers are on the table, assemble a few matching drops before packing everything away. You can compare the colors directly with the finished ornament instead of trying to remember which blue bead or gold spacer you used.
Decorative stick pins can use the same supplies, but keep their purpose separate from the tree ornament. Protect sharp points and store them securely. For hanging decorations, use an appropriate closed-loop finding rather than leaving an exposed pin.
A shallow tray for each unfinished ornament helps keep tiny parts together. Leave drying pieces where the hanging drops will not stick to the paper or pick up loose glitter.
Before you gift or store the ornaments
- Look at the back as well as the front: cover distracting seams without adding bulky layers.
- Check jump-ring closures and gently test the hanging loop over a soft surface.
- Make sure the bead drop clears the medallion and the ornament hangs the way you intended.
- Allow glue, paint and glitter products to dry or cure fully before wrapping.
- Store each ornament separately so metal findings cannot scratch the pictures or crush paper snowflakes.
Questions about DIY cork Christmas ornaments
Can I make these without a wine cork?
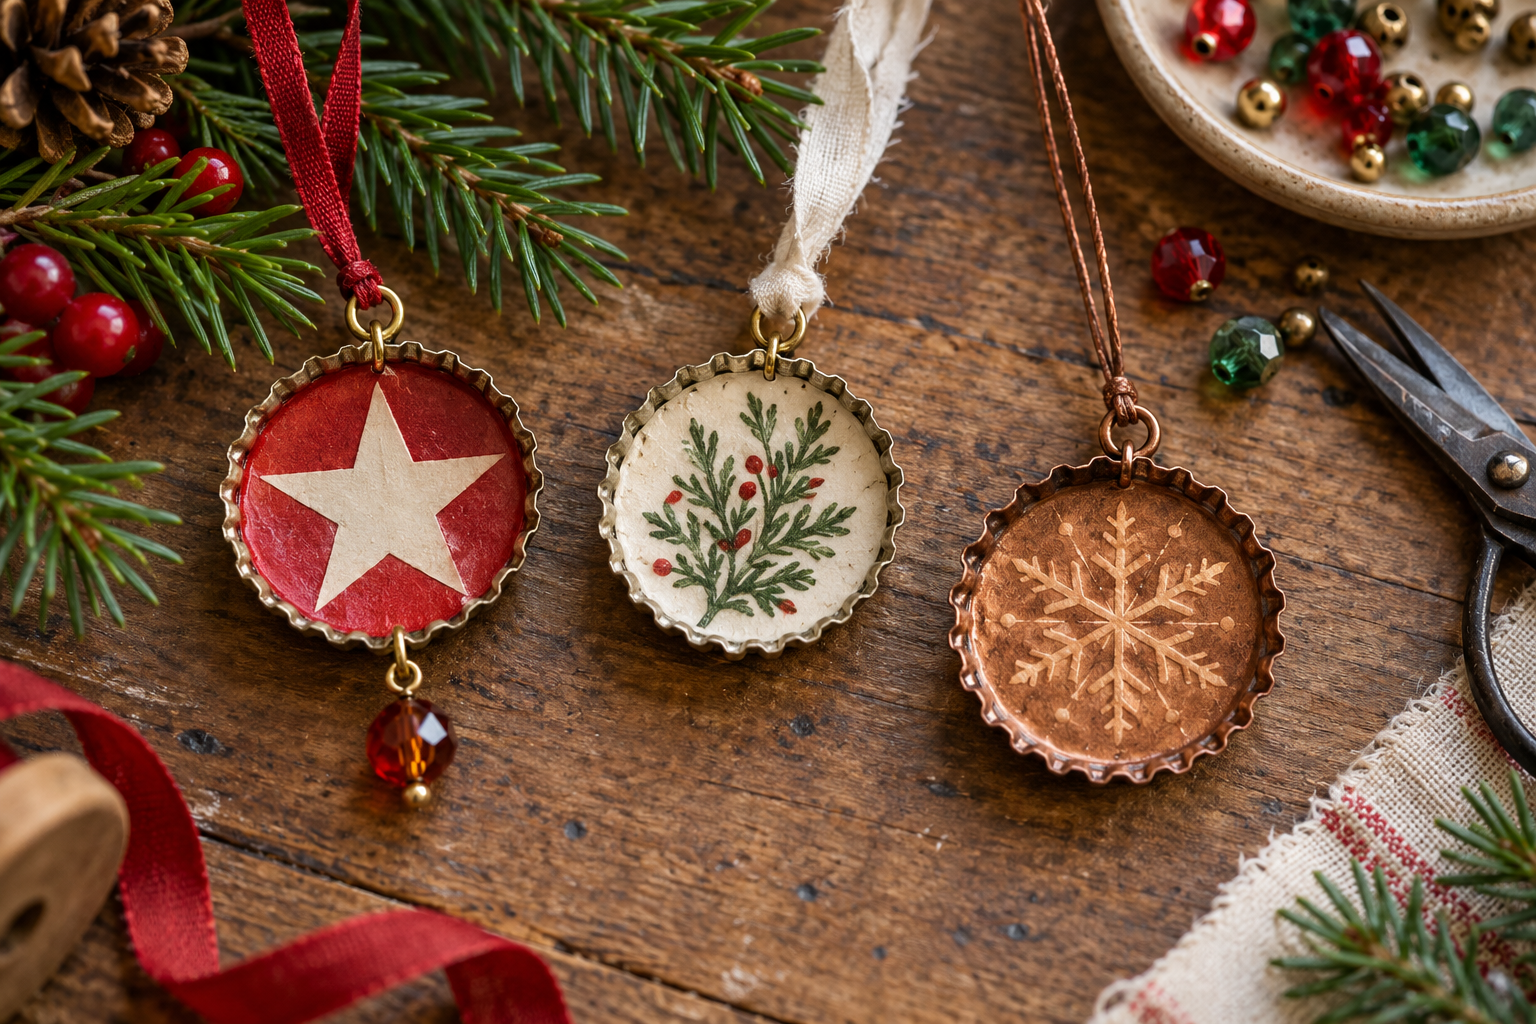
You can make a bottle-cap medallion on its own with a ribbon loop and a light bead drop. The blue snowflake example shows how a larger backing shape gives a cap more presence. You will need a different arrangement of findings from the cork-and-cap versions.
Do I need the exact stamps and supplies shown?
No. Choose tools that give you the shape and size you need. A hand-cut snowflake or a suitable die-cut can serve the same decorative purpose. Test the paper thickness and fit before assembling it; similar-looking supplies do not always behave the same way.
What glue should I use?
Choose by the joint you are making. Paper-to-cork and metal-to-metal connections have different needs. Follow the adhesive manufacturer’s material list and curing instructions, and test on a spare piece if the ink or paper finish might react. Use secure findings for hanging parts.
How do I stop the ornament looking crowded?
Start with the main picture, one ribbon and one hanging accent. Hold the ornament at the distance you will see it on the tree. If the picture disappears, reduce the bow or remove a layer before adding anything else.
Watch the original ornament showcase
Watch More Cork Ornaments by myserenitycrafts for close views of the finished pieces and the butterfly design tests.
Image and source credit: The eight video stills in this article are from More Cork Ornaments, myserenitycrafts.The video page displays Creative Commons Attribution, checked October 20, 2026. Stills were selected from supplied screenshots without retouching; display sizes may vary. No endorsement is implied.