Sgraffito Pottery for Beginners: A Step-by-Step Guide
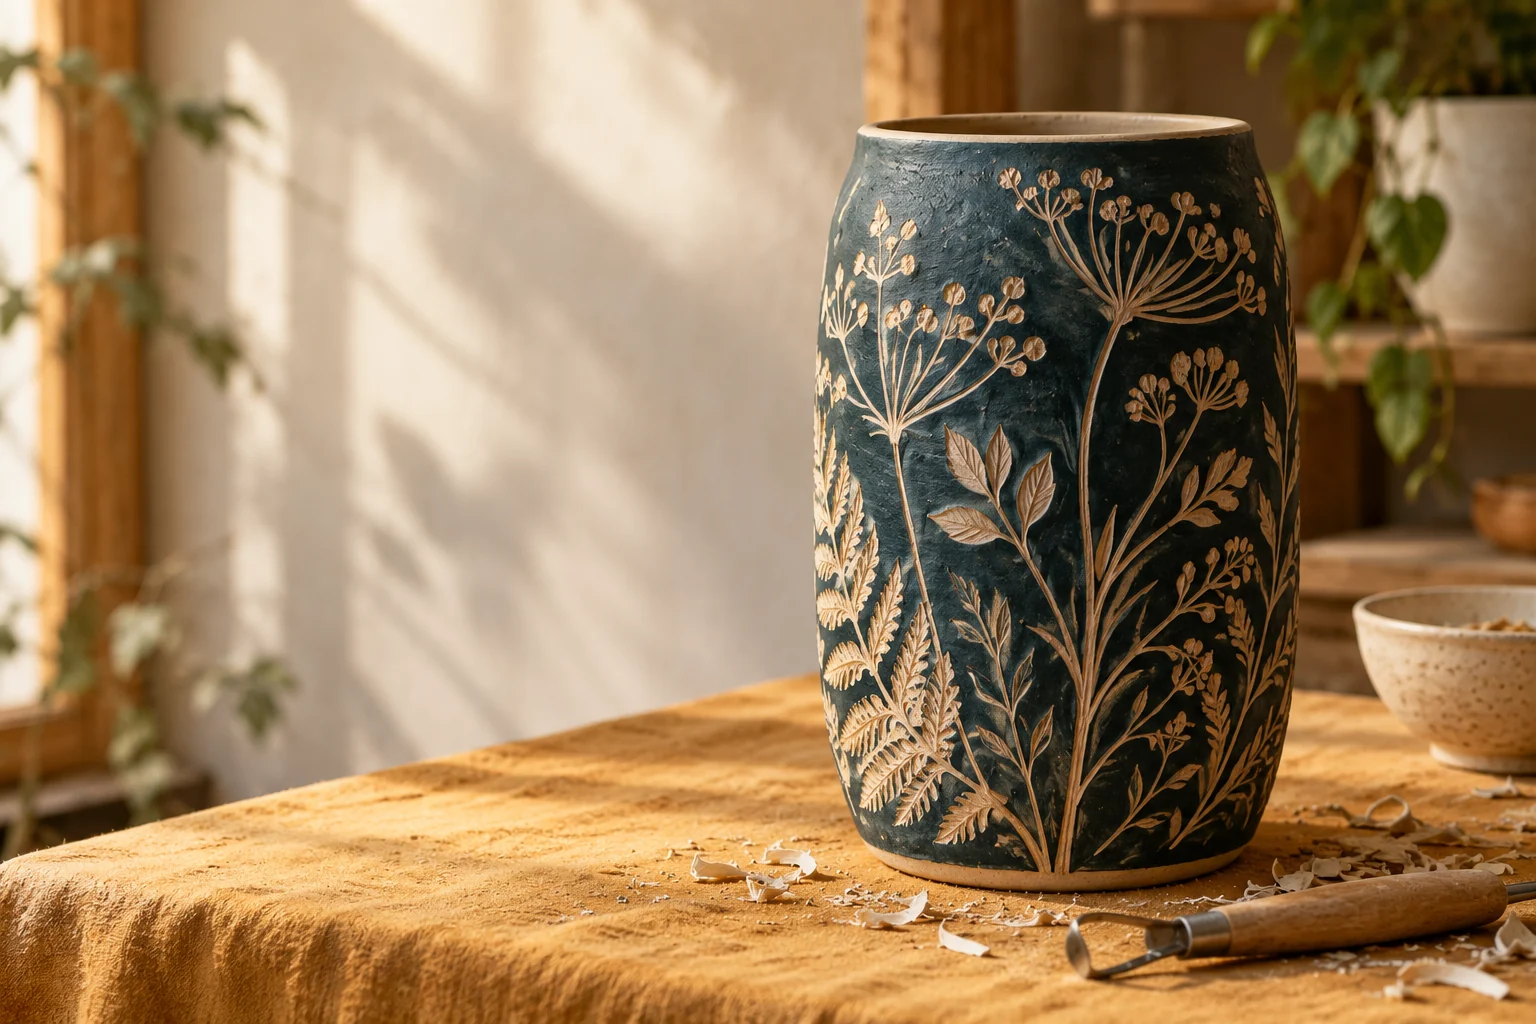
Sgraffito pottery begins with a simple idea: coat a light clay body with a darker underglaze, then carve a drawing through the colored surface to reveal the clay beneath. The lines are exposed clay, not white paint applied afterward.
Learn to catch the best carving stage, transfer a sketch, control line weight, make hatching and dots, and avoid a cloudy final glaze.
In this guide: Technique · Tools · Step-by-step · Troubleshooting · FAQ
What is sgraffito pottery?
Sgraffito is a surface decoration technique in which a potter applies a contrasting slip or underglaze and scratches through it. The carved lines reveal the original clay color. A dark coating on pale clay makes even simple designs visible, whether you’re decorating a tile, dish, mug, or sculptural piece.
Materials and tools for sgraffito
- A smooth, leather-hard clay piece, preferably a flat tile or small plate for your first attempt.
- Contrasting underglaze or slip compatible with the clay and firing temperature.
- Soft brush to apply the underglaze, plus a separate clean, dry, soft brush for carving crumbs.
- Fine wire-loop tool or stylus for outlines, and a wider ribbon tool for carved blocks.
- Pencil, paper template, and ballpoint pen for tracing a design.
- Compatible clear glaze and access to a ceramics kiln for finishing functional ware.
A large expensive carving set isn’t necessary. A narrow tool and a broader one are enough to learn outlines, different line weights, and textures.
How to make sgraffito pottery, step by step
1. Find the true leather-hard stage
Clay should hold its shape but still shave cleanly beneath your tool. It may feel like Parmesan cheese: firm enough that bending the piece would damage it, yet soft enough to cut thin curls. Sticky shavings suggest it is too wet; hard scratching and ragged chips suggest it is too dry. Don’t rely on a drying timer. Test a small area instead.
2. Paint the background with underglaze
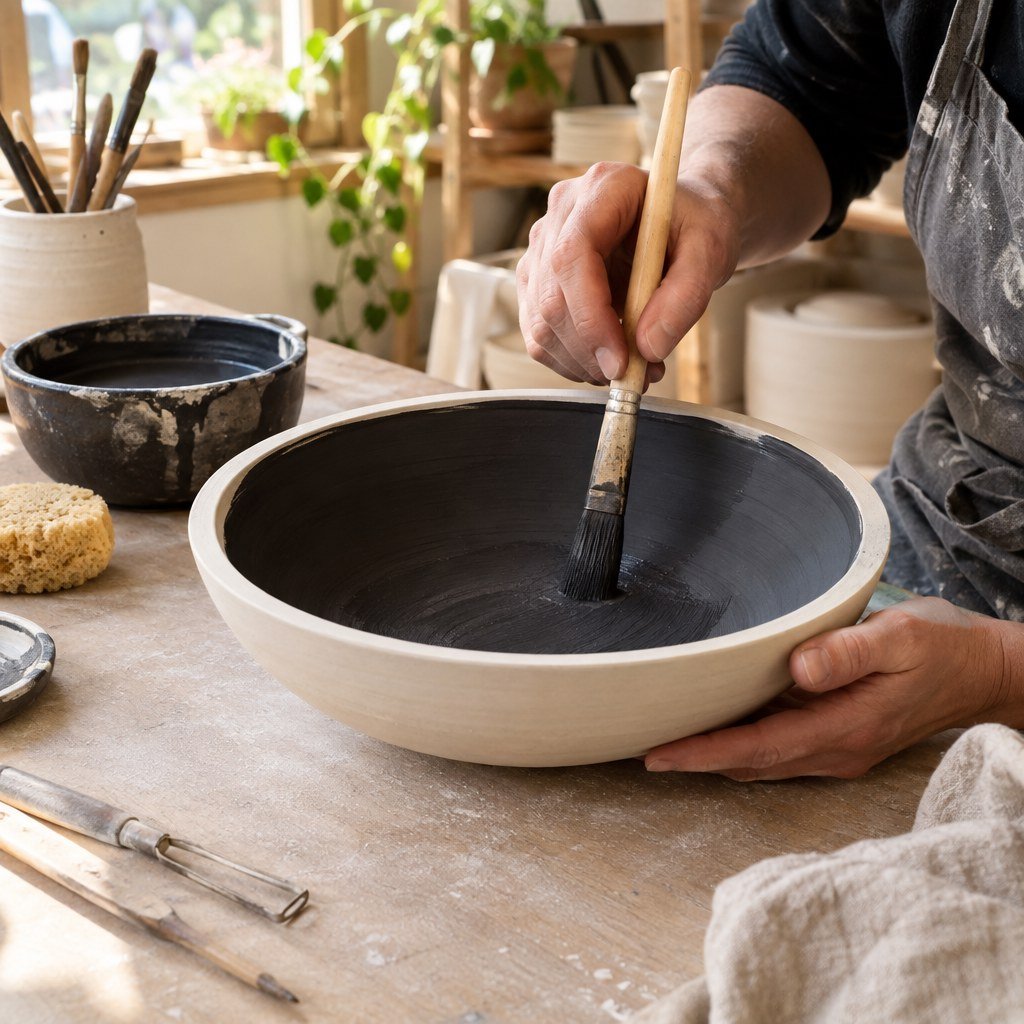
Brush on smooth, even coats and allow each to lose its wet sheen before continuing. Use three thin coats of AMACO Velvet underglaze for an opaque dark background. That is only one of the methods artists working with, not a rule for every underglaze. Follow the instructions for your particular material and test it before decorating a large piece.
3. Draw or transfer your design
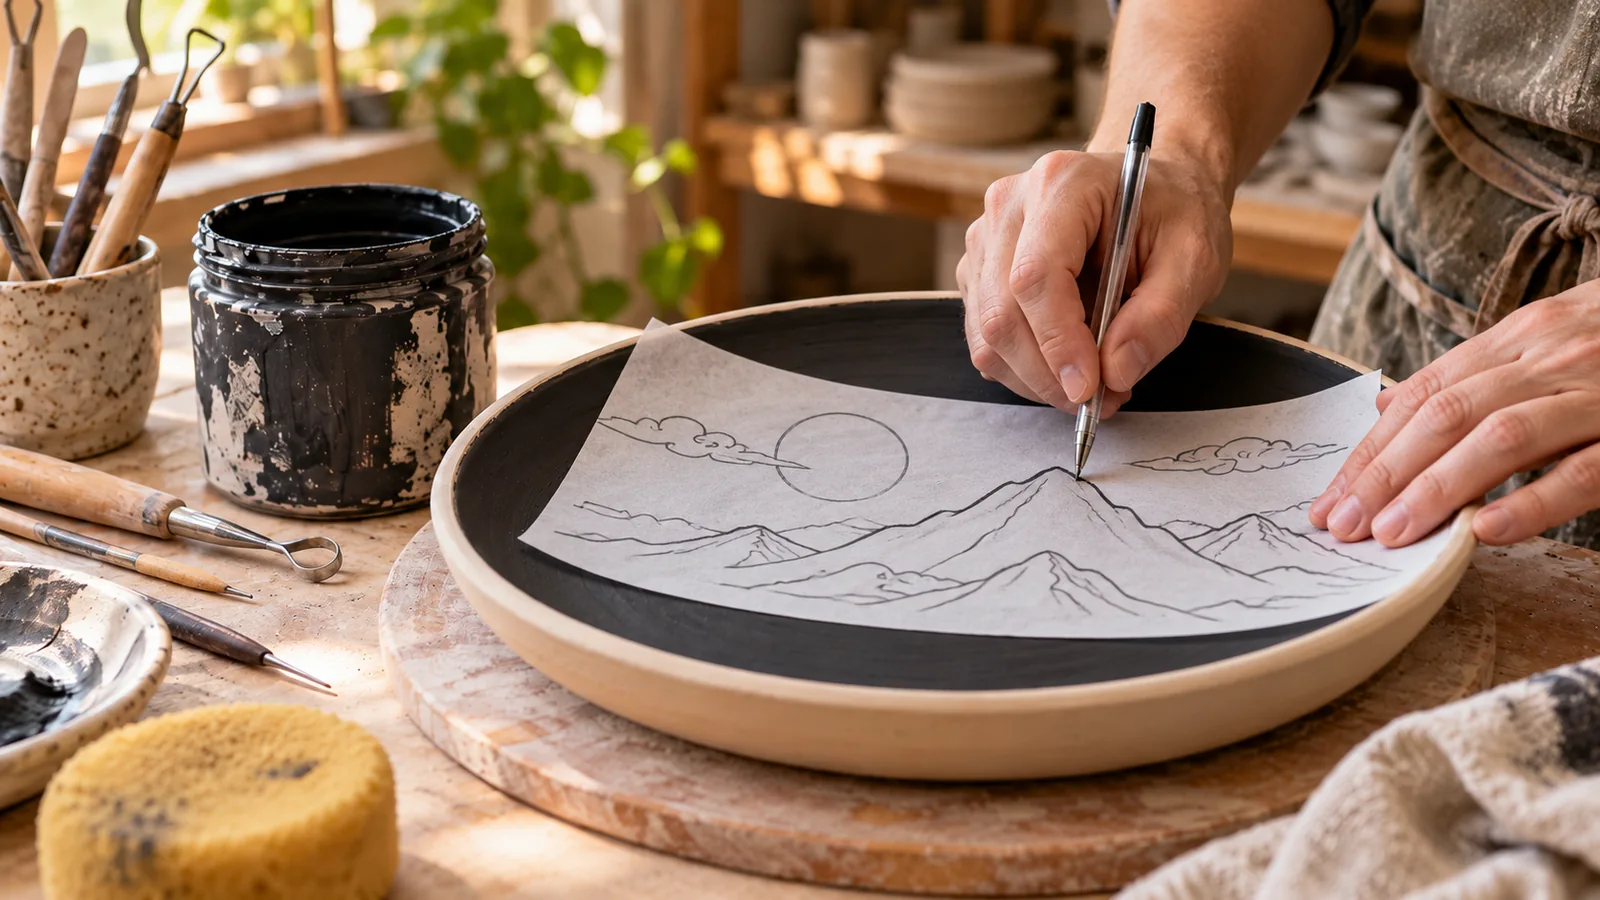
Make a drawing at the size of your clay surface. Beginners can start with a leaf, landscape silhouette, or simple geometric pattern. Sketch lightly onto the dry underglaze, or lay a paper pattern over the piece and trace its outlines with a ballpoint pen. The rounded tip leaves shallow guide marks on the leather-hard clay without needing to ink the surface.
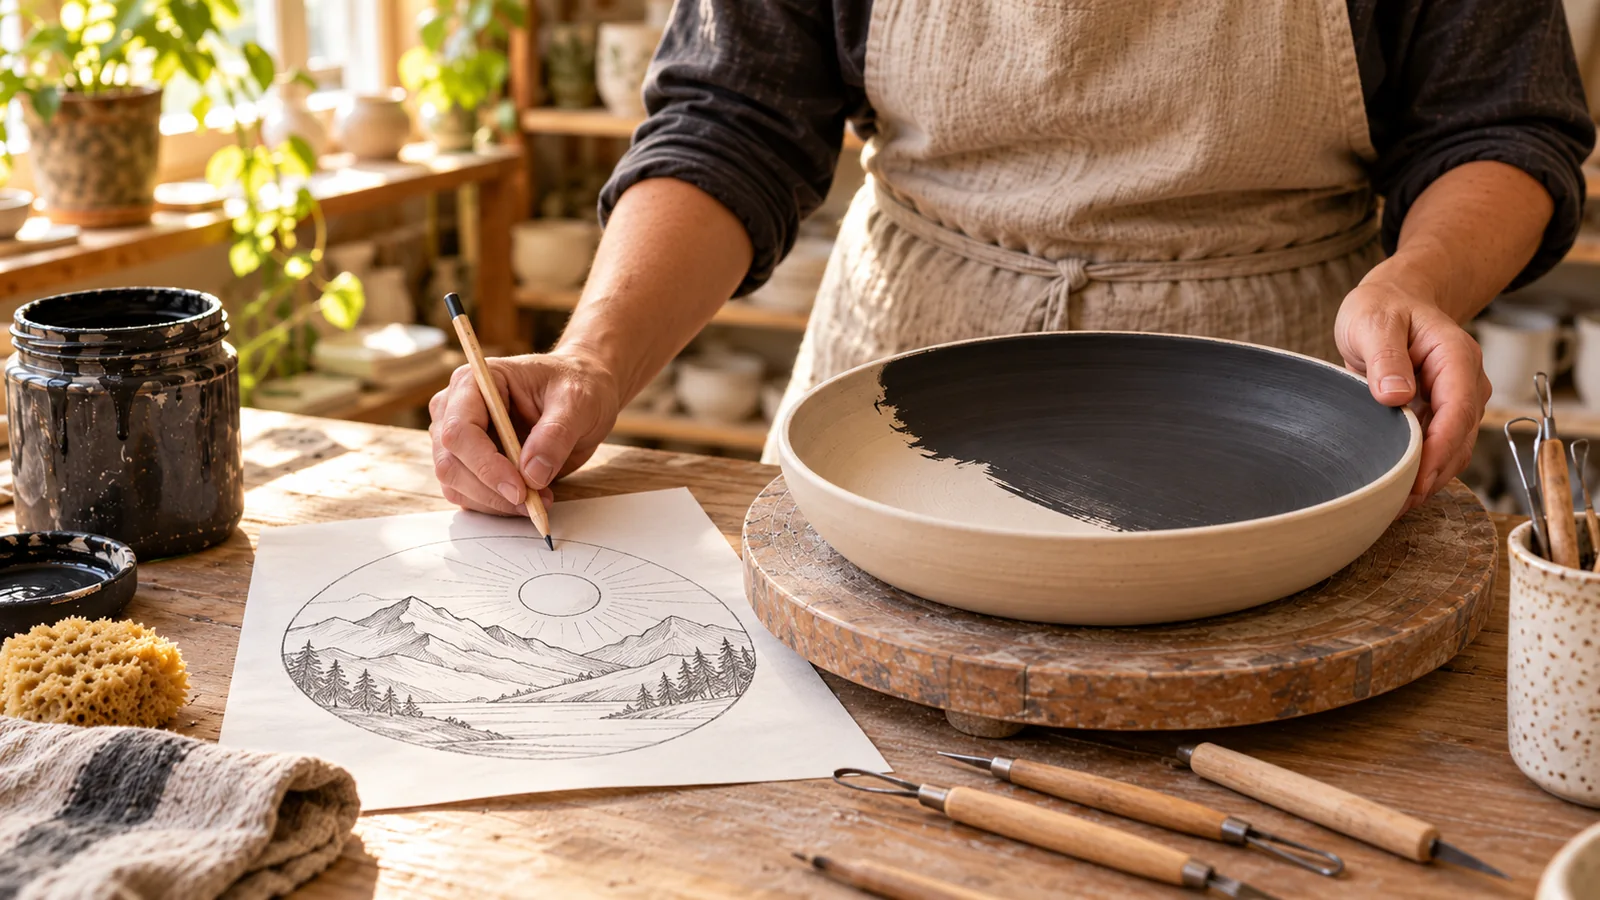
Hold the paper still with one hand all the way through the tracing. If you need to check your progress, lift a single corner rather than removing and repositioning the whole pattern.
4. Cut the main outlines
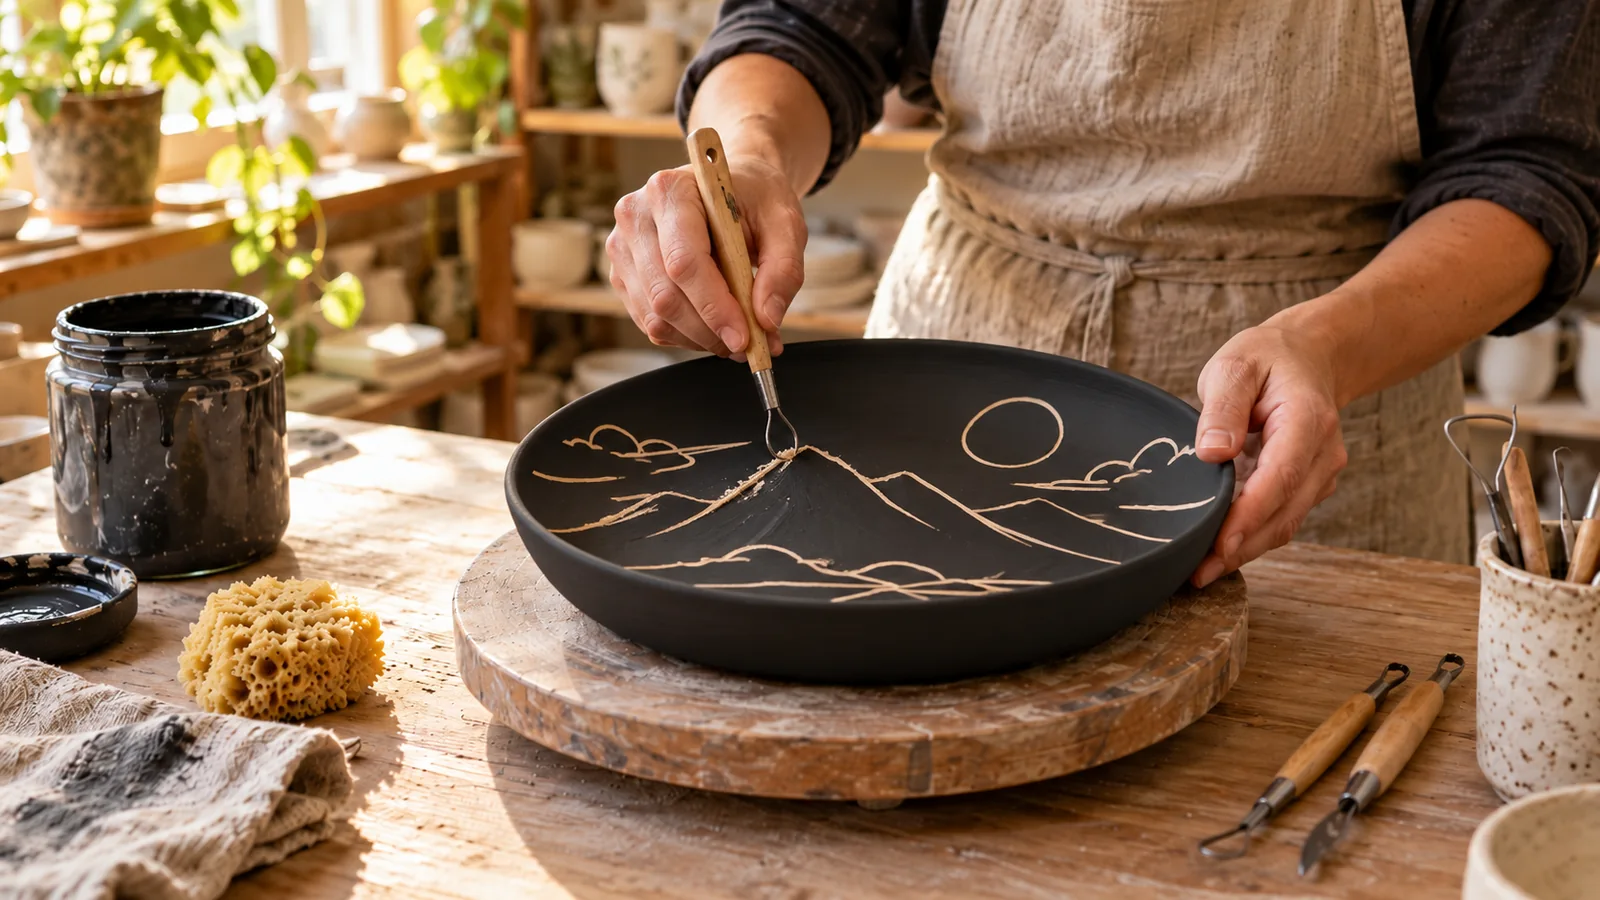
Use your narrow loop tool to follow the impressed guides. Carve just far enough to reveal the pale clay under the dark coating. Keep the first lines light and simple. Turn the dish to maintain a comfortable hand angle, especially around curves, and avoid digging deeply into thin walls.
5. Add line weight for depth
Once the main shapes are clear, widen selected sections of the carving. A heavier mark can define a shadowed mountain edge; a finer line can keep a delicate leaf tip crisp. Contrast produces depth more effectively than thickening every line equally.
6. Fill shapes with hatching, carved blocks, and dots
In the original mountain design, broad areas of exposed clay contrast with closely spaced parallel lines.
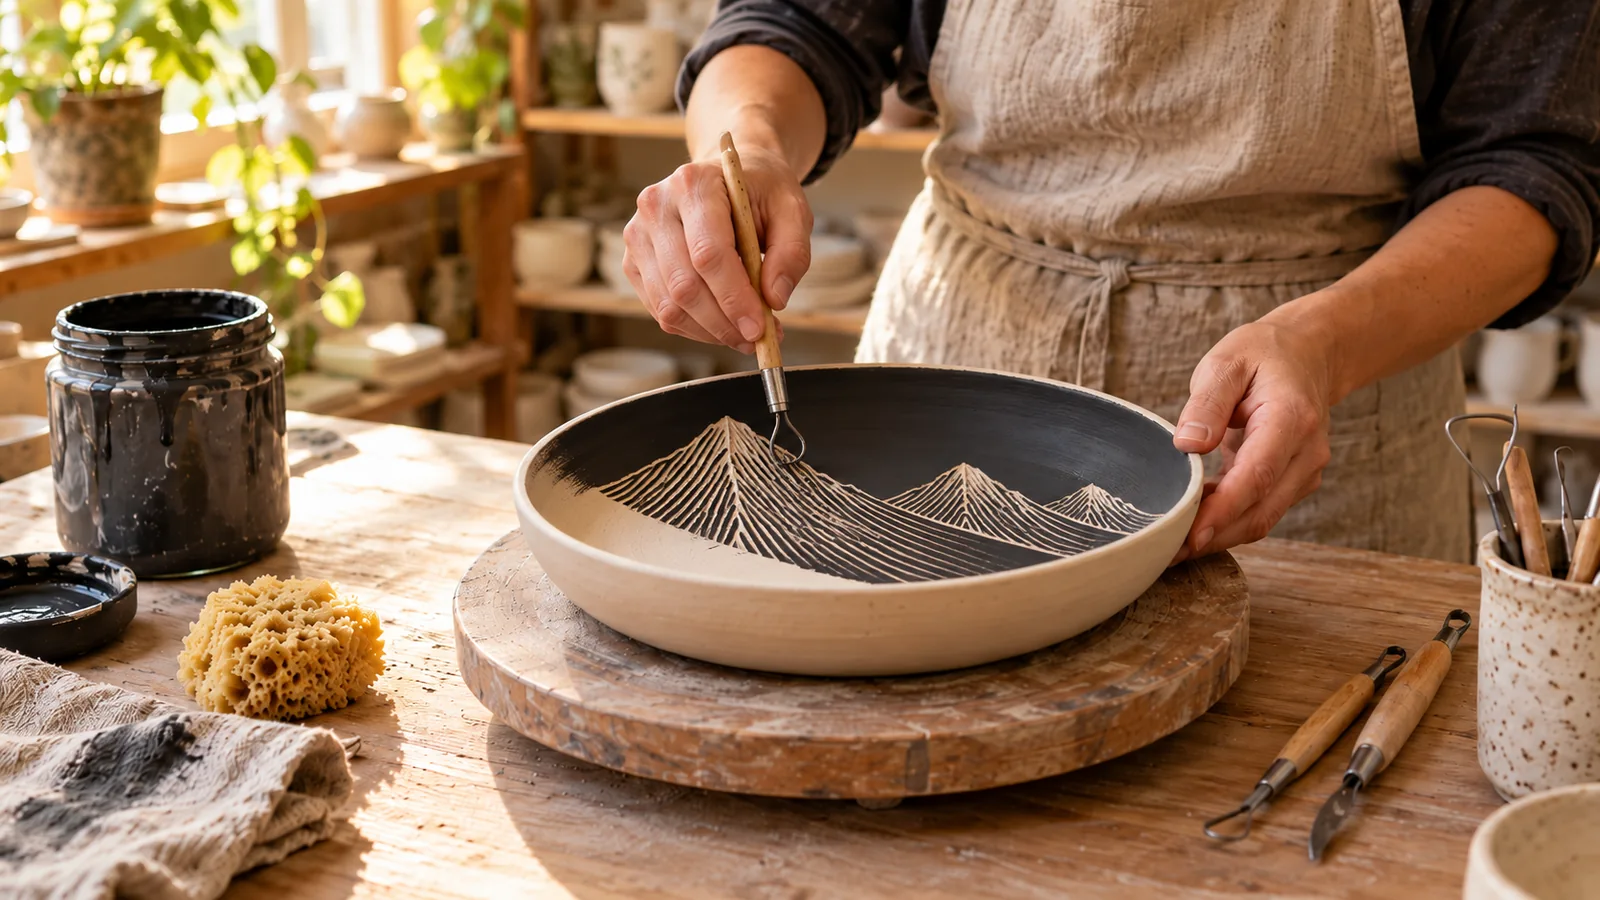
That alternating treatment suggests different faces of the rock. Use smaller dotted marks for clouds. Try a few kinds of marks on a practice tile and leave patches of dark underglaze untouched so the design stays legible.
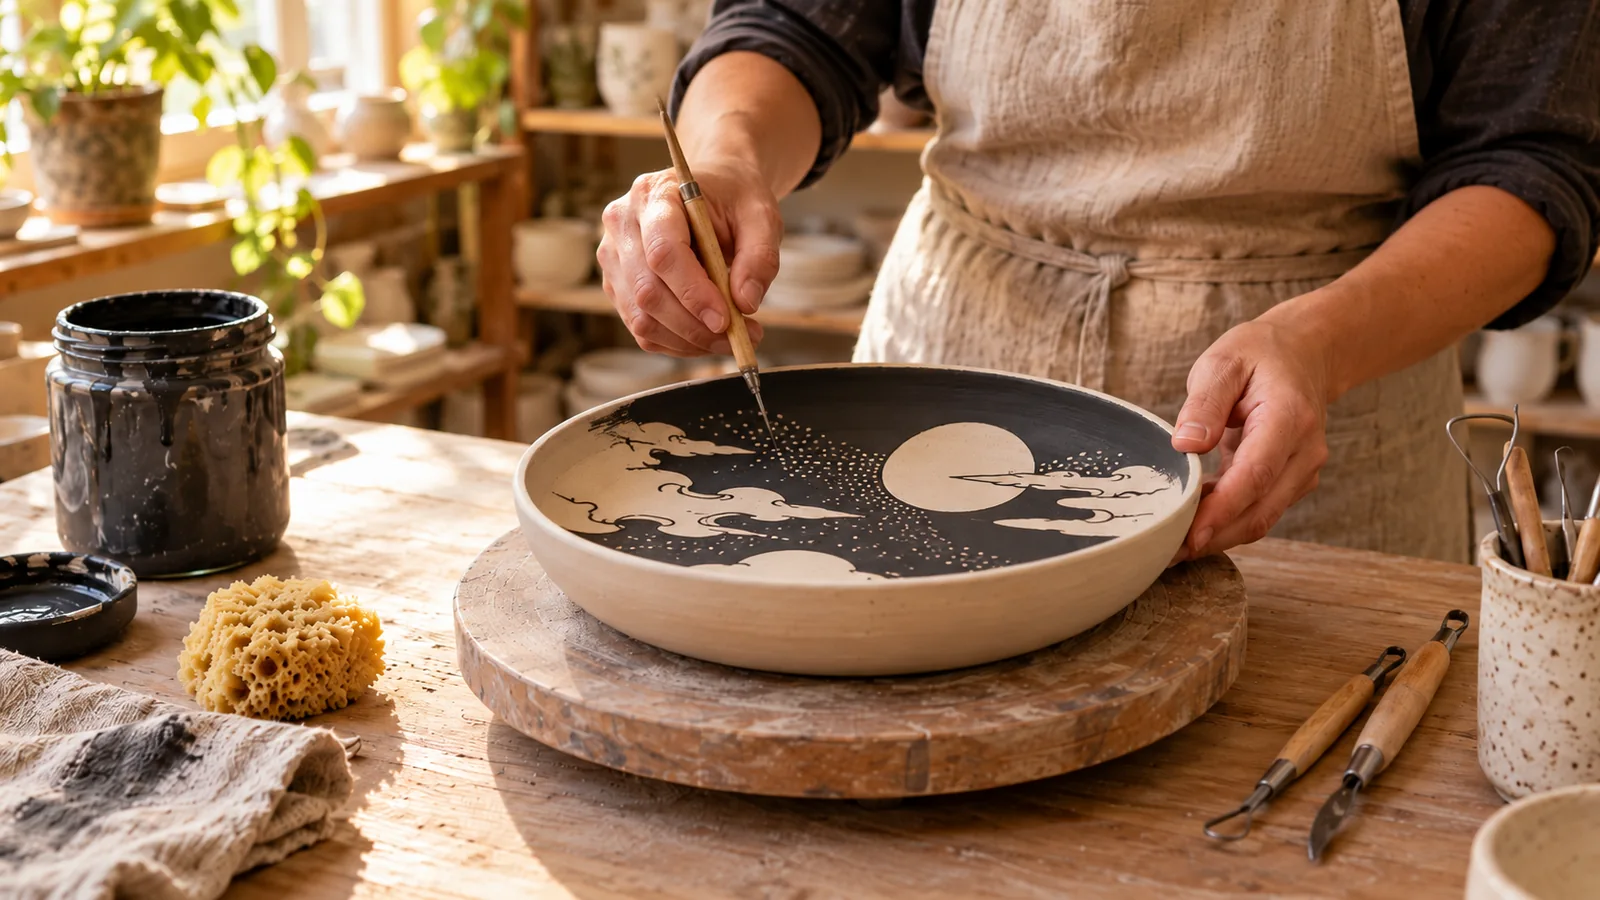
7. Remove crumbs with a dry brush, then bisque-fire
During carving, sweep loose shavings away gently with an absolutely dry, soft brush. A wet brush can smear underglaze onto the light lines you have just exposed. Let the work dry completely before bisque firing on the schedule required for the clay body.
Keep studio dust out of the air. For cleaning the work area, use wet wiping rather than blowing dust, dry sweeping, or shaking carving scraps into the room.
8. Apply clear glaze and glaze-fire
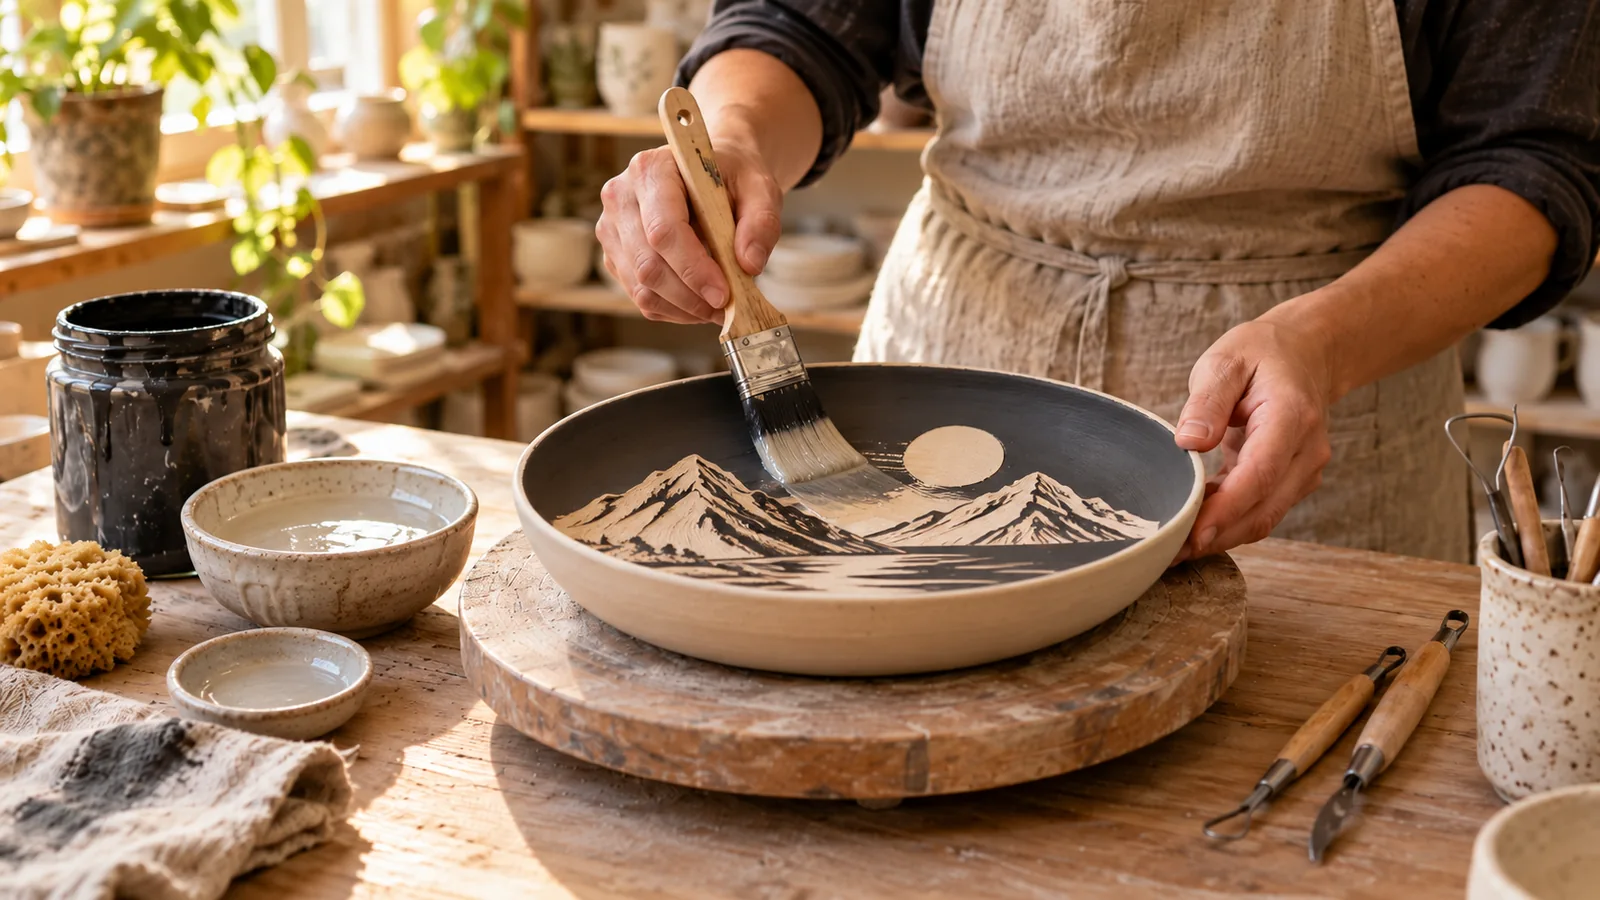
After bisque firing, a compatible transparent glaze can protect the decoration and create a smoother surface. Apply two controlled coats of AMACO Zinc-Free Clear with a soft fan brush. It favors a lighter finish because thick clear glaze may fire cloudy and blur fine details.
Check the specific glaze’s directions rather than automatically using two coats. Product recommendations, brushing thickness, clay, firing temperature, and the colors underneath affect the result. AMACO notes that some chromium-containing green underglazes can change color when paired with zinc-bearing clear glazes. Test your complete combination before glazing an important piece.
For food-contact pottery: choose a manufacturer-approved food-safe glaze for the correct firing range and verify the fired surface is sound and free of problematic defects. Clear glaze on its own does not ensure food safety, and the clay body’s vitrification depends on its firing.
A beginner practice project
Try a small square test tile before carving a whole plate. Divide it into four areas: a thin-line motif, a broad exposed shape, parallel hatching, and clustered dots. Leave a dark border around each test. After the bisque and glaze firings, compare how the carved edges, color density, and glaze thickness look. Record the clay body, glaze names, and firing information so your results are repeatable.
Once you have a finished decorative piece, our guide to styling colorful ceramic vases offers ideas for displaying pottery with different shapes, textures, and colors.
Common sgraffito problems and how to fix them
| What you see | Possible cause | What to try |
|---|---|---|
| Clay curls stick back onto the dish | Clay is still too damp | Let it firm up a little and test again. |
| Carving chips instead of cutting | Clay or coating is too dry | Carve earlier and use gentle tool pressure. |
| Dark marks smear into white lines | Brush is damp | Use a separate dry brush for shavings. |
| Your traced drawing is doubled | The template shifted | Hold it still and lift only a corner to check. |
| The design looks flat | Uniform line widths | Vary selected outlines and add restrained hatching. |
| Clear glaze looks milky | Coat may be too thick or incompatible | Test a thinner, manufacturer-appropriate application. |
Frequently asked questions
Is sgraffito pottery suitable for beginners?
Yes. A small, smooth tile and a simple silhouette are good places to start. Practice controlling a fine tool before carving elaborate textures.
What is the best clay stage for sgraffito?
Leather hard: firm enough to keep its shape, still soft enough to cut without creating lots of powder or chipping.
How many coats of underglaze should I use?
Try an approach with three thin coats, but it required coverage varies. Check the underglaze instructions and test its fired appearance.
Can you do this after bisque firing?
This tutorial’s method is carving leather-hard greenware. Other approaches to decorating bisqueware exist, but cutting a hard fired surface behaves differently and can create dust.
Does clear glaze make pottery food safe?
Only a suitable, correctly fired, sound clay-and-glaze combination should be used for food-contact surfaces. Glossiness alone is not proof of food safety.
More DIY surface decorating
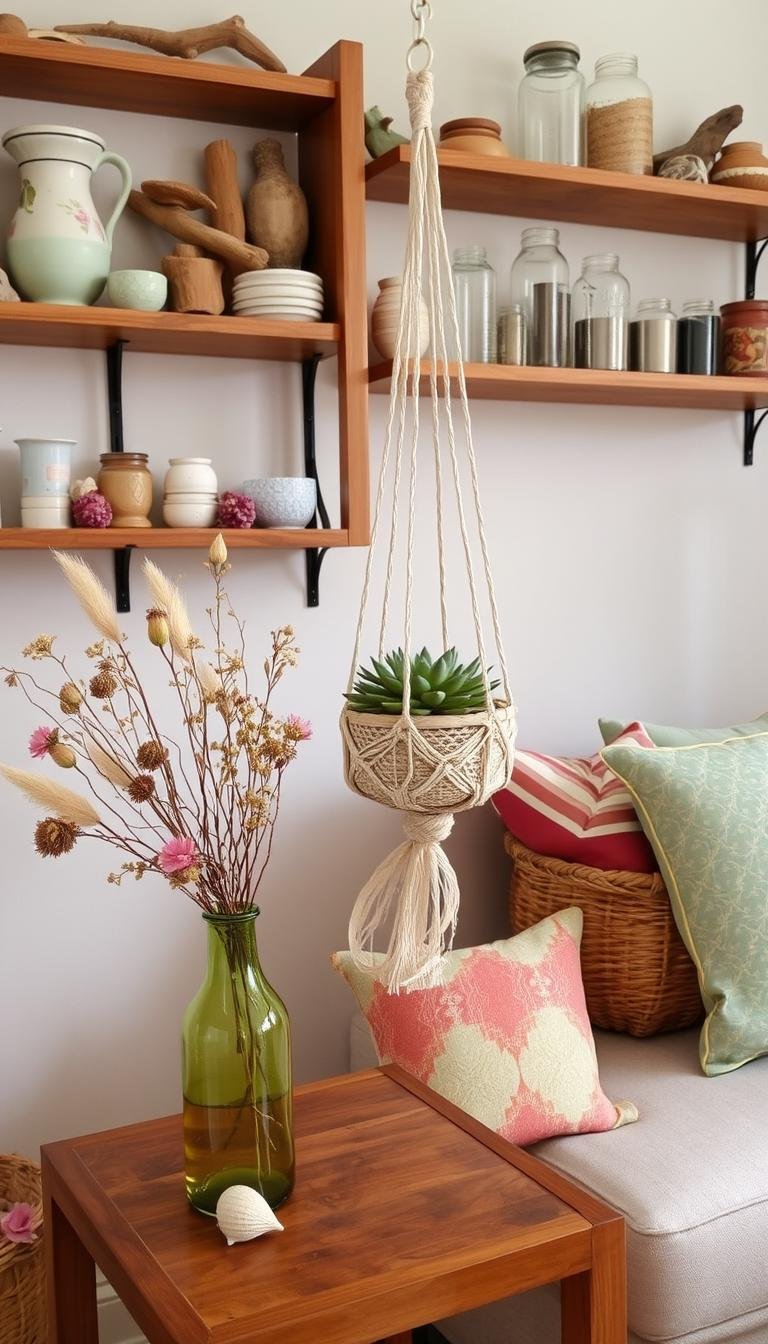
Looking for a craft that does not require leather-hard clay? Browse our easy painted mug ideas. These use different paints and finishing methods than traditional fired sgraffito. For ways to decorate with ceramics you already own, see our budget kitchen decor ideas with thrifted ceramics.