Sgraffito pottery for beginners: how to carve a design into clay
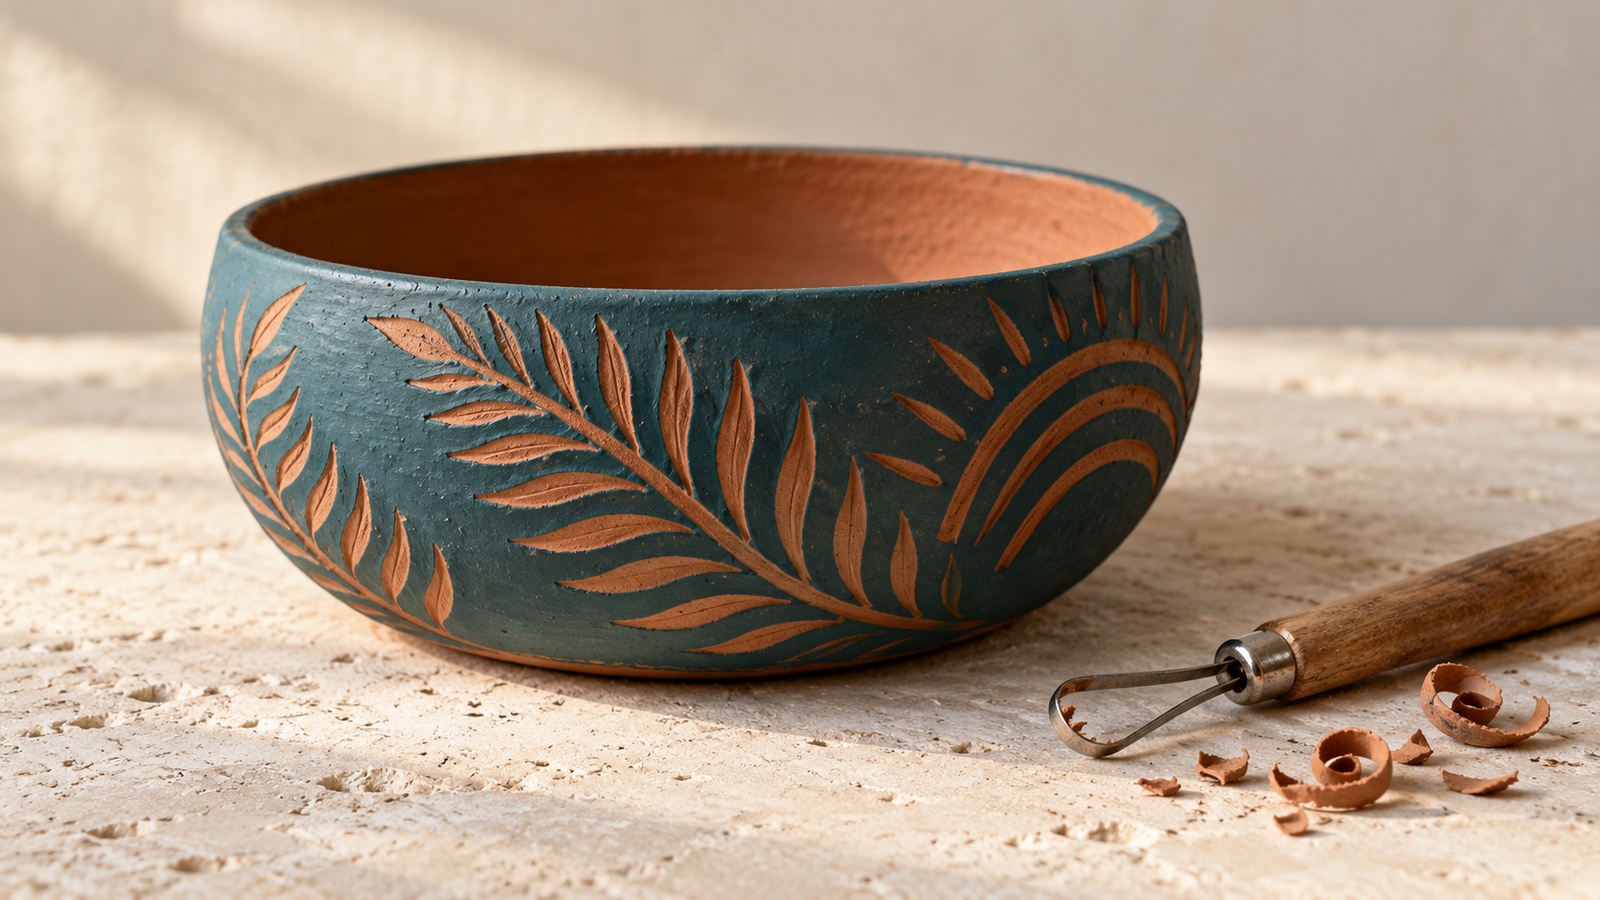
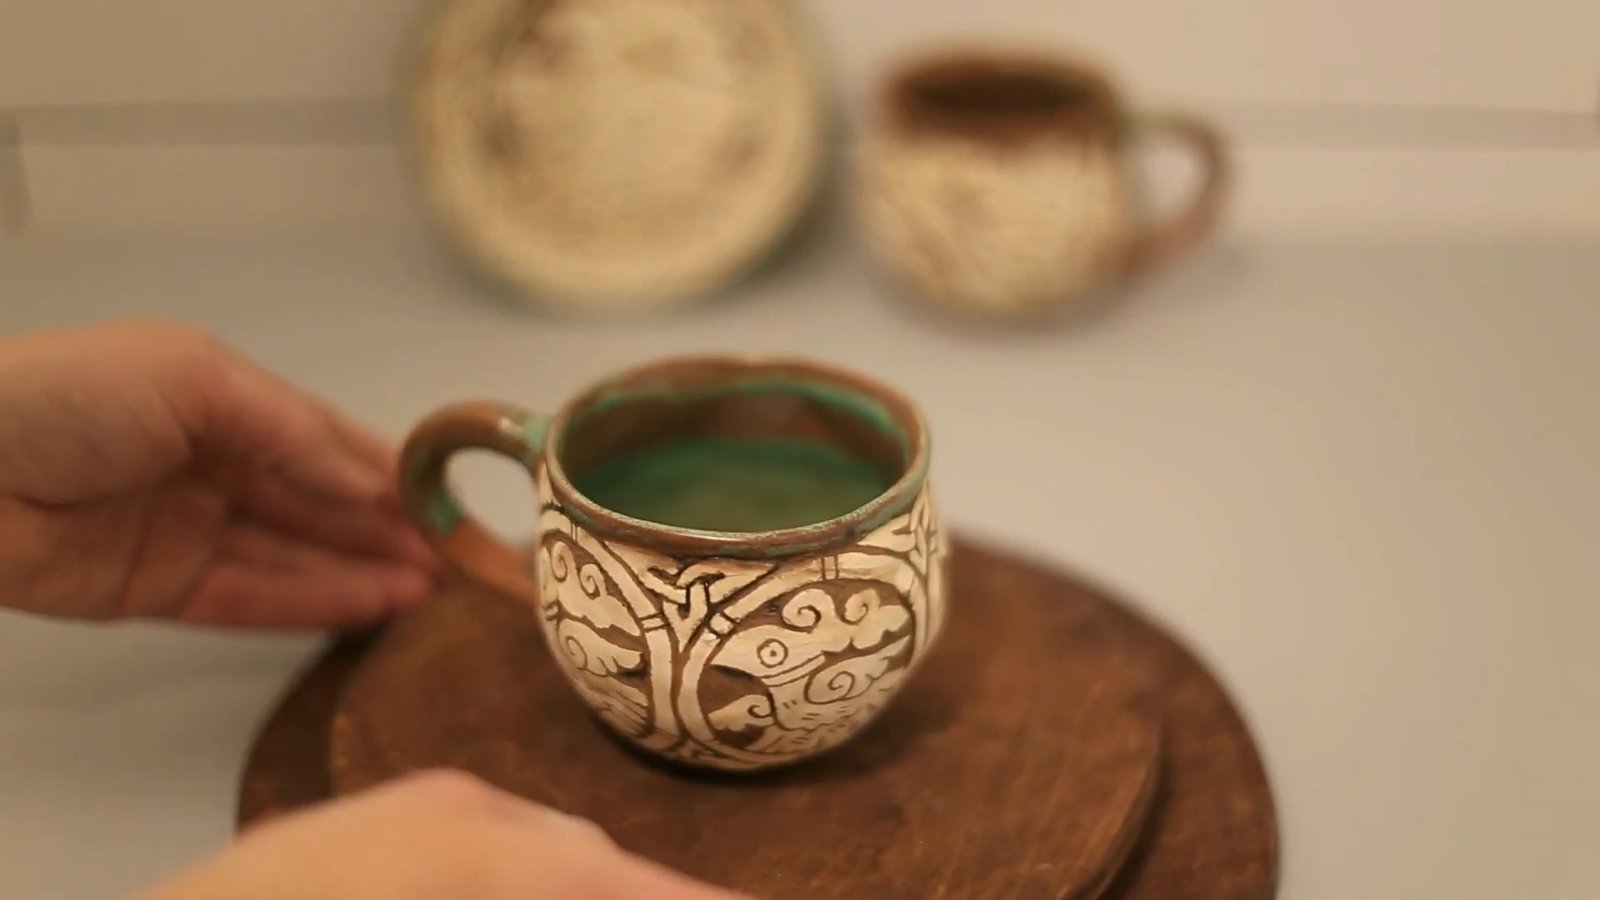
A pale surface, a dark clay body and a few carved lines can give a simple cup a character of its own. Sgraffito lets you draw by removing color, revealing the clay underneath as the pattern takes shape.
What is sgraffito pottery?
Sgraffito is a ceramic decorating technique in which you scratch through a layer of colored slip or underglaze to expose a contrasting clay body. Slip is liquid clay; underglaze is a ceramic color product used beneath a glaze or, where its instructions permit, on its own. Either can create a surface for carving, provided it suits your clay and firing process.
The contrast makes the drawing readable. White over brown clay gives a warm, graphic effect, while dark color over pale clay reverses the relationship. The marks also leave a shallow texture. Ceramic artist Nicole Pepper’s account of her process describes working on leather-hard clay and using a smooth clay body to help the tool travel cleanly.
For a first attempt, choose a small practice tile or a simple plate. It gives you room to test the pressure of your tool before carving around a cup or handle. For more practice with line weight, hatching and dots, see our step-by-step sgraffito pottery guide.
What you’ll need
- A smooth ceramic clay body and a simple form ready for decoration.
- A contrasting slip or underglaze approved for that clay and firing range.
- A soft brush for applying the color.
- A pencil or wooden point for a light outline.
- A small loop tool or sgraffito tool for carving.
- A stable board, a sponge and water for cleaning your workspace.
- Access to a pottery studio or suitable kiln, plus a compatible glaze if your finish requires one.
Check the studio’s clay and glaze requirements before buying supplies. Ask which clay bodies it accepts and which firing range it uses. This also gives you a chance to have a sample tile fired before committing to a larger piece.
How to make sgraffito pottery
1. Let the clay reach leather hard
Leather-hard clay holds its shape but still accepts a cut. The surface should be firm enough to handle gently without distorting the form. Make a test mark on a spare piece of the same clay: you want a controlled cut, with no dragging or crumbling.
Judge the material by how it behaves, rather than setting a fixed drying time. A thin plate and a thick cup will not necessarily reach the same stage together.
2. Apply the contrasting surface layer
Brush on your slip or underglaze according to its application instructions. Aim for coverage that will make the exposed clay visible when you carve. Let the surface lose its wet sheen while keeping the clay beneath workable.
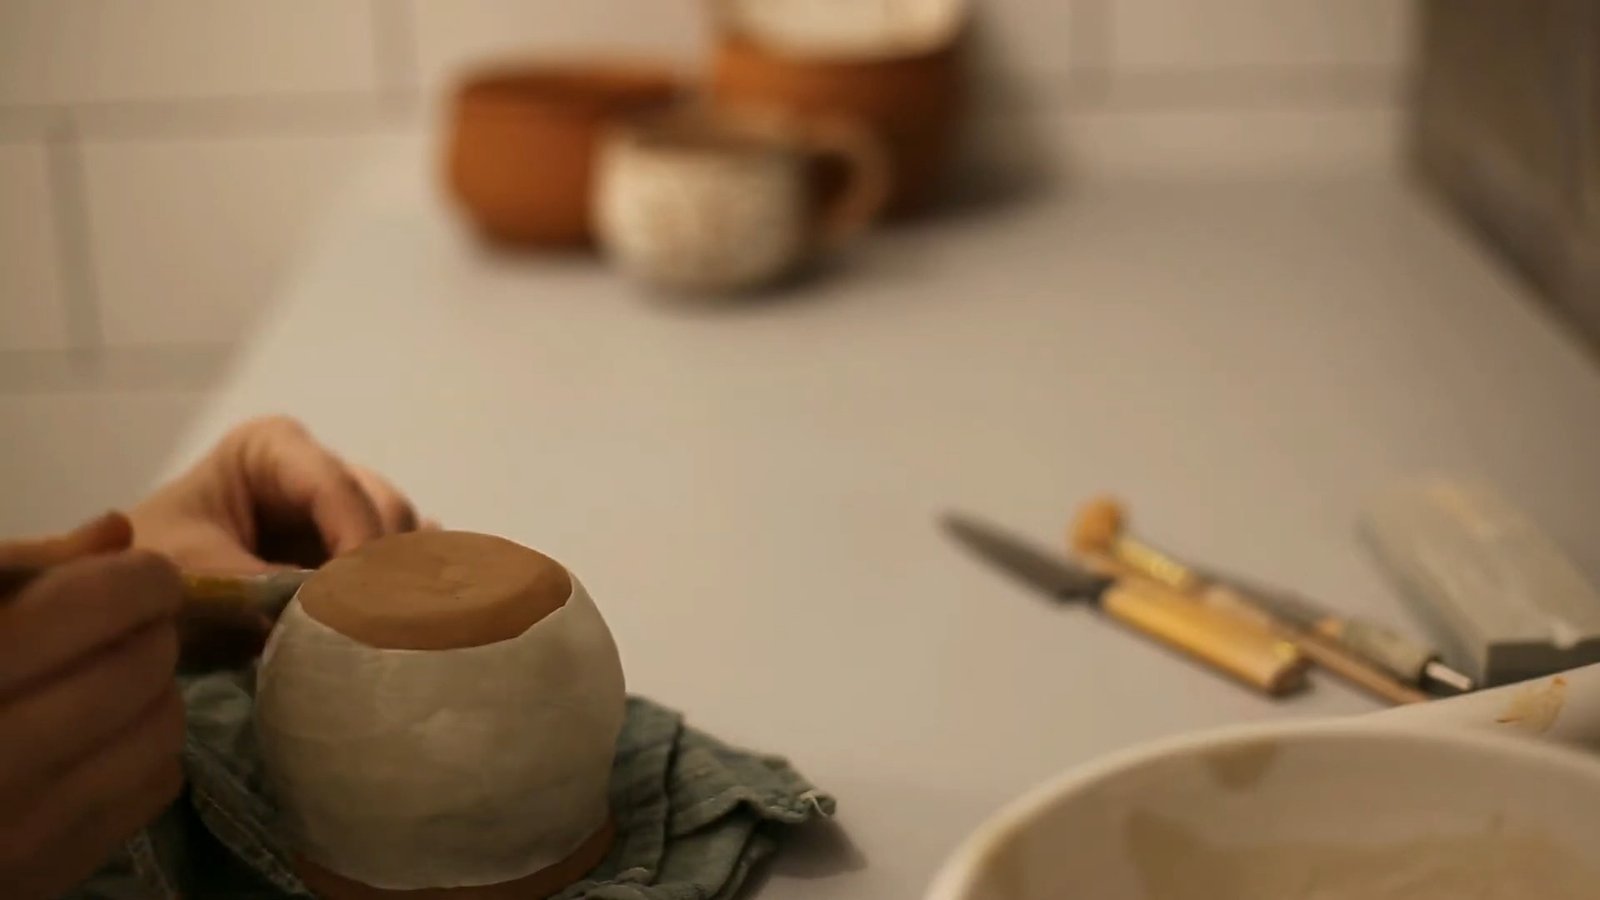
AMACO’s sgraffito lesson recommends carving when the underglaze is dry to the touch and the clay is still leather hard. Its coat count and firing schedule apply to that lesson’s materials; use the instructions for your own products.
3. Sketch a pattern with room to carve
Start with a drawing you can simplify: a leafy stem, a band of arches or one bold animal shape. Leave open space between details so you can remove the background without losing the image.
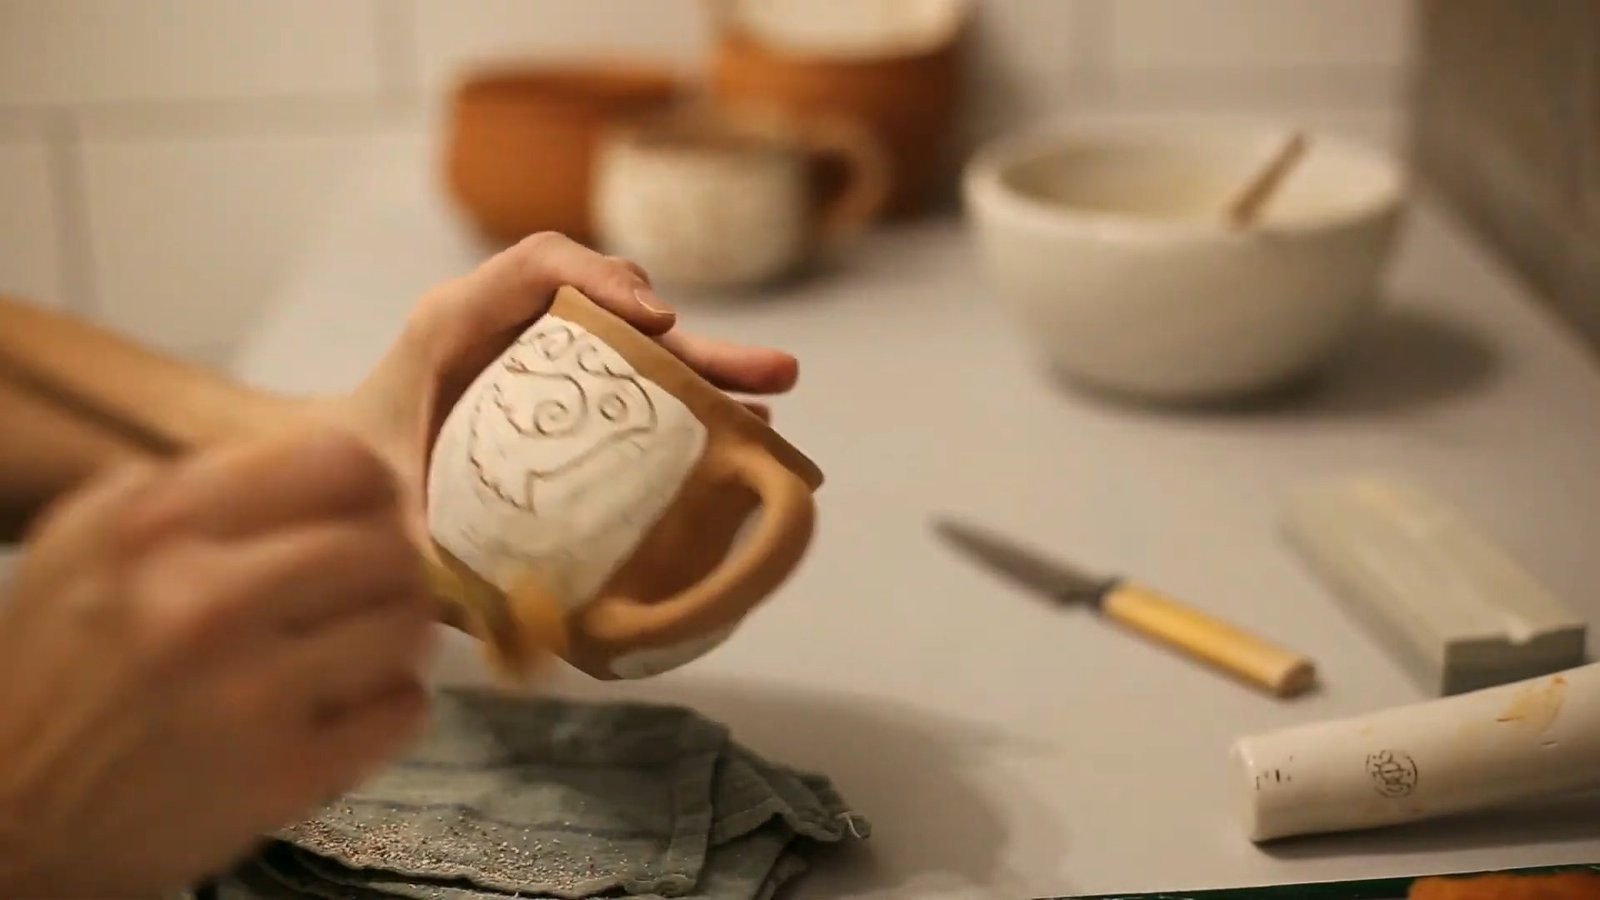
Use a light touch for the initial outline. On a mug, check how the drawing meets the handle. On a plate, plan the relationship between the central motif and the rim before filling in small details.
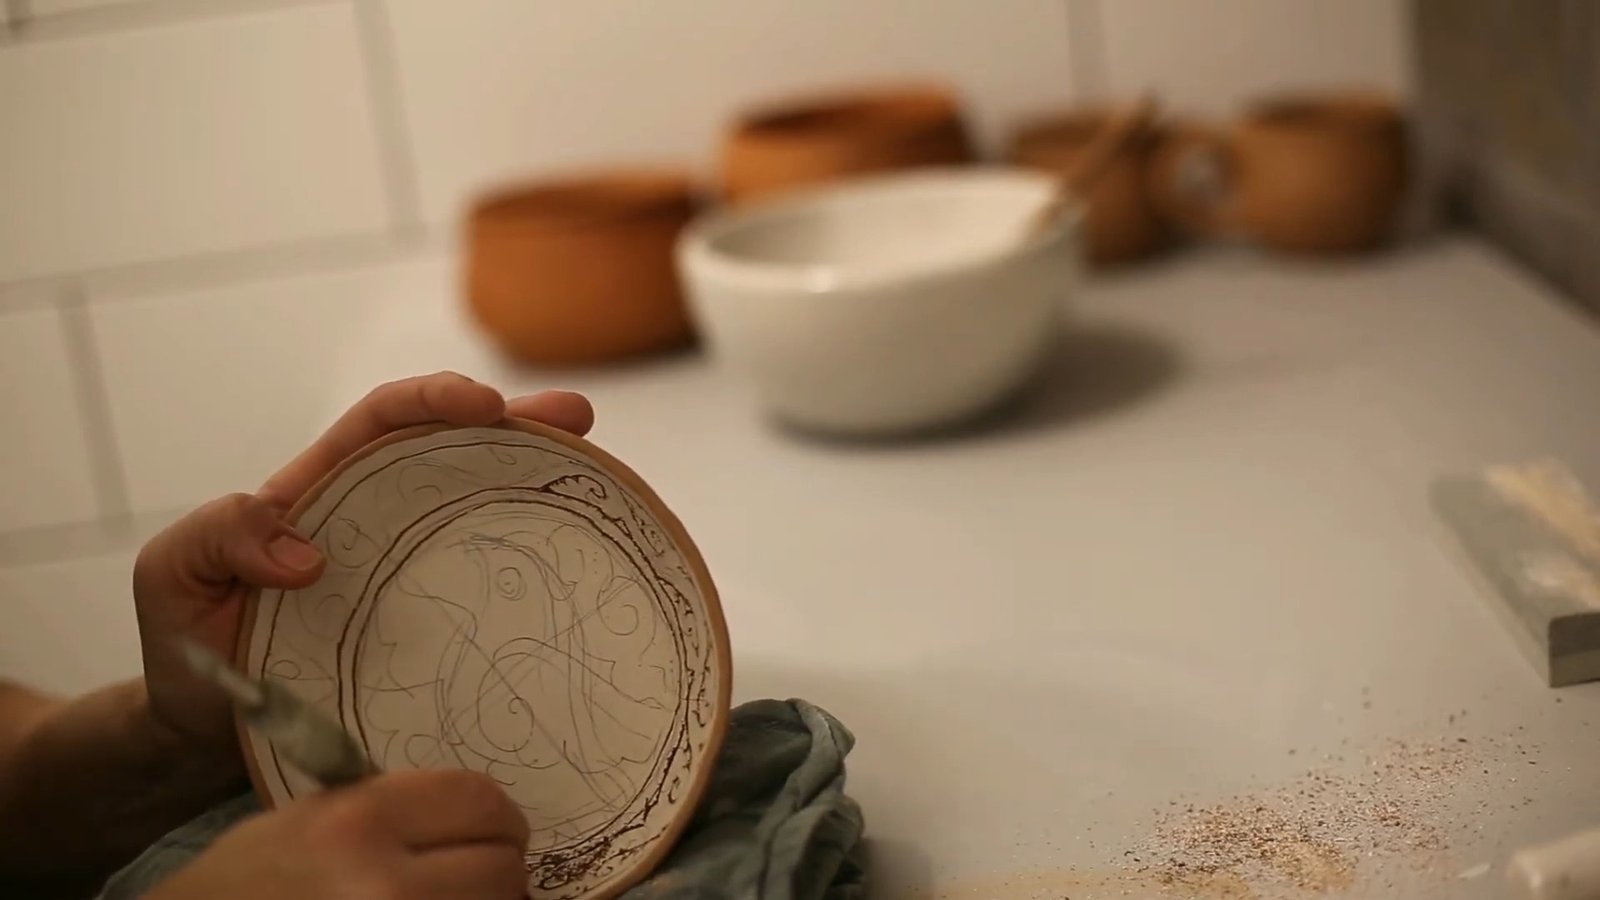
4. Carve through the color
Follow a short section of your outline with a small tool. Remove enough of the surface layer to reveal the contrasting clay; avoid digging deep into the wall of the piece. Turn the form as you work so your hand can follow a comfortable curve.
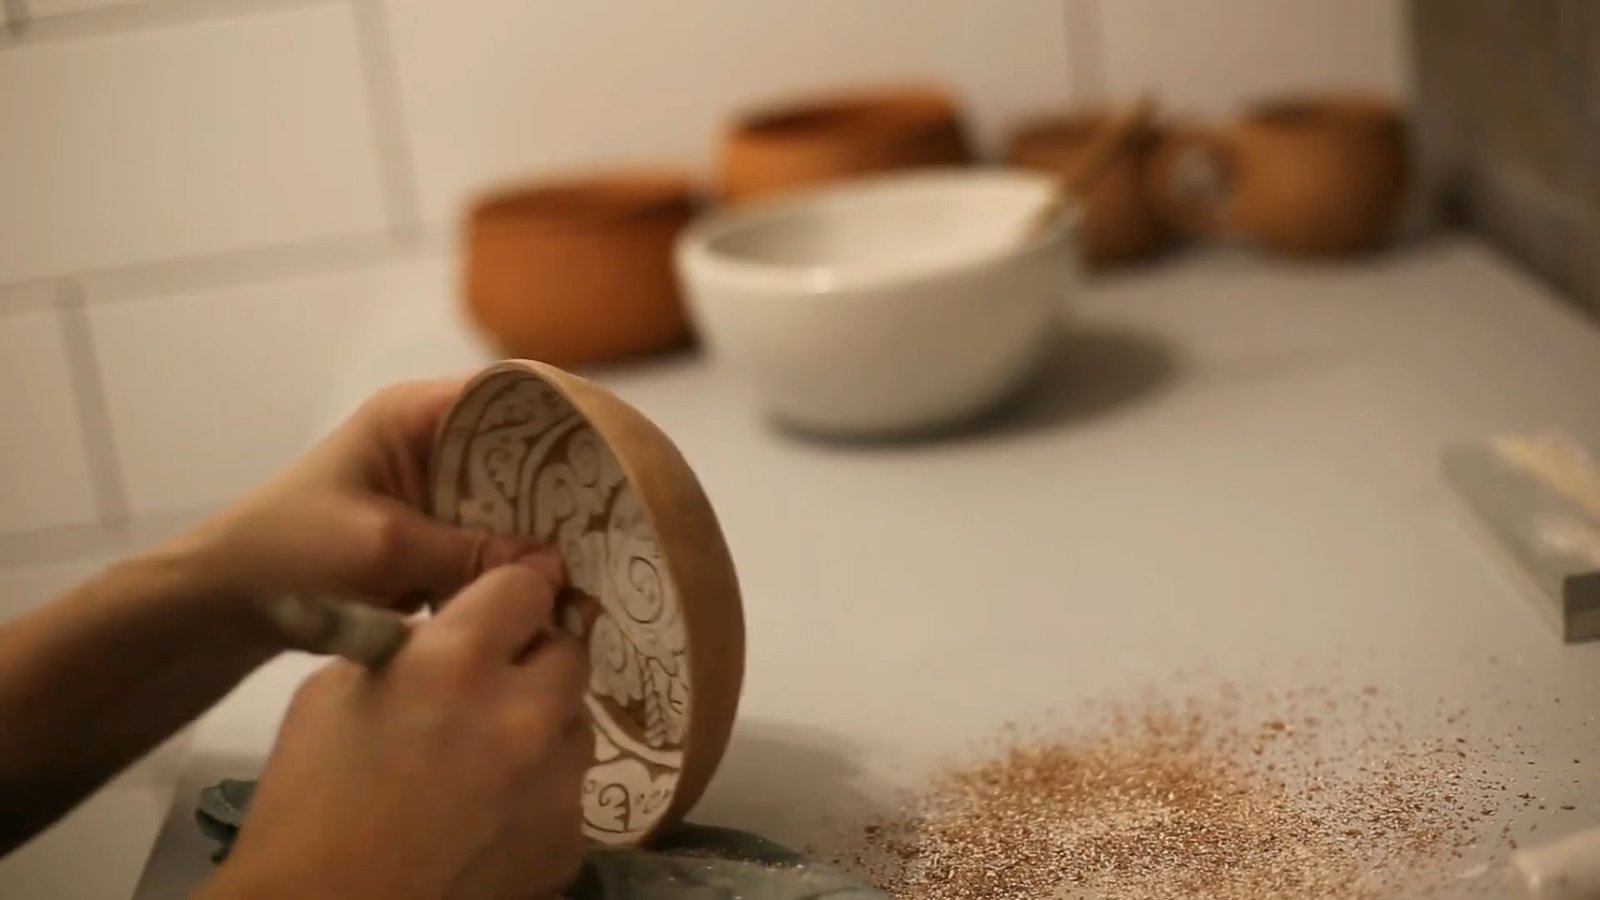
If you want a bolder result, widen selected background areas after establishing the outline. A narrow line and an open patch of exposed clay do different jobs, so pause occasionally and look at the whole drawing.
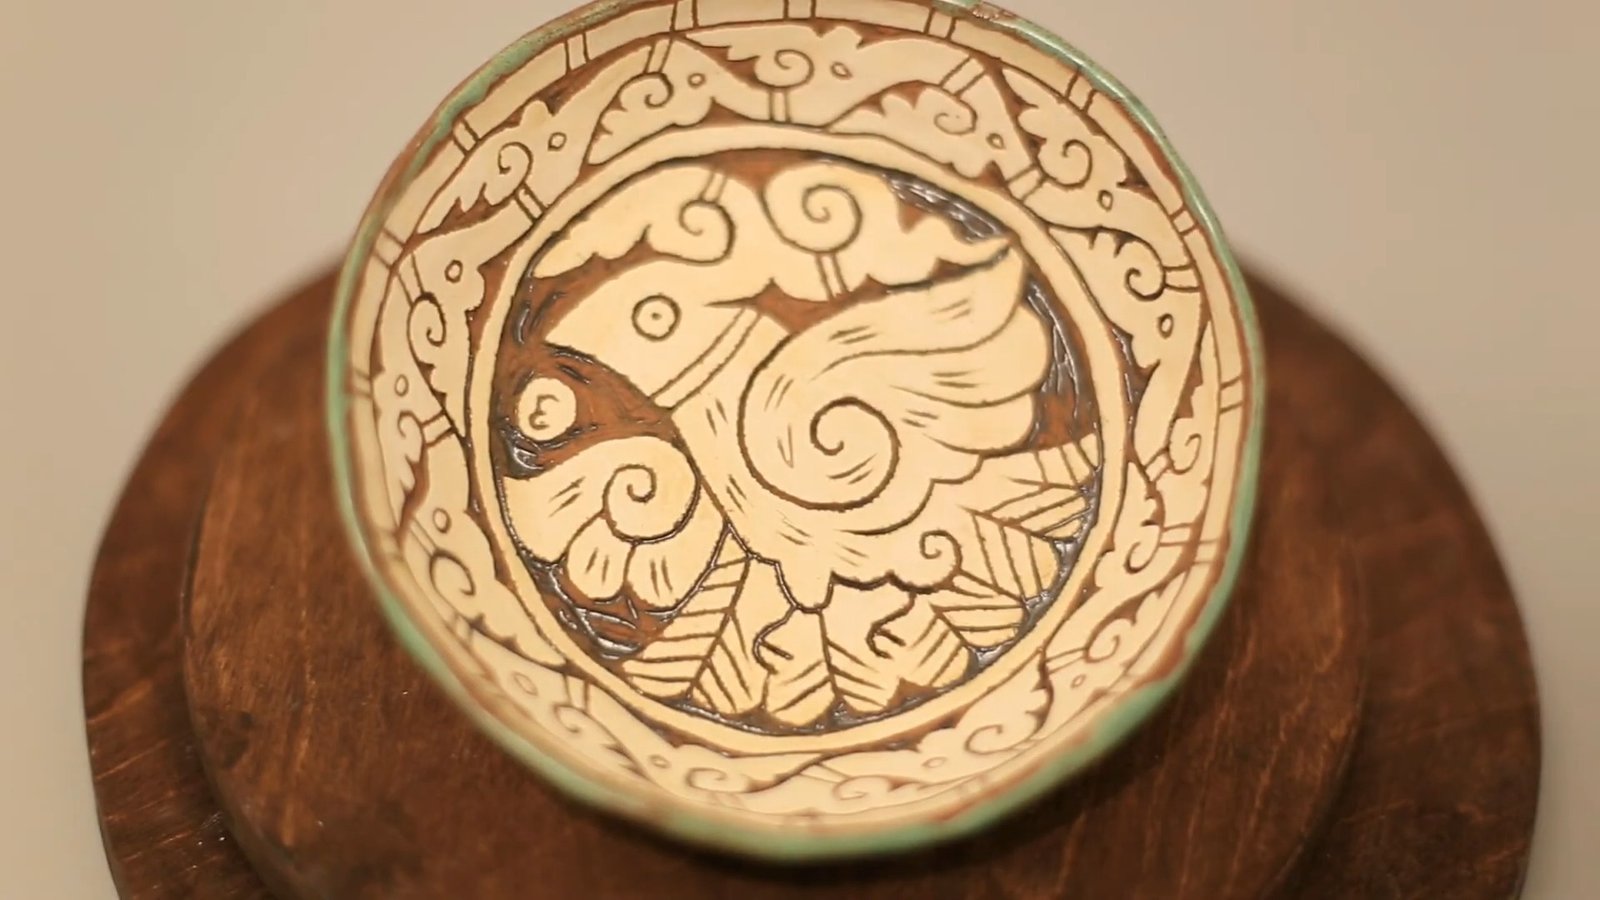
5. Clear the work area without raising dust
Keep scraps contained and clean the work surface with wet methods. Avoid blowing on the piece or sweeping dry ceramic residue into the air. The UK’s Health and Safety Executive guidance on ceramic materials recommends wet cleaning or suitable dust extraction and advises against brushes or compressed air for cleaning dusty surfaces. Follow your studio’s procedure for removing loose material from the carving itself.
6. Dry, fire and finish with compatible materials
Let the piece dry fully, then follow your studio’s bisque and glaze firing process. There is no single firing temperature for all sgraffito pottery. Your clay, surface color and glaze need to work at the same firing range.
For mugs or plates intended for food, check the full combination with the studio. A decorative finish does not establish food suitability. For example, AMACO specifies a clear glaze over Velvet underglazes on food surfaces. That requirement should not be assumed to describe the materials used in Velga’s video.
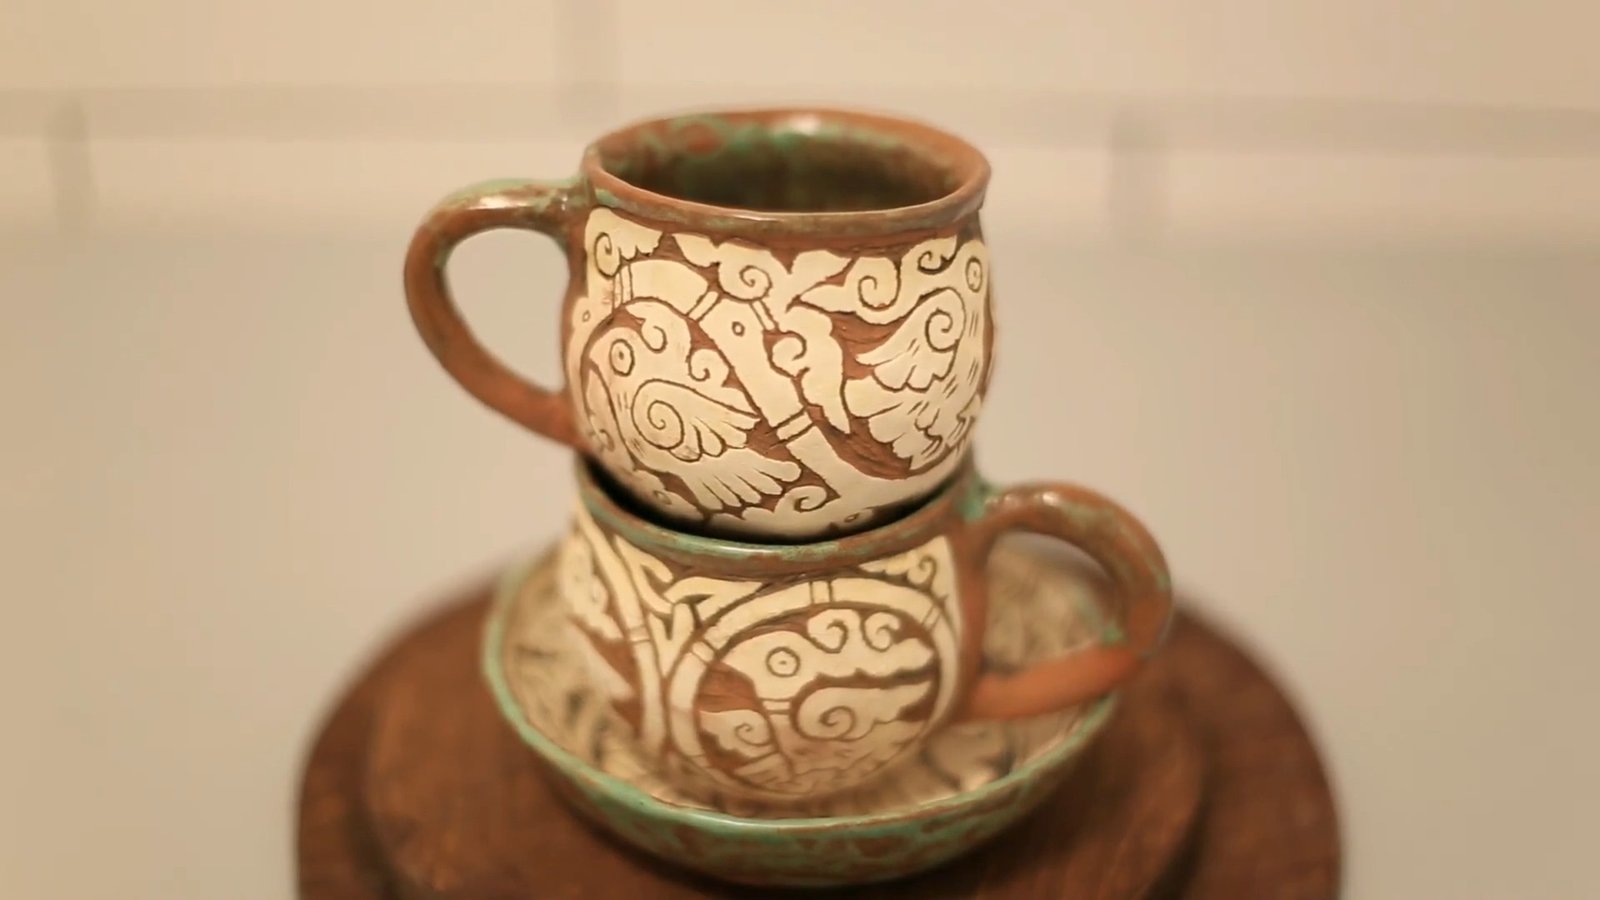
Once your pottery is finished, give it a place where the carved details can be seen. Our kitchen styling ideas with thrifted ceramics include open shelves with mismatched mugs and displays that mix old and new pieces.
When the carving isn’t going smoothly
| What you notice | What to check |
|---|---|
| The tool drags or smears the coating. | The surface may still be too wet. Pause and test again on a spare tile. |
| The tool catches and leaves jagged lines. | Check for coarse particles in the clay and whether the piece has dried too far. Try smoother clay on the next test. |
| The drawing is difficult to read. | Check the contrast and spacing. Simplify crowded details in your next sketch. |
| The coating flakes or separates. | Stop and check the slip’s compatibility and application stage with the supplier or studio. |
Keep the first fired test tile. Write down the clay, color, glaze and firing details so you can compare the finished surface with what you saw while carving.
Sgraffito pottery FAQs
Can beginners try sgraffito?
Yes. A small tile with a bold, simple pattern is a manageable starting point. Practicing the cuts on a flat surface also lets you concentrate on pressure before handling a curved form.
Do you need a pottery wheel?
No. Sgraffito is a surface technique, so you can use a handbuilt form. Velga’s video description specifically mentions beginning her pieces in a handbuilding class.
Can you use underglaze instead of slip?
Yes, where the product is suitable for carving on greenware and compatible with the clay and firing range. Check the manufacturer’s instructions before applying it.
How deep should you carve?
Carve through the surface color until you expose the clay beneath. Test your tool first and keep the cuts shallow enough to preserve the form’s wall.
Watch the original video
Watch the making process and see the decorated mugs and plate in the original video, by Katerina Velga,
Video and process-image credit: Katerina Velga. Licensed under Creative Commons Attribution (CC BY), as identified by YouTube. No endorsement by the creator is implied.