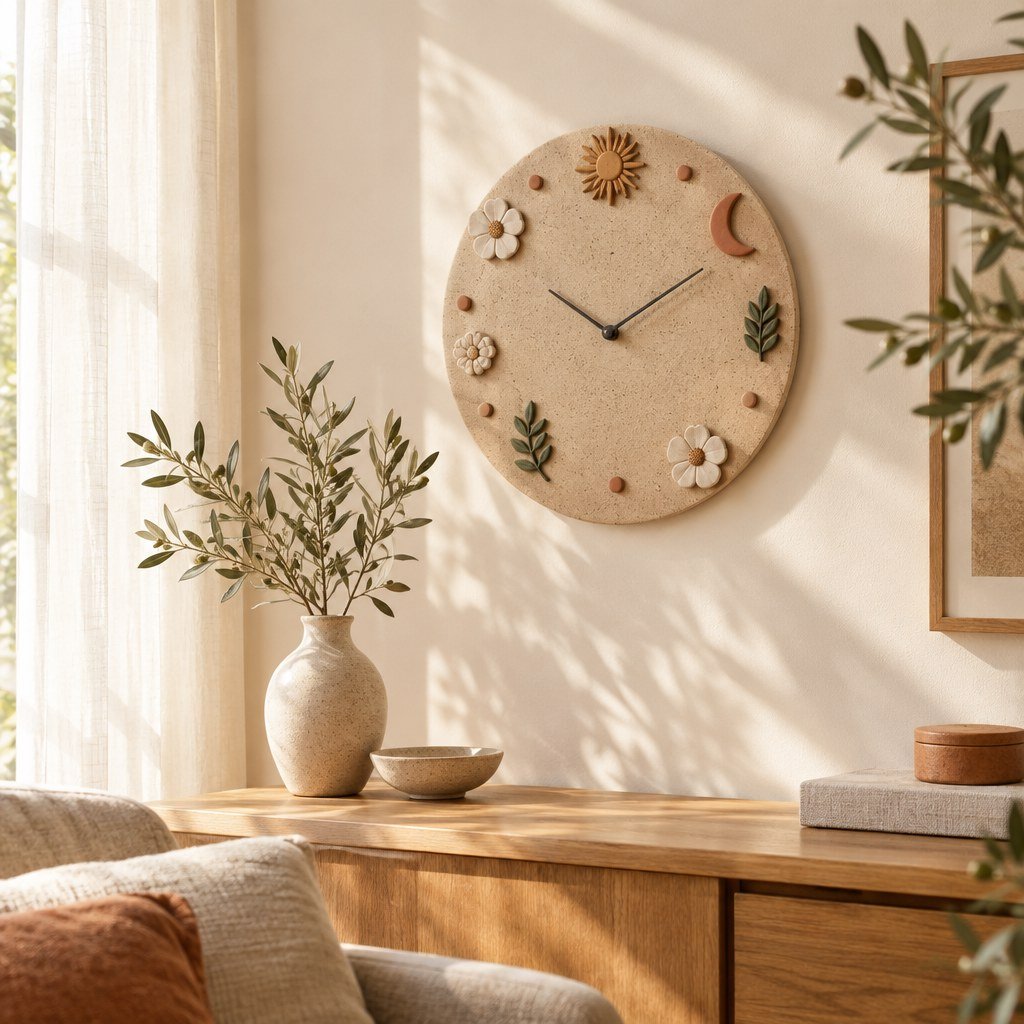
DIY Clay Clock: Make an Air-Dry Clock with Magnetic Decor
A DIY clay clock can do more than tell the time. With a simple air-dry clay face and a set of removable magnetic decorations, you can turn everyday moments into little symbols around the dial. Swap a coffee cup for a flower, replace a breakfast icon with a fall leaf, or rearrange the whole collection whenever you want a change.
This beginner-friendly project combines a real battery-powered clock movement, handmade clay miniatures, and small magnetic attachment points. The best part is that you can make the decorations first, then tackle the larger clock face when you have the remaining materials.
At a glance: No kiln or pottery wheel needed. Plan for several shaping and painting sessions with drying time between them. You will need a working quartz clock mechanism, air-dry clay, paint, and a magnetic connection on both sides of each removable ornament.
Materials for an air-dry clay clock
- Air-dry clay for the round dial, raised numbers, and miniature ornaments
- Quartz clock movement kit with hands and a shaft long enough to pass through your finished clock face
- Small craft magnets for the backs of the decorations, plus matching magnets or thin ferromagnetic metal discs for the clock face
- Wooden ring or circular template to shape the clock face (optional; a reused wooden hoop is handy)
- Acrylic paint and fine brushes for the numbers, icons, and background
- Rolling pin, craft mat or parchment, ruler, shaping tools, and a small straw or skewer
- Adhesive suitable for magnets and fully dried clay, used according to its instructions
- Optional: fine sandpaper, a compatible clear craft sealer, and appropriate wall-hanging hardware
Before you start: Test a magnet against the exact disc or matching magnet you plan to use on the clock. Plain air-dry clay is not magnetic. A magnet attached to an ornament will not stay on a plain clay face without something magnetically responsive behind or at its contact point. Keep every ornament lightweight and use magnetic fixtures strong enough to resist sliding when the clock is upright.
Tiny magnets are a serious swallowing hazard. Keep loose magnets and small removable pieces away from young children and pets. This is an adult-assembly decor project, not a toy.
How to make a DIY clay clock step by step
1. Choose miniature icons that mean something to you
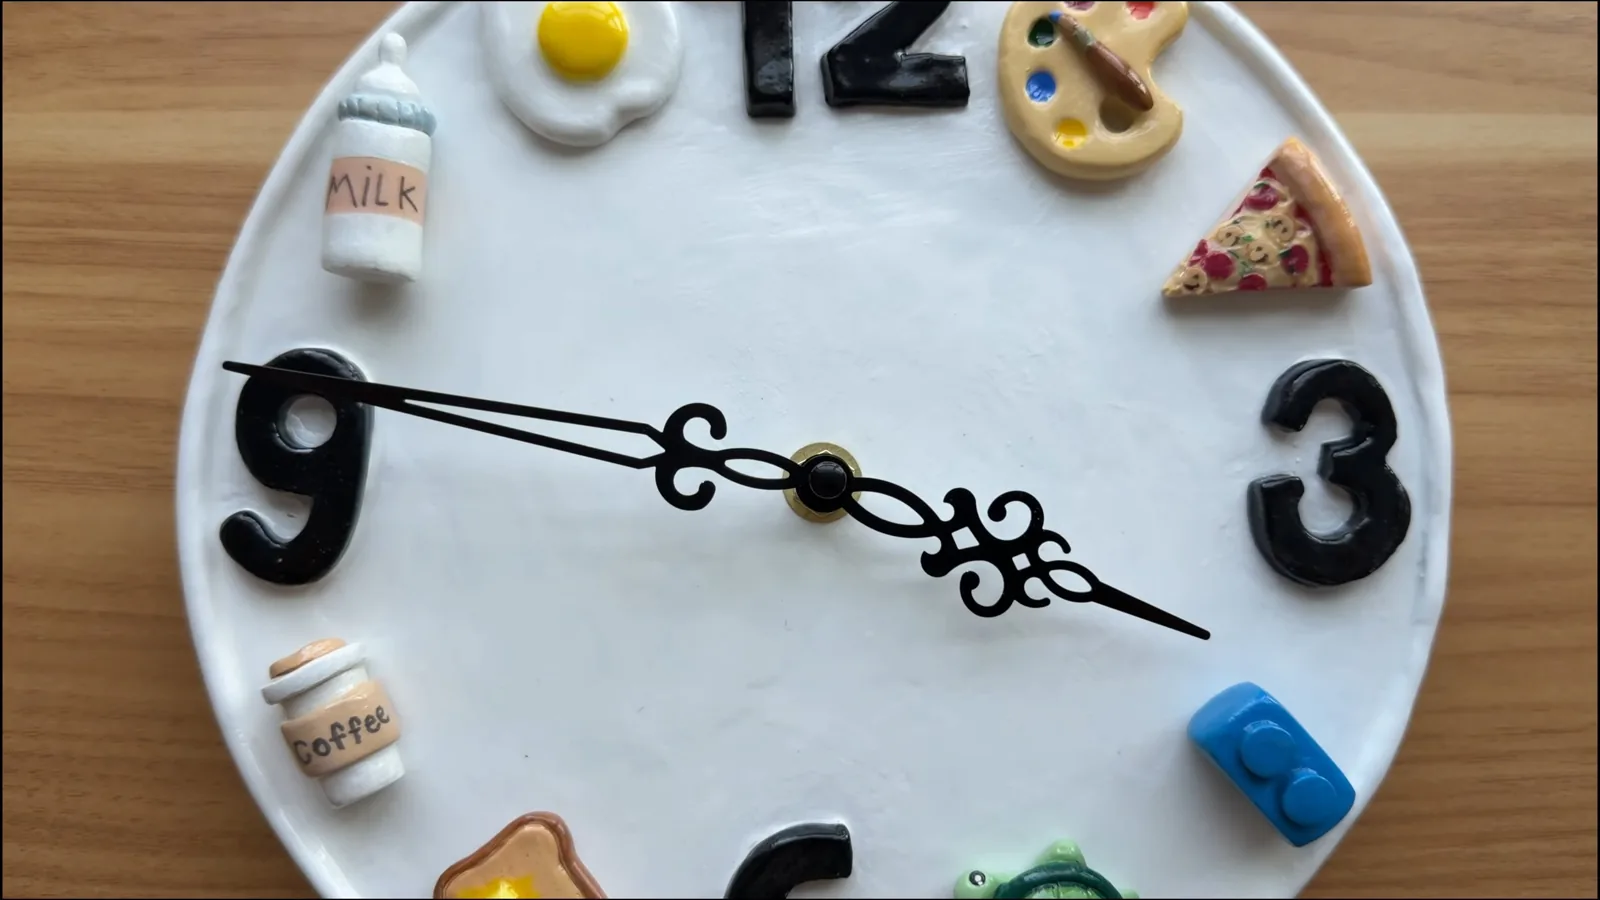
Start by sketching a handful of small shapes you can recognize at a glance. The design in the accompanying video uses an egg, toast, a cup, a milk bottle, a tiny pizza slice, a paint palette, a toy brick, and a turtle. These work because they are simple enough to model in clay, yet tell a story about a familiar daily routine.
You do not need to copy that exact set. A book, watering can, flower, paw print, or tiny house can make the dial feel personal. Keep the outlines clean, and leave enough room around the center so the clock hands can turn without touching raised pieces.
2. Shape the clay decorations first
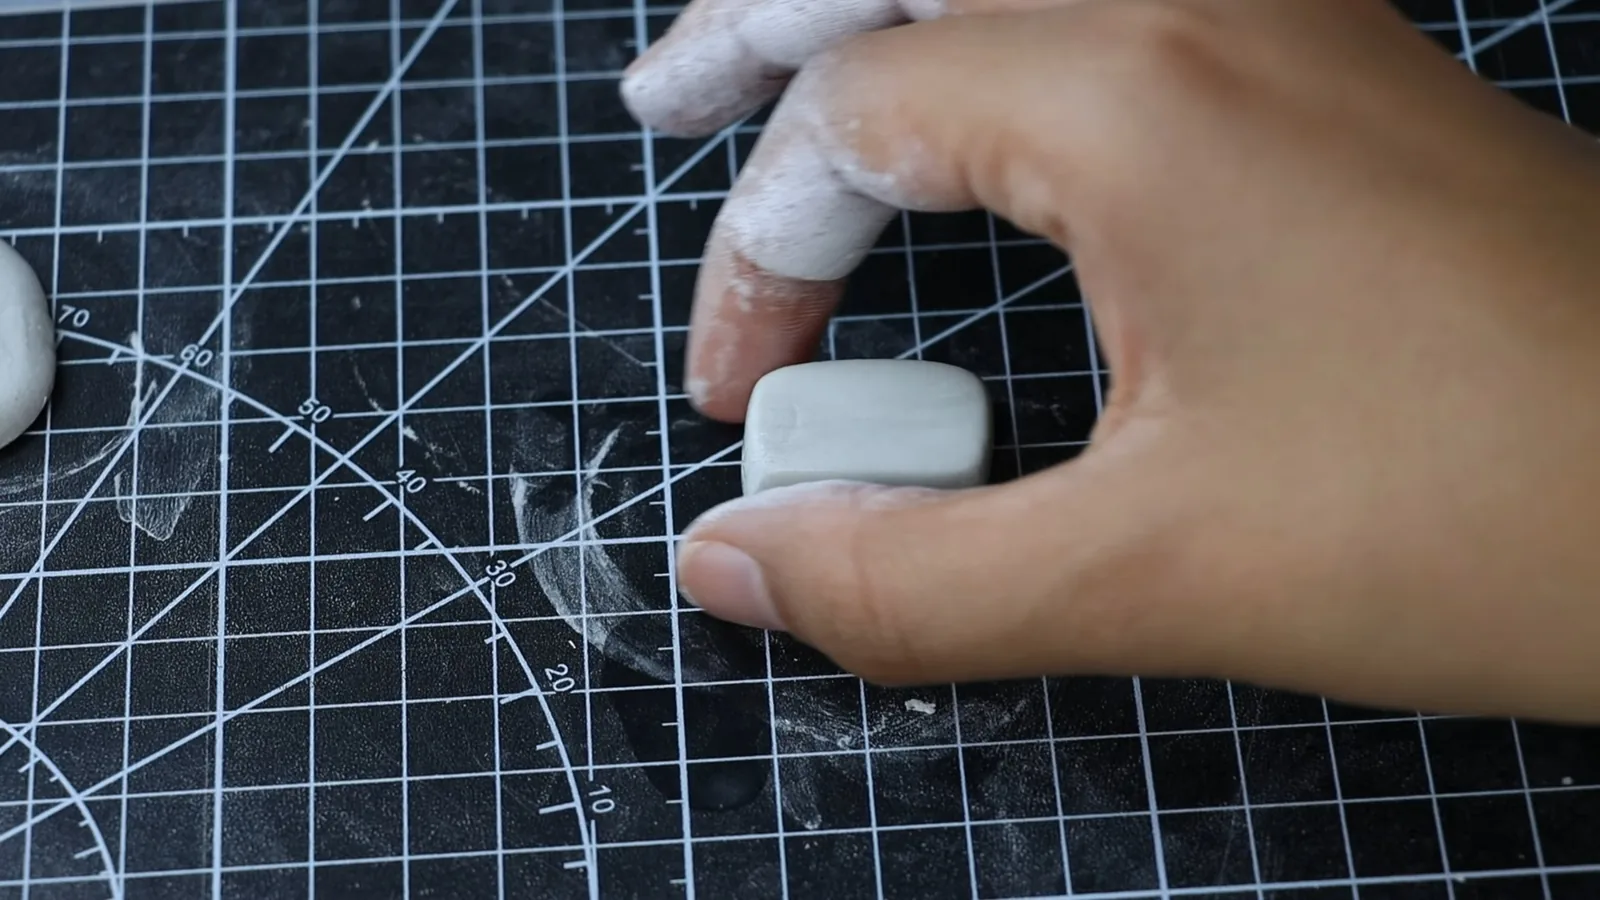
Pinch, roll, and press small pieces of clay together to build each icon. A flat piece of toast needs a rounded square with a slightly raised rim; a pizza slice starts with a triangle; a cup or bottle can be shaped from a short cylinder. Use a toothpick or modeling tool to define grooves and smaller details while the clay is soft.
Turn each ornament over before it dries. Press a shallow recess into the back where its magnet will eventually sit. Check the actual magnet size before making the recess, if possible. This small step is much easier to do now than after the clay has hardened.
Set the pieces on a flat, nonstick surface and let them dry according to the clay maker’s directions. Thin decorations may dry before the thicker dial, so it makes sense to start here. For another small project using the same idea, see our DIY cat paw magnets.
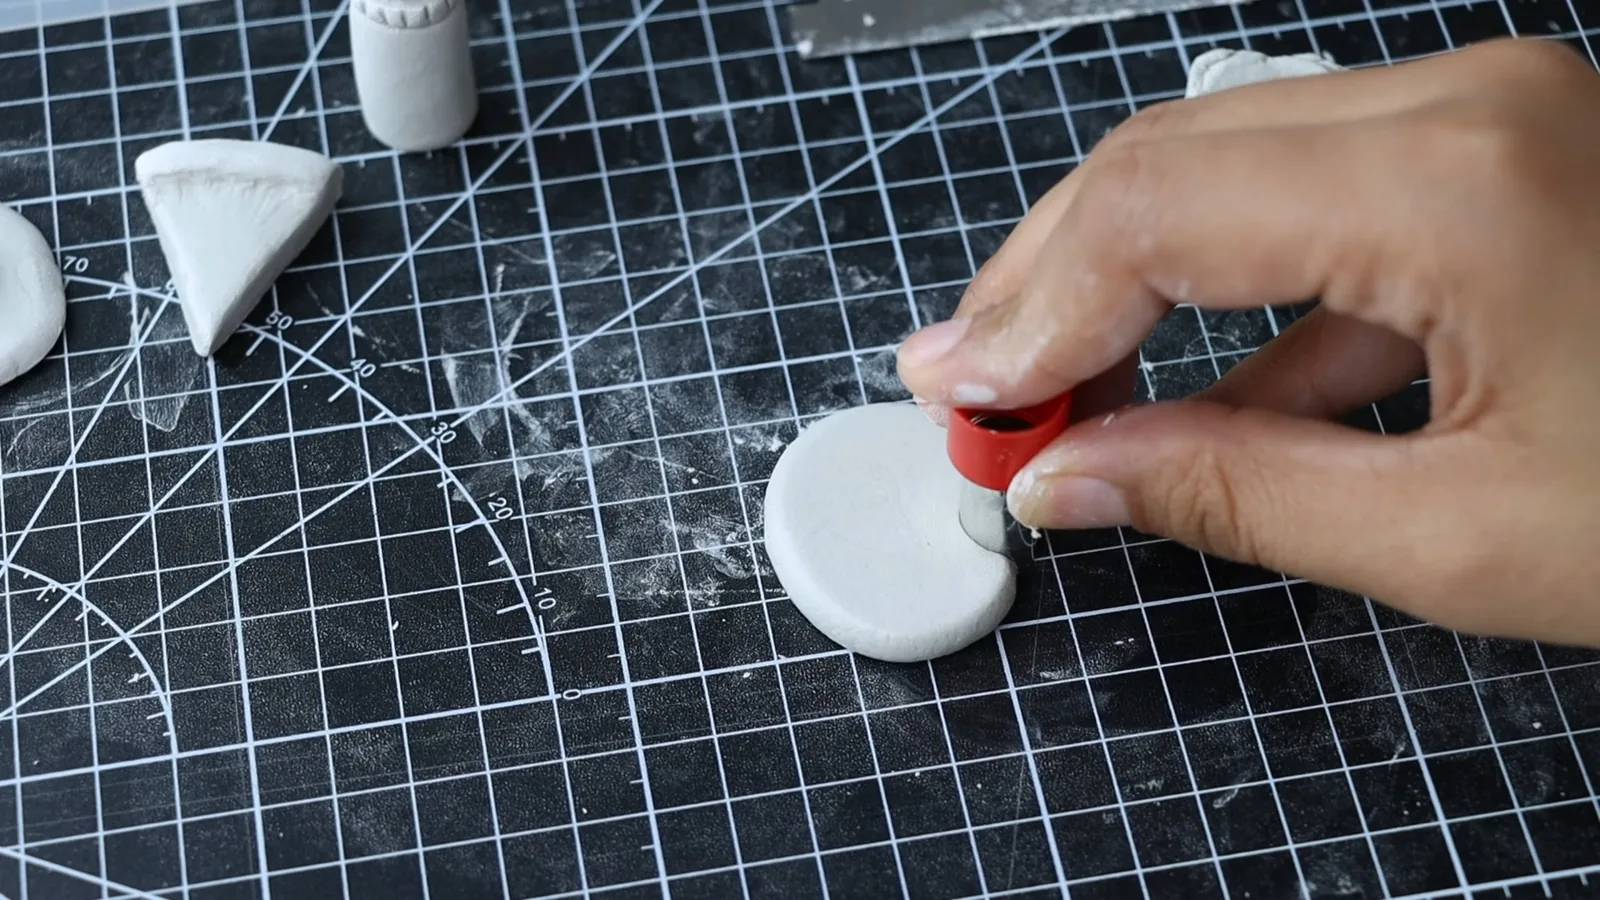
3. Roll out the round clock face
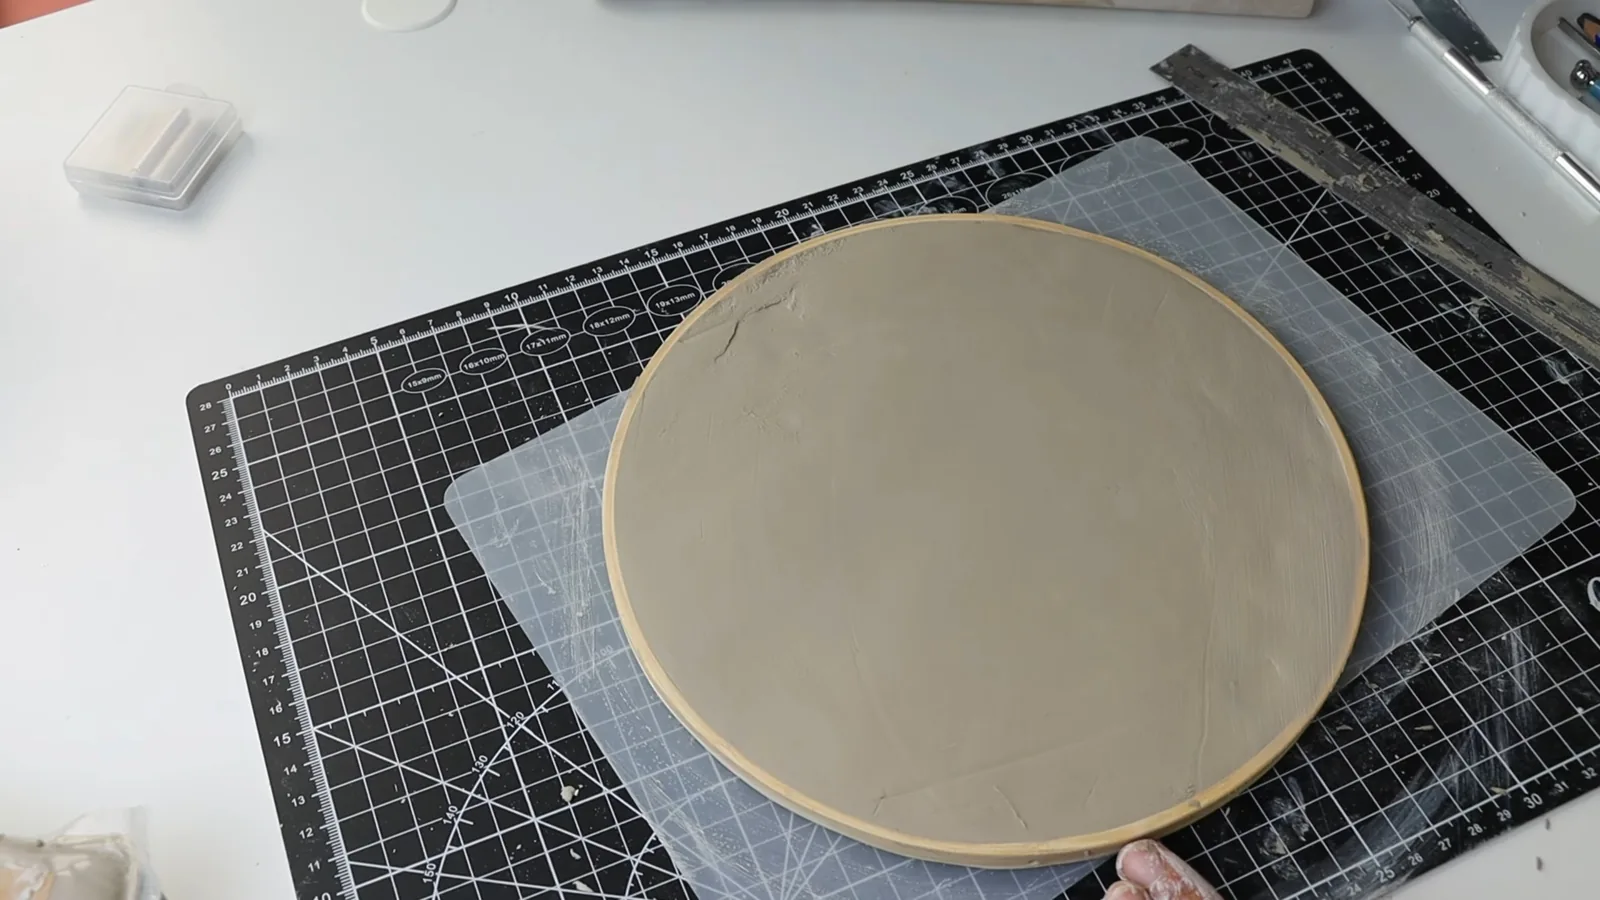
Knead enough air-dry clay for the base, then roll it into a smooth slab with even thickness. A wooden ring can act as a circular guide while you cut and tidy the edge. Check that your clock movement’s threaded shaft will reach through the final thickness before you commit to the slab. The clock mechanism must sit securely at the back, with sufficient clearance for the fixing nut and hands.
A useful detail from this design is the contrast between a simple round face and playful, dimensional markings. You can form the 12, 3, 6, and 9 from small coils of clay or leave them painted. Arrange the numbers before they set, and compare their position with the central shaft opening.
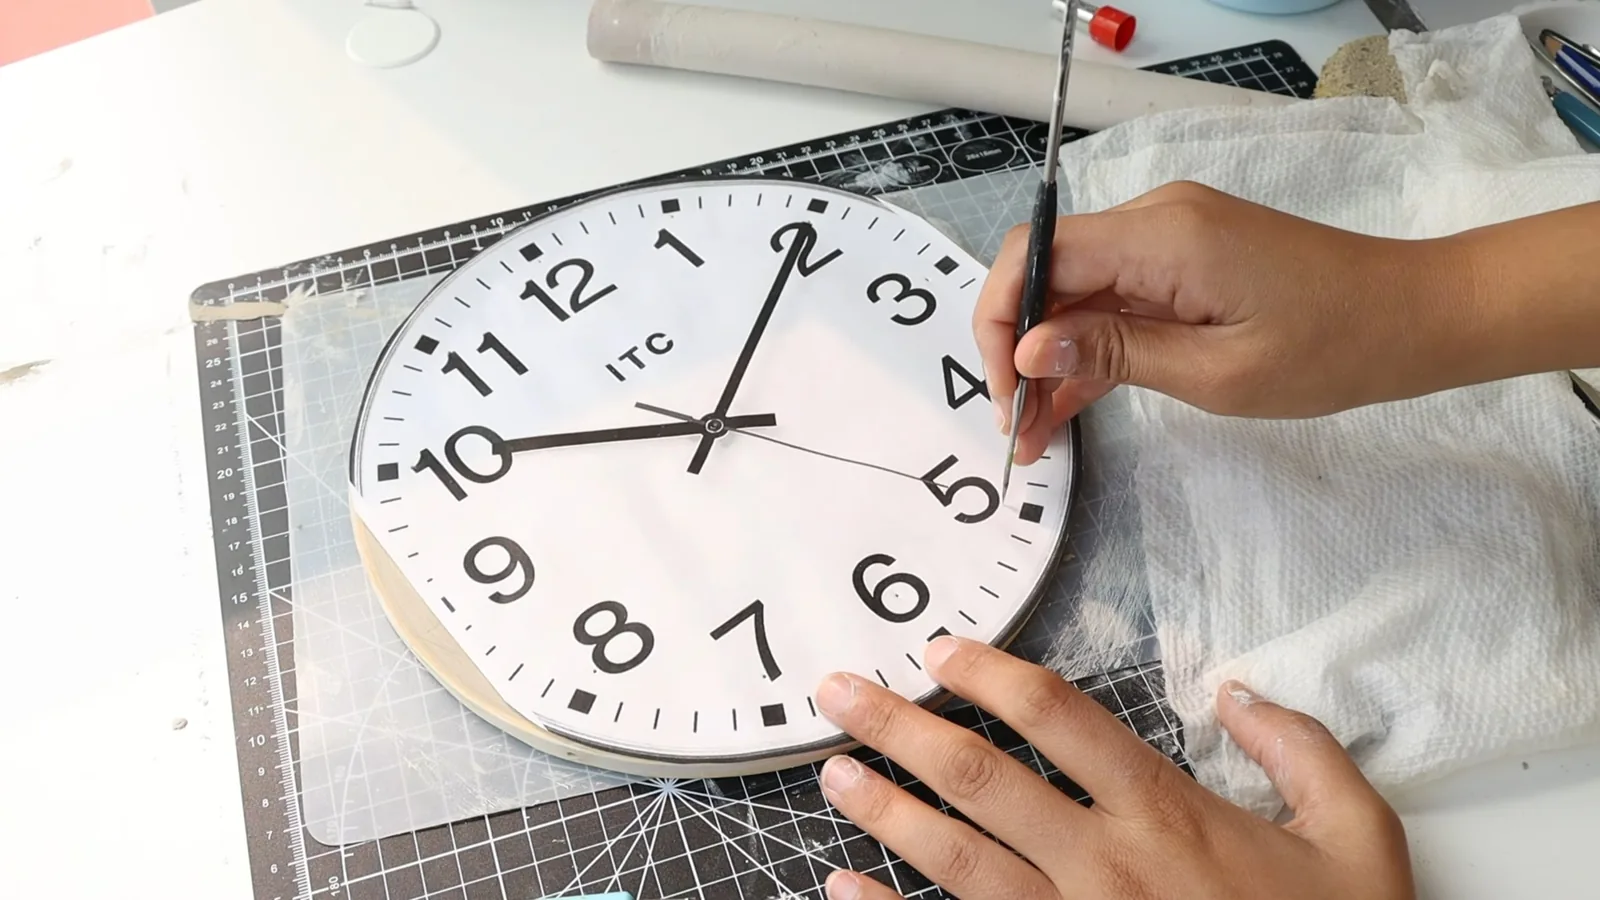
4. Mark the center and plan the magnetic anchor points
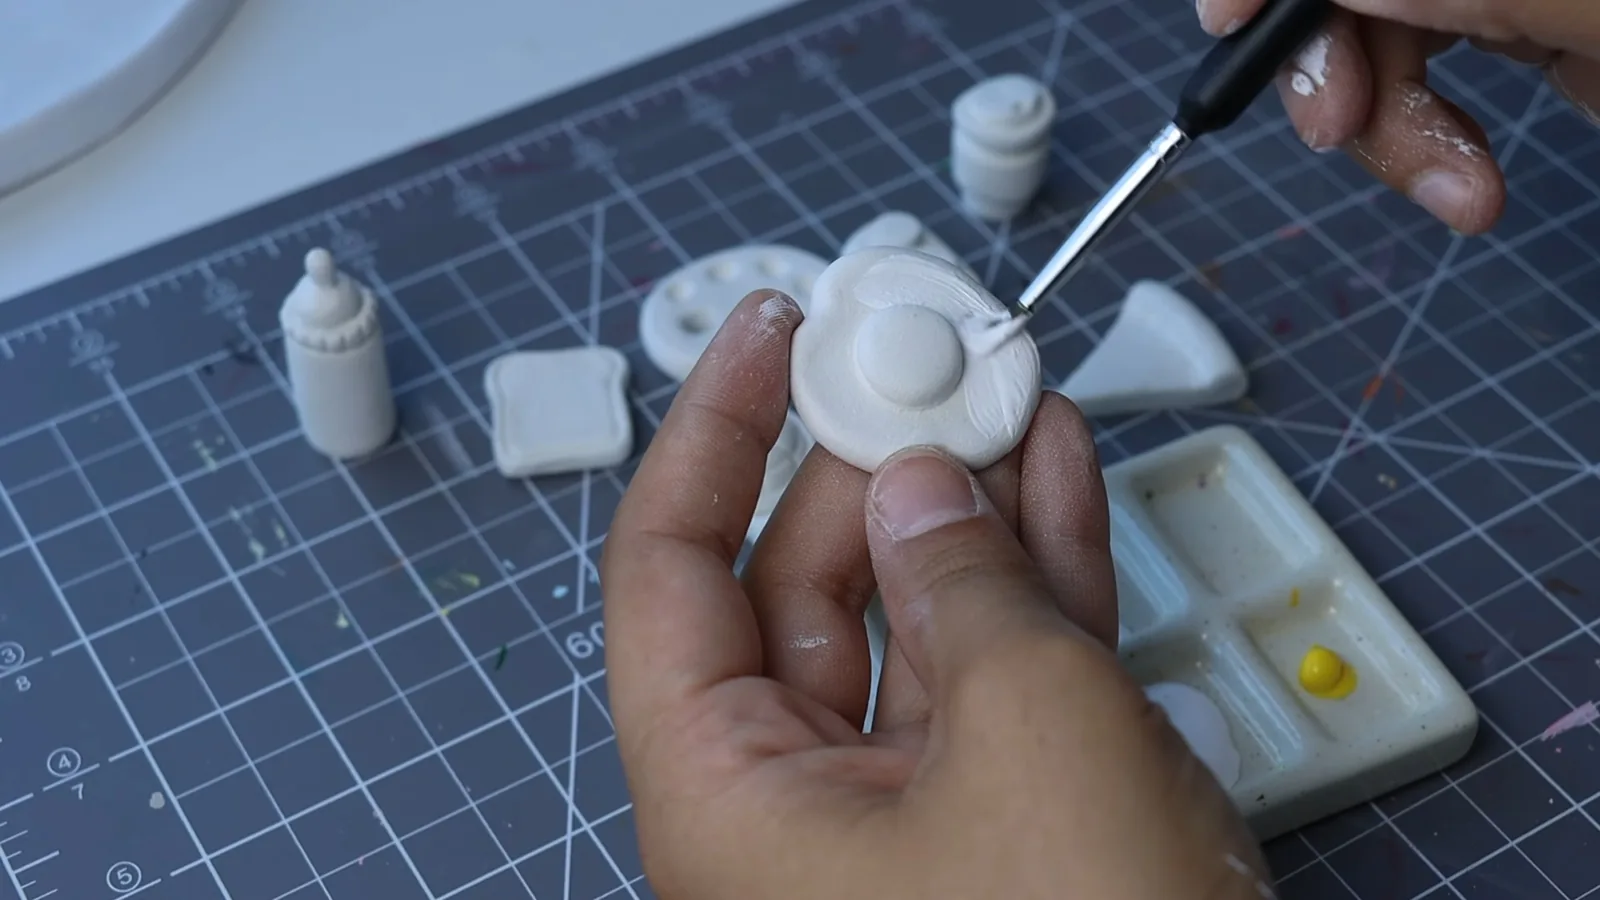
Use a ruler to locate the center of the circular face. Make the shaft opening while the clay is still workable, using the diameter required by your clock movement. Work slowly so the hole remains round and the dial does not distort.
Next, plan where the removable ornaments will sit. The original design shows small circular magnetic attachment points spaced around the dial, with larger numbers providing the main time markers. For your version, embed or securely attach appropriately sized metal discs or mating magnets at the chosen positions. If you are placing hardware into wet clay, allow for shrinkage and follow the adhesive and material directions before final assembly. Test the attachment with a sample piece before decorating the whole surface.
5. Let the base dry, then check the edge
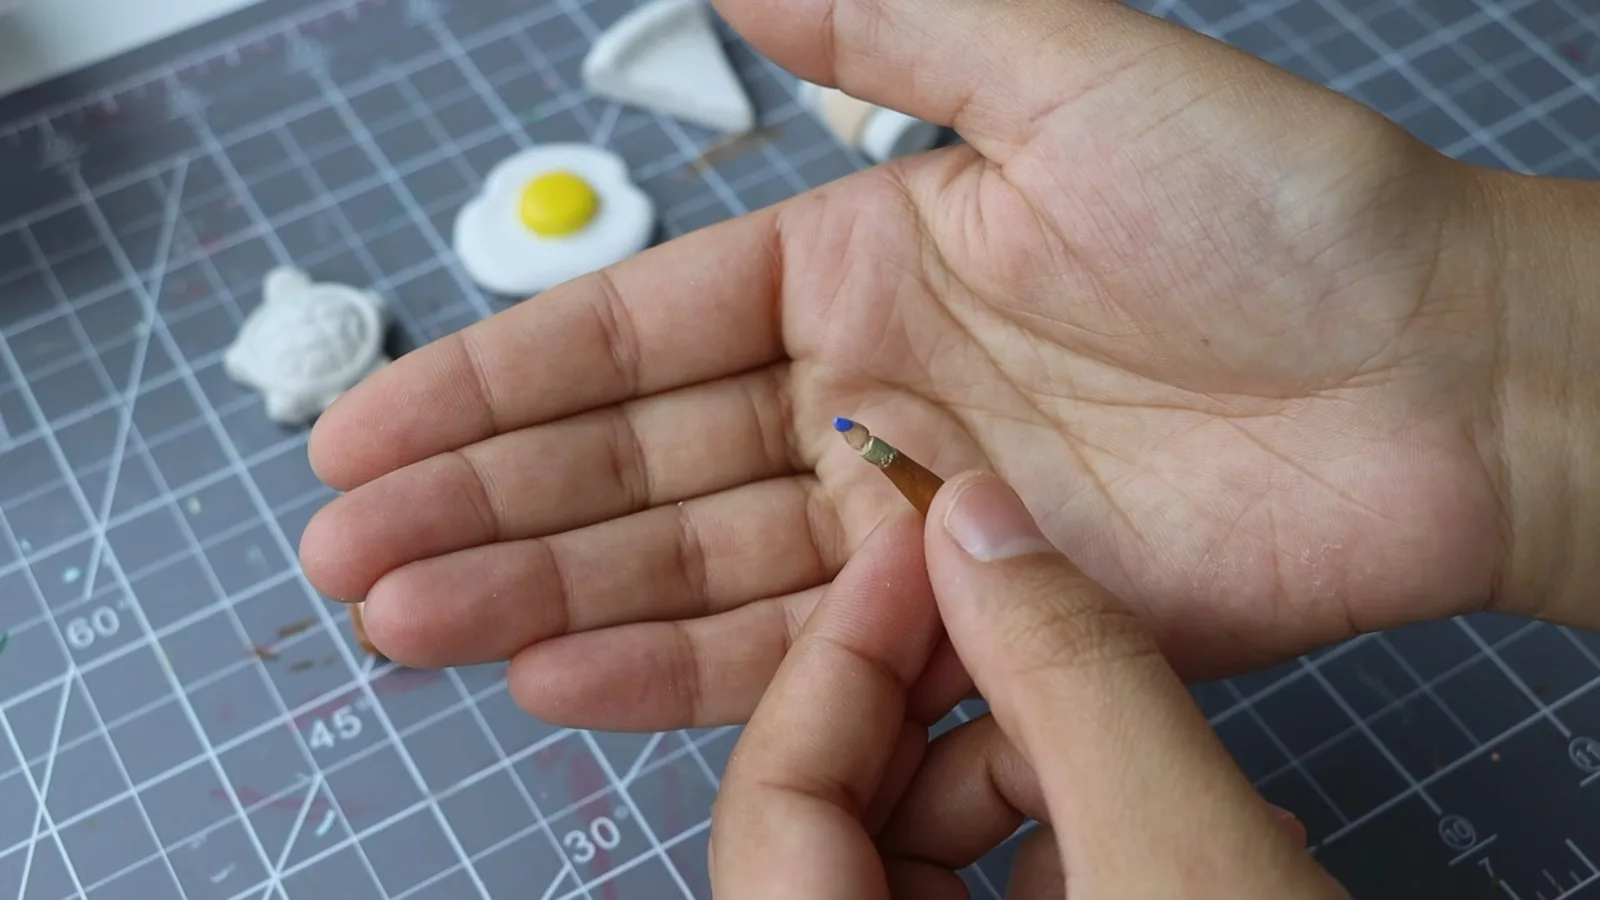
Air-dry clay loses moisture as it cures, so a circle that looks perfect on day one may pull inward as it dries. A rigid wooden guide will not shrink with it. In the source project, the clay pulled away from its wooden ring and the edge needed extra attention the next day.
If this happens, remove any loose pieces and inspect the base for cracks or warping. For a cosmetic edge repair, roll a thin fresh coil of clay, lightly prepare the joining surface as recommended for your clay, and press the coil around the circumference. Smooth the seam carefully, then allow the repair to dry again. A tidy raised rim can look intentional and frame the dial beautifully.
If the clock face is badly warped or structurally cracked, make a new base rather than relying on a decorative coil to hold it together. Clay brands shrink and dry differently, so follow the product instructions instead of treating a single drying time as universal.
6. Paint the base and miniatures
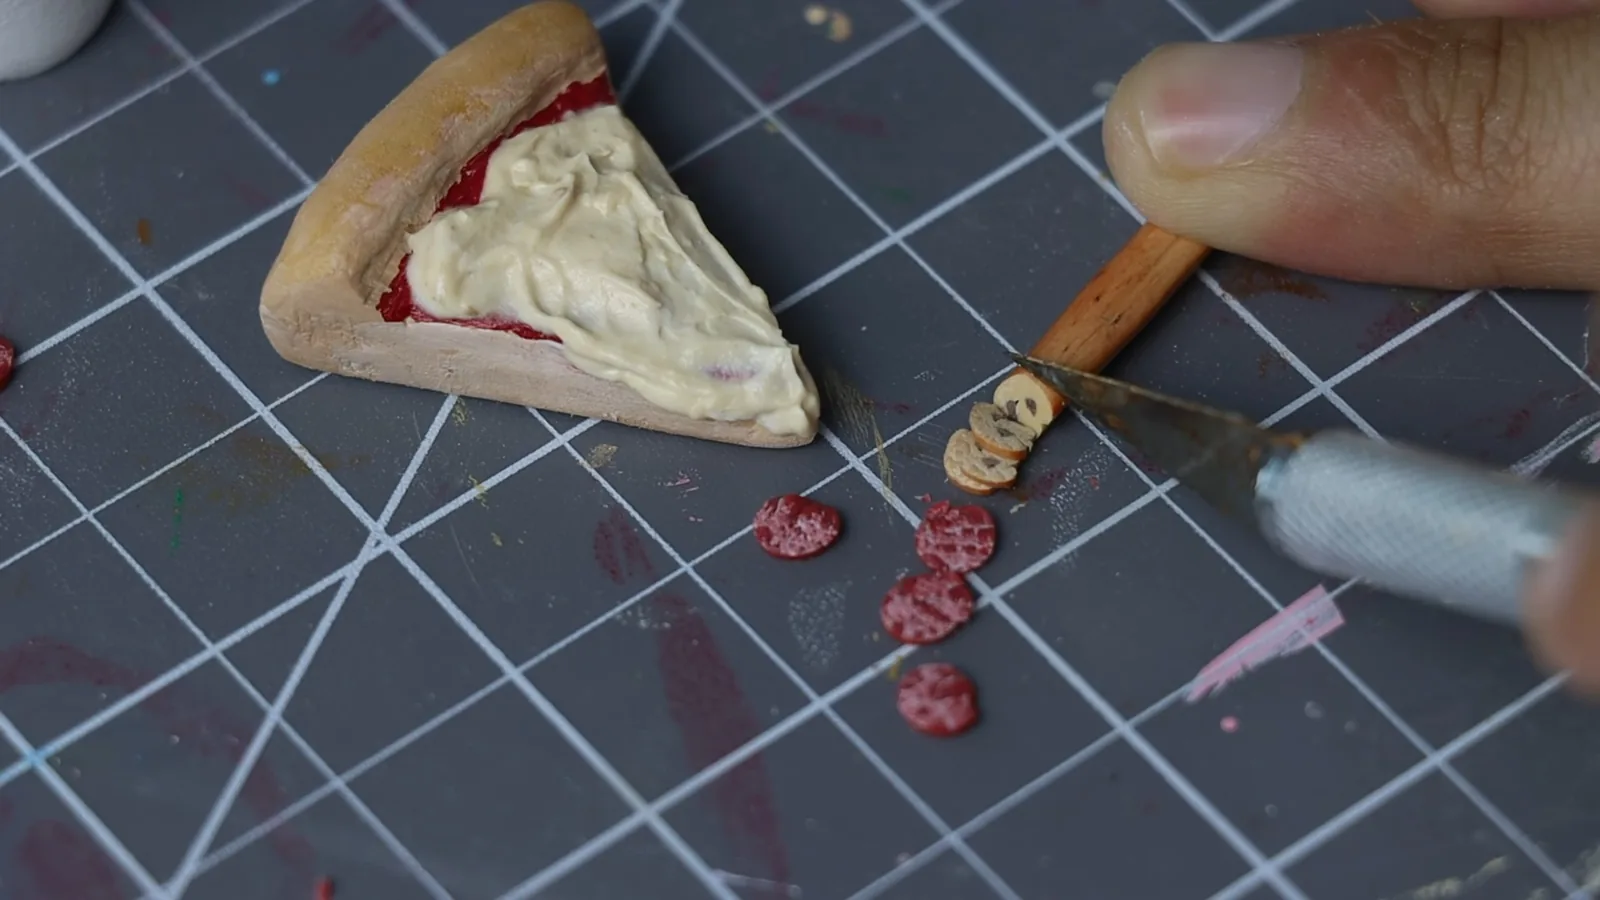
When the clay is fully dry, smooth any rough spots and brush away dust. Paint the face a soft neutral shade, or leave the natural clay color visible if you prefer a handmade finish. Paint the main numbers in a contrasting color that remains easy to read.
The miniature details are where you can have fun with color: golden toast, a bright egg yolk, a green turtle shell, or tiny dabs of paint on an artist’s palette. A fine brush works best for these small areas. Apply thin coats and allow each layer to dry. If you want a protective finish, choose a sealer that is compatible with air-dry clay and your paint.
For more no-kiln clay ideas that use playful color, browse our air-dry clay crafts guide.
7. Attach the magnets and test the fit
Once the ornaments are dry and painted, secure the magnets in their prepared recesses with an adhesive appropriate for the materials. Let the adhesive cure completely. Check polarity if you use magnets on both the ornaments and the dial: one reversed magnet can make a decoration repel instead of stick.
Stand the dial upright and try each ornament at the planned position. It should stay in place without sliding. If it slips, reduce the ornament’s weight, improve the contact area, or use a properly rated magnet-and-disc pair before the clock goes on the wall. Do not rely on wet clay alone to hold a loose magnet permanently.
8. Install the mechanism and set the time
- Fit the clock movement through the center opening from the back and secure it as the kit instructs.
- Attach the hour and minute hands in the correct order, keeping them level and separated so they do not catch on each other.
- Rotate the hands carefully or use the movement’s setting control to check for clearance above the raised numbers and ornaments.
- Insert the specified battery, set the time, and observe the movement before mounting the clock.
- Add a suitable wall hanger if the clock is intended to hang. The clay face must be properly supported; do not hang a heavy piece from the movement shaft alone.
A magnetic clock is particularly satisfying because the finishing touch is reversible. Move the tiny symbols around the face until the colors and spacing look balanced.
DAS vs softer air-dry clay: what changes?
| What to look for | Firmer air-dry clay (DAS-style) | Very soft air-dry clay |
|---|---|---|
| Sculpting miniatures | May hold crisp edges more predictably | Easy to pinch and model, but delicate details may deform |
| Rolling a smooth clock face | Often easier to level into an even slab | Can show pressure marks and need more smoothing |
| Best decision | Choose by the shape you want to make | Test a small slab before committing to a full dial |
These are not a laboratory comparison of all clay brands. Your results will depend on the particular formula, moisture level, thickness, and handling.
Three problems worth preventing
- The clay shrinks away from the ring. Use the ring as a shaping guide rather than assuming wet clay will stay bonded to wood. Inspect the dry dial and finish the border after drying if needed.
- Small magnets do not hold. Check the actual dimensions, polarity, and strength of the magnet-to-disc combination before sculpting every ornament. Keep the clay ornaments light.
- The clock hands snag. Measure the movement shaft against the dry base and keep tall decorations away from the sweep of the hands.
Ways to change the design with the seasons
A handful of extra clay symbols lets the same clock work in different rooms and seasons. Try little daisies, leaves, and strawberries for spring; shells or suns for summer; acorns and pumpkins for fall; and stars or tiny mittens for winter. Store unused decorations in a small labeled box so the magnets do not clump together or damage the paint.
For a coordinated handmade corner, pair the clock with one of our easy candle holder DIY ideas. Keep craft-painted holders for flameless LED candles unless they are explicitly designed and rated for real flames.
DIY clay clock FAQs
Can I make a working clock from air-dry clay?
Yes. The clay makes the decorative face, while a separate quartz movement keeps time. Use a shaft length and hanging method appropriate to the dry clock’s thickness and weight.
Will magnets stick directly to air-dry clay?
No. Provide a matching magnet or magnet-attracting metal element where you want each ornament to attach. Test the connection through any paint or clay covering.
How long should the clock face dry?
Drying depends on the clay formula, size, thickness, temperature, and humidity. Follow your clay manufacturer’s instructions, and do not fit the mechanism or glue magnets into damp clay.
Can I use the wooden ring as a permanent frame?
You can, but expect shrinkage. Make a dry fit and use an appropriate attachment method rather than assuming the clay will remain snug against the ring as it cures.
Watch the full magnetic clay clock tutorial
The hands-on process, including the small sculpted icons, painting, and final clock assembly, appears in the original video below. Video: DIY Magnetic Clay Clock by Clayful Days by Susan. Source and image attribution: DIY Magnetic Clay Clock, © Clayful Days by Susan, shared under the Creative Commons Attribution 3.0 (CC BY 3.0) license as identified in the YouTube video details.
Make your clock easy to update, and you will have a useful wall piece that can change with the small rituals and colors you enjoy at home.